• Skip to main content
  • Skip to footer

I can make metal stamped jewelry

12 Unique Metal Stamping Projects

January 10, 2024 by decey Leave a Comment

12 Unique Metal Stamping Projects

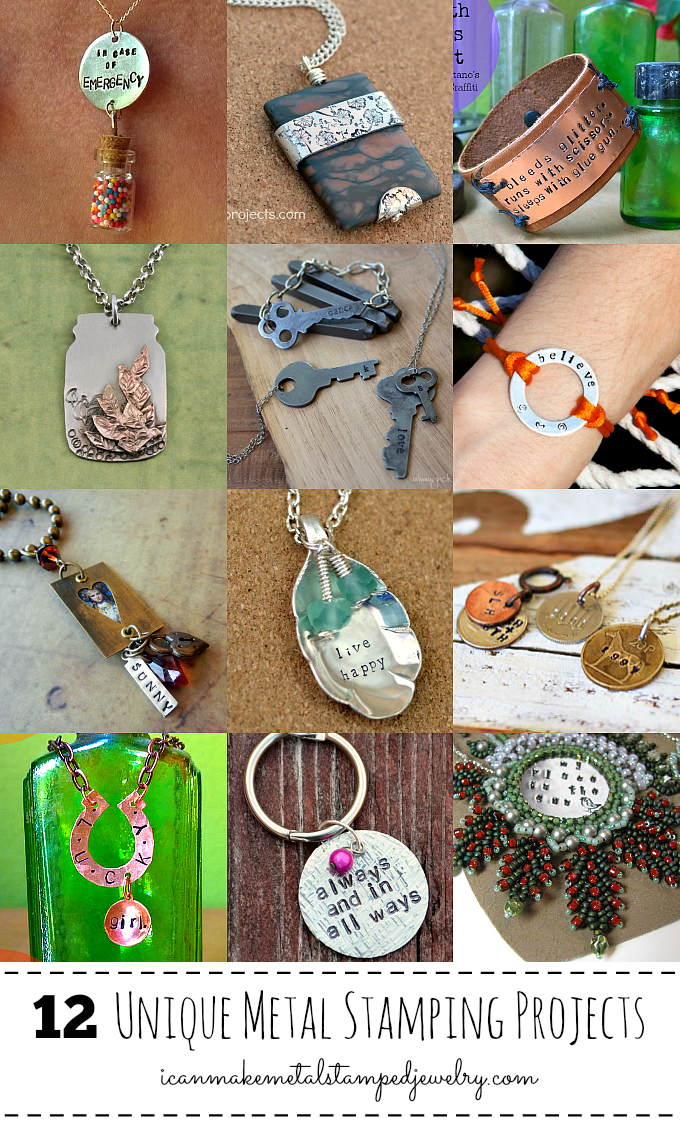
We love seeing people put their own unique spin on metal stamping and we’ve gathered up 12 Unique Metal Stamped Projects that do just that. If you’re looking for something new and different, you’ve found it here. Lots of great ideas with detailed tutorials to help you succeed. Pour yourself a cuppa and take some time to give these talented folks a visit. Enjoy!
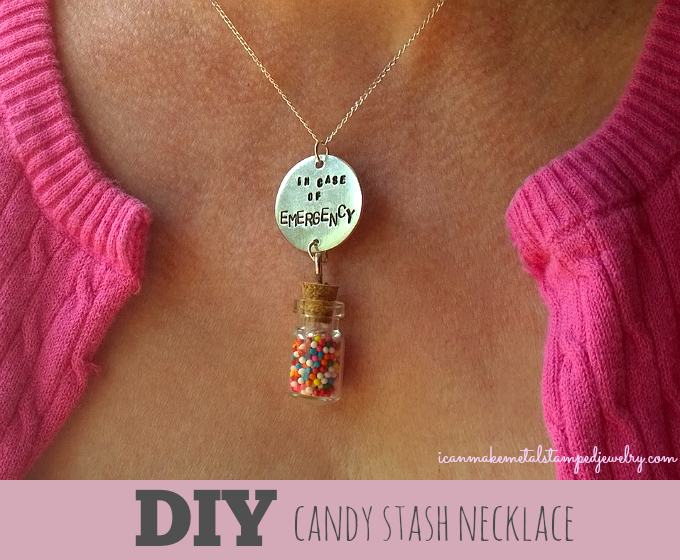
DIY Candy Stash Three

First up, our DIY Candy Stash necklace. We love tiny jar projects and this one is a lot of fun and calorie free to boot!
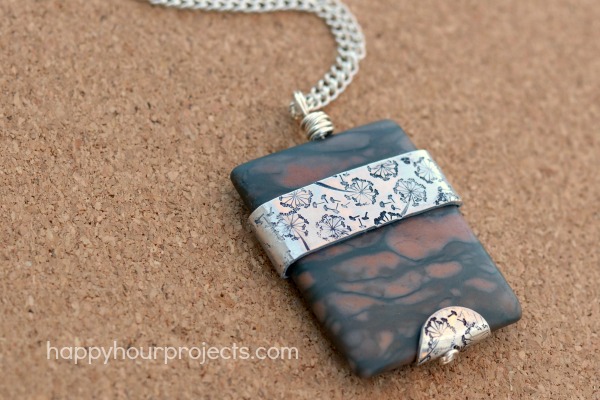
03.3

How smart is this stamped and wrapped gemstone pendant from Happy Hour Projects? We love the unique use of materials.
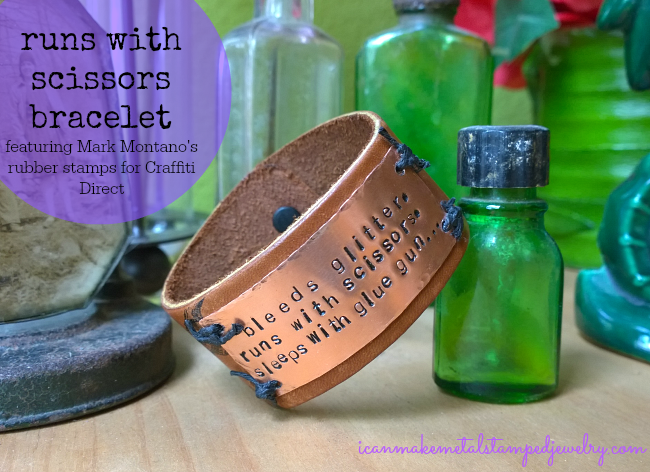
Runs with Scissors

Make a serious style statement with our Runs with Scissors bracelet. We love the combination of metal, leather and waxed linen with a tough appeal.
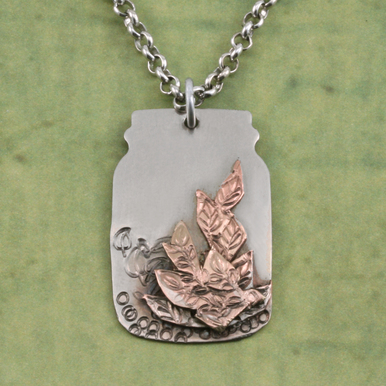
des325b_2014

Terrariums are everywhere these days, but if you’ve got a brown thumb perhaps this DIY Terrarium necklace from Beaducation is more your speed. We love this trend savvy design.
stamped-vintage-key-jewelry-finished

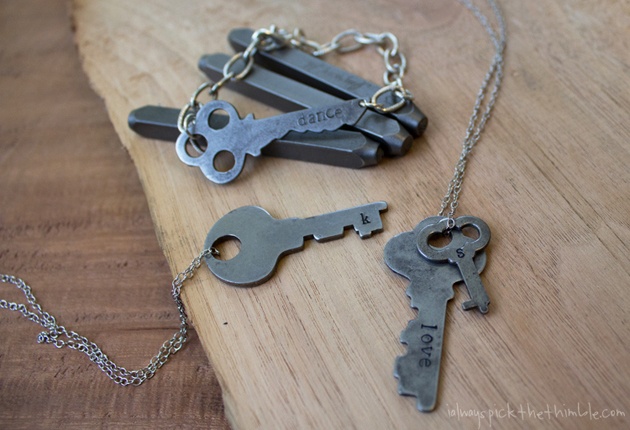
Old keys get a new life in this shabby inspired DIY key necklace from I Always Pick the Thimble. We love the fresh spin on key jewelry.
metal-stamping-bracelet-photo

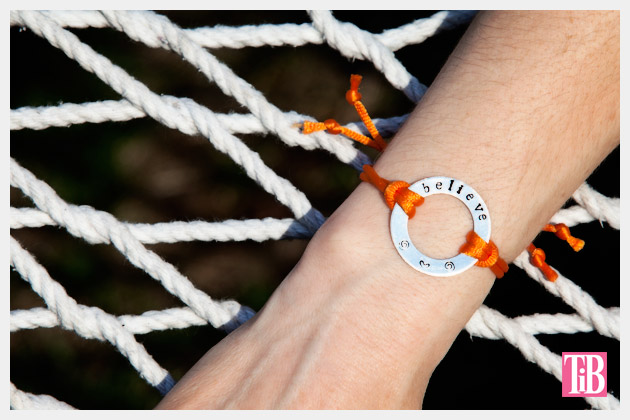
Use bright satin cord to make a stamped washer bracelet with a decidedly chic appeal from Trinkets in Bloom. We love the burst of color!
sunny-tag

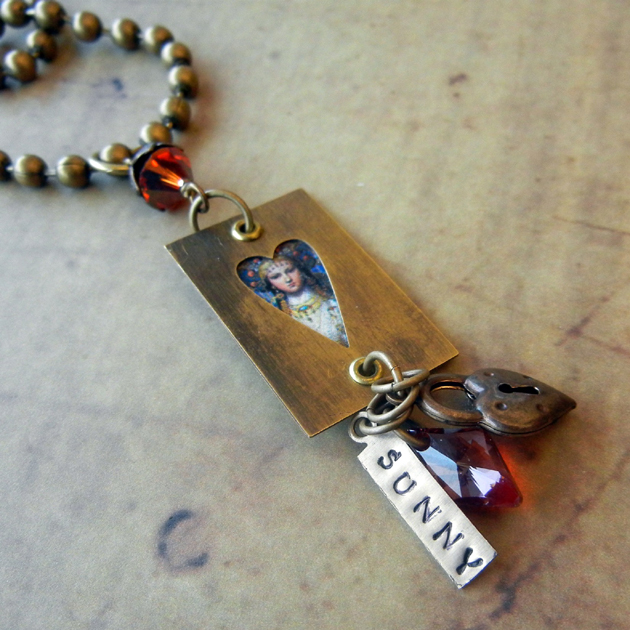
Add a stamped tag to a mixed media pendant to give it a personal finish with this idea from Rings ‘n Things. We love the rustic elegance.
live-happy-necklace-1.1-600x600

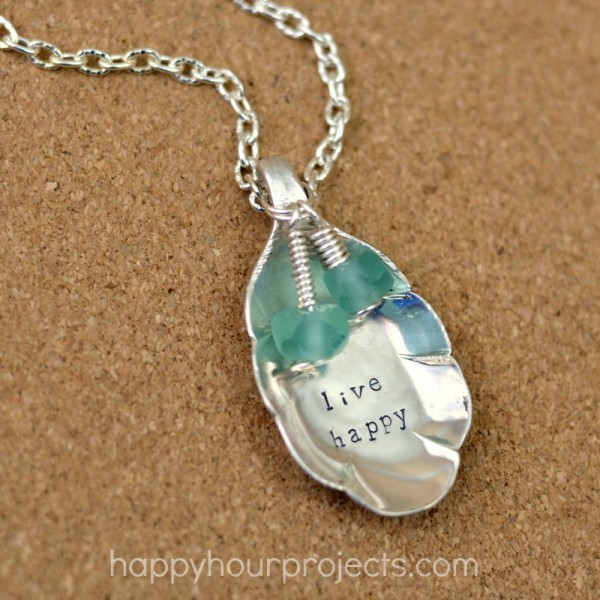
Turn a flea market find silver spoon into a one of a kind stamped spoon pendant with Happy Hour Projects. We love the heirloom appeal.
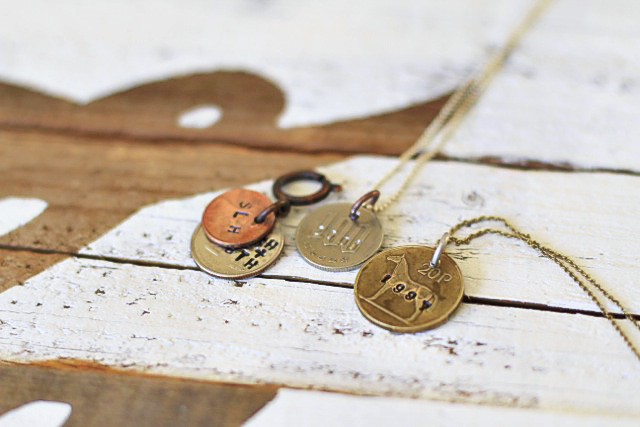
MG_3927

Stamp some memory jewelry with old coins in this delightful DIY coin necklace tutorial from Lil Blue Boo. We love the whimsy.
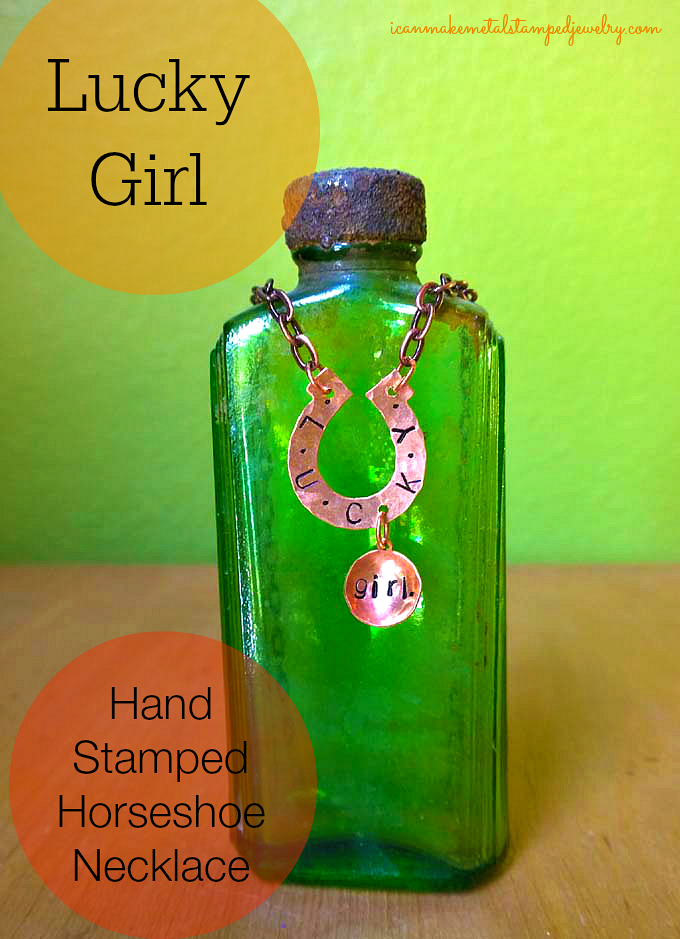
Lucky Girl Hand Stamped Necklace Three Text

Feel lucky with our DIY horseshoe necklace that gives some basic blanks a style upgrade. We love the Western flair.
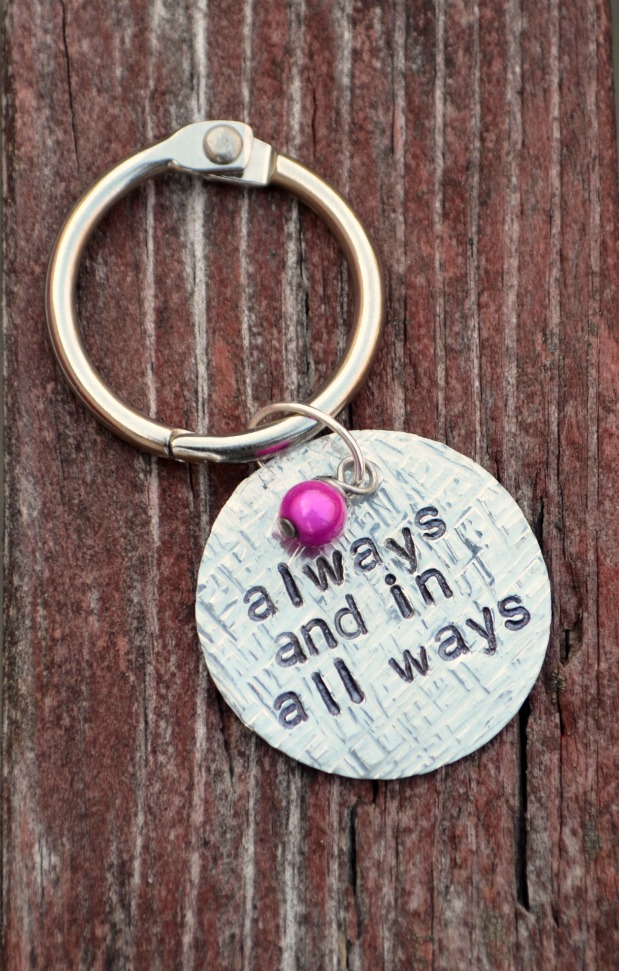
keychain8

Use texture hammers and letter stamps to make a lovely key chain with One Artsy Mama. We love the giftability.
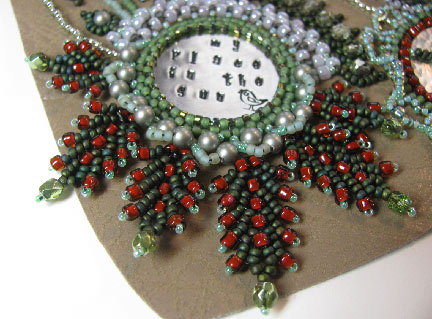
alkeme4

Create beautiful beaded embroidery around a metal stamped pendant with Beading Arts blog. We love the combination of beads and stamped elements!

12 Unique Metal Stamping Projects, we hope you love them as much as we do! To all of the mamas out there, Happy Mother’s Day! We’ll see all of you Monday.

Happy Stamping,
Margot and Avalon
Filed Under: Diy Tagged With: DIY hand stamped jewelry, DIY jewelry, DIY metal stamped jewelry, easy metal stamping projects, metal stamped jewelry

DIY Stamped Wire Bangles

January 2, 2024 by decey Leave a Comment

How To Make Stamped Wire Bangles Main

There’s something deeply satisfying about taking some copper wire and turning it into jewelry. We’re showing you how to turn 10 gauge copper wire into DIY Stamped Wire Bangles and you’ll be amazed at how easy this is to do! As you hammer, stamp, smooth, and bend the soft copper wire you are changing the molecular structure. This process is called work  hardening. The key is getting a feel for the wire so you don’t overwork it and turn it from hard to brittle. Practice, practice, practice, copper wire is inexpensive, easy to manipulate, and a great place to start. Watch the video first, it will help you understand the process. Then follow our step by step photos to make your own DIY Stamped Wire Bangles. This is so much fun, you’ll want to stamp up a wrist full!

You will need: The following links are affiliate based, which means we get a small percentage of the sale, which is how we can afford to create these tutorials for you!
Artistic Wire 10-Gauge Bare Copper Wire
ImpressArt Stamp Enamel or Folk Art Enamel Acrylic Paint, Licorice
1.5mm Letter & Number Punch Set
ImpressArt 2 by 2-Inch Steel Block
Beadalon Leather Pad For Block and Anvil
Ergo-Angle Metal Stamping Hammer
ImpressArt Chasing Hammer
ImpressArt 1″ Nylon Hammer
Beadalon Nylon Jaw Pliers
ImpressArt Bracelet Bending Bar
ImpressArt Bracelet Bending Pliers
Sanding Block or Metal Filing Tools
ImpressArt Stamp Straight Tape
Ruler
Non-Permanent Marker
Paper Towel

Watch the video for the full tutorial, then get the step by step photos and instructions below!

DIY Stamped Wire Bangles Margot Potter Steps

Step One: Measure and cut wire using shears. The wire will get a little longer as you stamp. Remember the bangle is open in the back. I used 5″ wire segments, but I have small wrists, you can increase or decrease the wire length to fit your wrist.

Step Two: Before you hammer, use your nylon jaw pliers to straighten out your wire, then use flat end of chasing hammer to flatten the wire ends. Then add texture with the round end.

Step Three: Repeat this process over the entire wire length. Pay more attention to the center since this is where you will be stamping. You need to flatten it enough to fit the 1.5mm stamps. Don’t over hammer, hammering work hardens the copper, but too much hammering can make the copper brittle.

Step Four: Straighten wire again with nylon jaw pliers.

Step Five: Turn hammered wire on it’s side and hammer, repeat on other side. This helps keep the stamped wire straight.

Step Six: Tape bracelet to blank. Mark the center point of your wire with a non-permanent  marker. Don’t stamp dead center, this is a stress point on the bracelet.

Step Seven: Stamp the center letter to the left of the marked center point.

Step Eight: Stamp left and right, until you’ve completed your word.

Step Nine: After hammering the wire one last time to straighten, insert one end of wire into the bracelet bending bar. Gently bend the wire over the curved area of the bar.

Step Ten: Insert opposite end of wire into the bar, repeat process. Don’t over bend, this is just to form the arc of your bracelet, take your time!

Step Eleven: Use the bracelet bending pliers to fine tune the shape of your bangle. You can also use your nylon jaw pliers here to refine the shape!

Step Twelve: Use a jeweler’s file or sanding block to send ends of wire to make them dull.

Step Thirteen: Apply Stamp Enamel with applicator tip. Allow to sit for 10 seconds. Wipe medium into stamped letters with paper towel, then wipe off the surface medium. This will polish the metal and leave the medium in the stamped areas to help them stand out!

Step Fourteen: Make a wrist full!

DIY Stamped Wire Bangles Two

You can further refine, polish, and finish these DIY Stamped Wire Bangles if you desire. I have a flex shaft tool with a variety of polishing tips and a tumbler, and there’s always a little elbow grease and steel wool! You can also coat them with clear nail polish to keep them from tarnishing as copper will do over time.

How to Make Stamped Wire Bangles Alternate

These DIY Stamped Wire Bangles are a great way to get a feel for working with wire without breaking the bank. I love these so much, I am planning to make them in sterling. Take your time, have some fun, don’t worry about perfection. It’s handmade, the little imperfections are part of what makes them beautiful.

Stay tuned, we’ll have more videos and step by step tutorials on the way for the holidays with lots of DIY personalized gifts!

Cheers,
Margot and Avalon
Filed Under: Diy Tagged With: DIY bangles, easy hand stamped bangles, easy jewelry making tutorial, hand stamped bangles, how to make stamped wire bangles, i can make metal stamped jewelry, jewelry making, make it with madge, margot potter, stamped wire bangles

Metal Stamping Artist Spotlight: Erin Prais-Hintz

December 4, 2023 by decey Leave a Comment

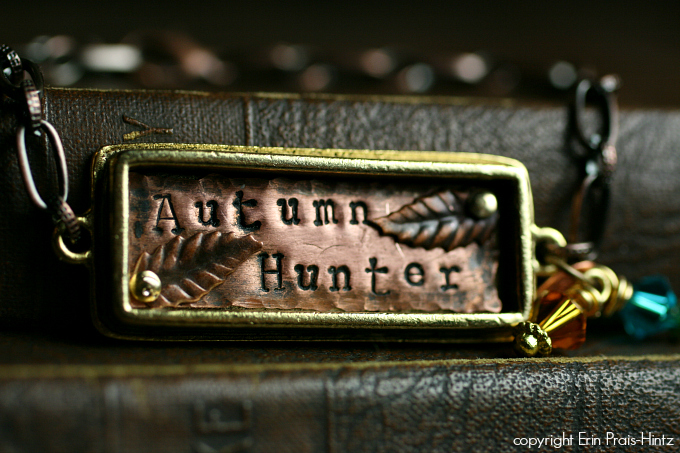
summer2014_shadow box_eph

Today we’re thrilled to shine a spotlight on one of our favorite jewelry designers, Erin Prais-Hintz.  We’ll be introducing you to more jewelry artists over the coming months and they’ve all got their own spin on metal stamping and design.  Erin was kind enough to agree to answer our “Five Easy Questions” and share some of her stunning jewelry designs with us.  Without further ado, here’s Erin!

1. When did you start making jewelry and why?

I like to say that I started with my first macaroni necklace. But truthfully I dabbled in it from college on. I didn’t discover the joy of designing jewelry until my college roommate was diagnosed with breast cancer in 2005. I had a vision of a charm bracelet with healing gemstones, each telling a story. I did the research and bought the best stones I could find, then I proceeded to wire wrap each stone to that bracelet chain. By the end I had wrapped about 120 gemstones and the last was far superior to the first! It was then that I realized that I loved to tell the unique story of the wearer through my artisan designs. I believe that life is too short to eat cheap chocolate, drink bad wine or wear department store jewelry. When you can tell your story through your adornments, you create a style all your own.

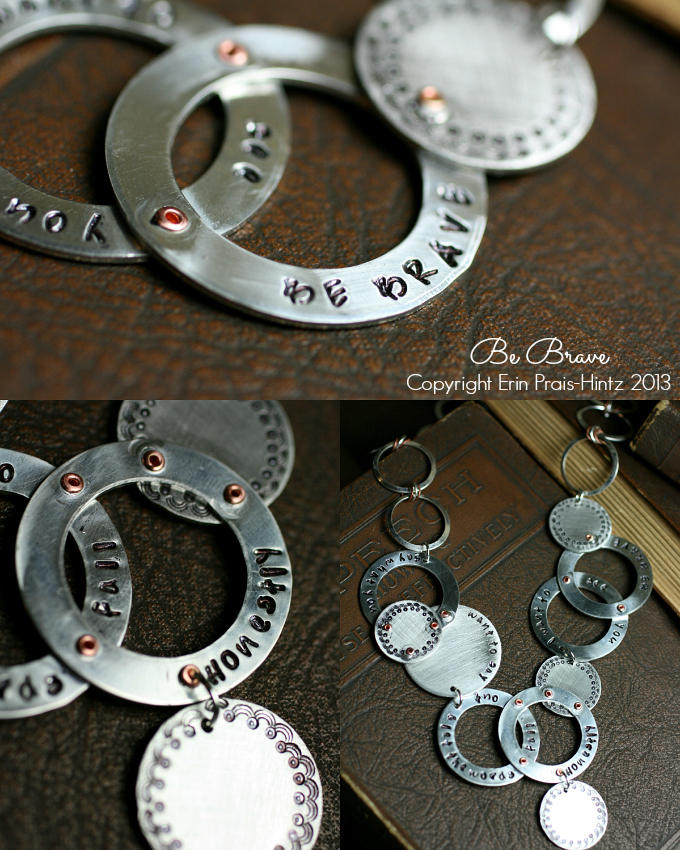
Be Brave - ImpressArt

2. What is your favorite source for jewelry making inspiration?

Inspiration is everywhere! It might be the swirls on my bedspread, the frost on my windows, the colors of a sunset, or the turn of phrase in a poem. I was plodding along making pretty things that really didn’t have a connection to a story, until I found the Art Bead Scene. That site introduced me to the idea that you can make jewelry inspired by a master work of art. I was introduced to art beads through this as well and I have been hooked ever since! In fact, I have been an editor at the Art Bead Scene since 2010. I also write for other blogs like Earrings Everyday, and my own blog, Treasures Found :: Inspiration is Everywhere. I love to share stories of inspiration and connect people to their innate creativity.

3. What advice do you have for folks just starting out?

Invest in the best tools and materials that you can afford. But don’t overlook that anything can be made into something delightful, often with nothing more than your own two hands! Practice, practice and practice! Once you learn a few basics you can be off and running with your new hobby, but there are a lot of really great things that you might want to achieve that can only be done through practice. Stamping is a prime example. I am still perfecting the art of stamping in a straight line (luckily, I like wonky!). Once you find the style that suits you, expect to keep perfecting it and pushing your creative boundaries. I started at the beginning just like you!

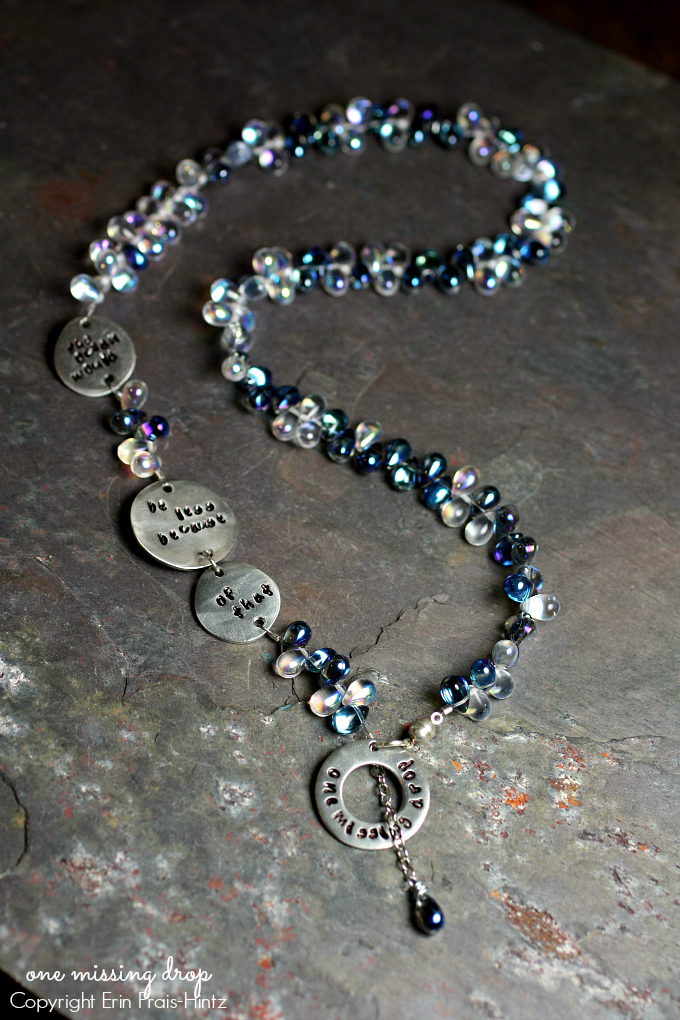
One Mising Drop

4. What tips or tricks can you share for successful metal stamping?

Take your time and plan it out! I am very impatient and I frequently just barrel ahead. I am not so concerned if my stamped pieces are perfectly straight, but there is no excuse for grabbing your stamp the wrong way and striking the letter upside down, or the wrong letter altogether! Before I stamp I write it down, I take a deep breath, and I never, ever close my eyes when I am about to strike the hammer!

5. Where can our readers find you?

www.tesoritrovati.com – my web store that includes any jewelry I have for sale as well as my popular line of custom, made-to-order Simple Truths pendants and charms, most of which include messages that are stamped in clay
www.tesoritrovati.etsy.com – my Etsy shop that is for one of a kind, one offs and samples of my Simple Truths line that are ready to ship
http://treasures-found.blogspot.com – my blog where I write about finding inspiration everywhere.
www.facebook.com/tesoritrovati – I am not the most active on Facebook, but I do share news about Tesori Trovati here.

Erin Prais-Hintz

Make sure you visit Erin Prais-Hintz at the links above and check out her amazing design work. Not only is she an inspiring designer, she’s an inspiring woman who lifts others up with her kind comments and positive outlook.  The world needs more people like Erin who signs her emails “Every day may not be good, but there is something good in every day.” ~ Anonymous

Indeed!

Filed Under: Diy Tagged With: designer spotlight, DIY jewelry, DIY metal stamped jewelry, erin prais-hintz, jewelry designer, jewelry designer interview, metal stamped jewelry, metal stamping artist

Basic Metal Stamping 1 2 3

October 1, 2023 by decey Leave a Comment

Metal Stamping 1 2 3

(Disclosure: This post contains affiliate links, if you click on a link and make a purchase, we get a small percentage of the sale.)

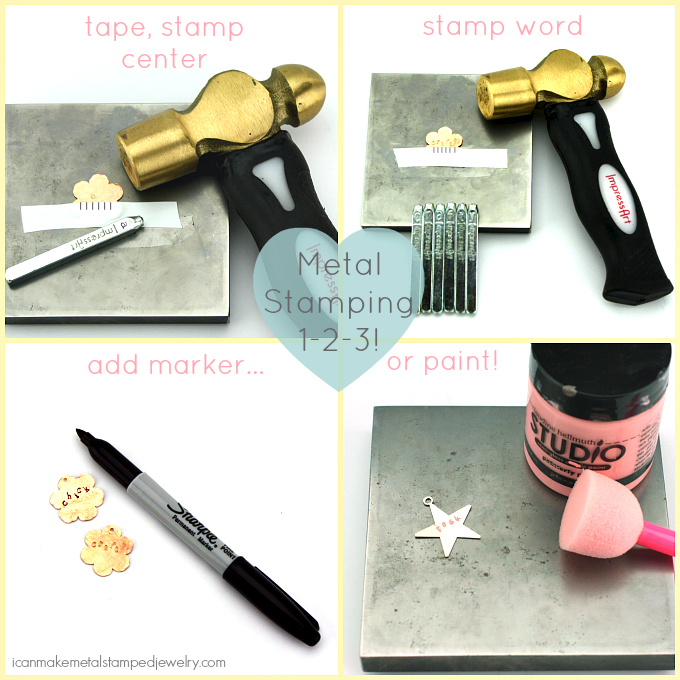
Metal stamping 1 2 3, it’s really that easy. Here’s what you need to get started!

Brass Stamping Hammer
(I prefer a brass hammer to steel, brass is softer and disperses or transfers the energy of the hit into the blank preventing skipping or ghost impressions)

Metal Stamps

Steel Block

Stamp Straight Tape

Acrylic Enamel Paint

Metal Stamping Blanks (Try aluminum when you start out, it’s softer and easier to stamp than base metal and it’s less expensive.)

And here are the basic steps:

Step One:

Plan out your word, line up your stamps and make sure that the word will fit on the blank. Tape the blank to the bench block and start in the center working out from there.

Step Two:

Hold your stamp so it is in full contact with the surface of the blank.  Make sure it’s straight, not tilted!  Keep your fingers away from the top of the stamp.  Give your stamp one good hit, don’t stamp more than once to avoid skipping or double impressions.  Stamp your word, keep the stamps lined up to the top of the tape.  You can angle the alignment of your stamps for a more whimsical effect. If you are worried about spacing, draw marks on the tape to line up your letters or even mark directly on your metal blank with a pencil.

Step Three:

Add color with a permanent marker, wipe clean with a dry cloth before the marker sets.

OR

Use acrylic paint instead, giving it a few seconds to set before wiping the surface.

And that’s Metal Stamping 1 2 3. You got this!

Follow us on Bloglovin’:

Follow on Bloglovin

Filed Under: Diy Tagged With: get started metal stamping, how to make metal stamped jewelry, metal stamping 101, metal stamping basics, metal stamping tips

12 Terrific Metal Stamped Earring Projects

August 15, 2023 by decey Leave a Comment

12 Terrific Metal Stamped Earring Projects

This week, it’s all about earrings!  We’ve got a fabulous line up of 12 Terrific DIY Metal Stamped Earring Projects for your creative inspiration.  Earrings are one of our favorite projects here because they’re one size fits all and they’re the easiest way to dress up an outfit in a flash.  We’re dreaming up next week’s DIY, so stay tuned!  Until then, enjoy the links.

earrrings3

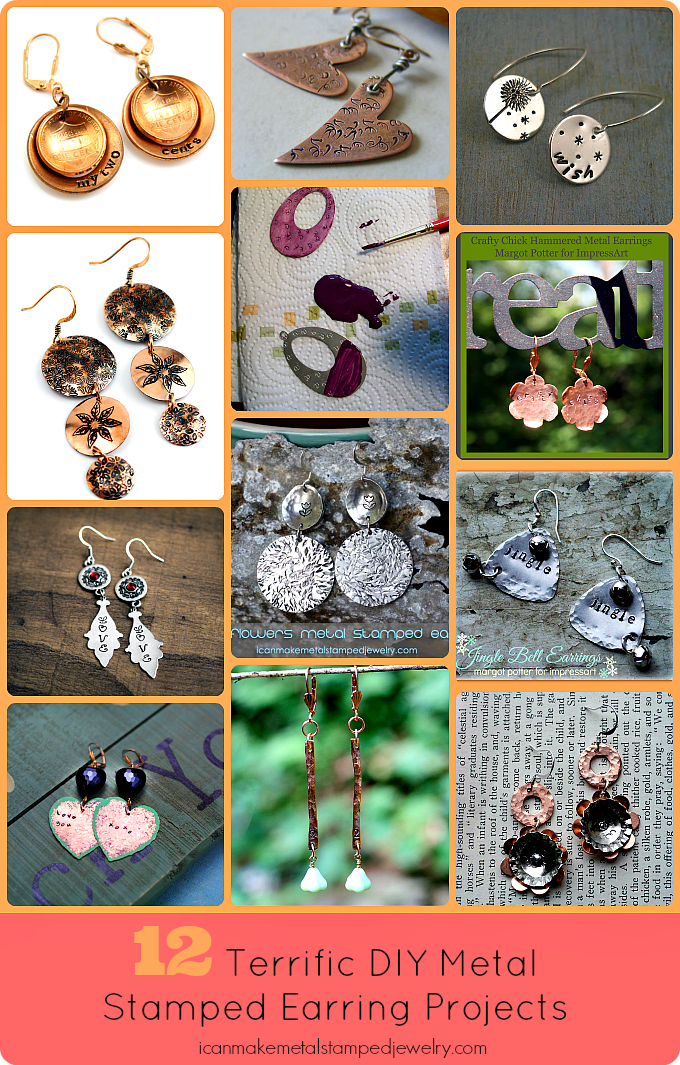
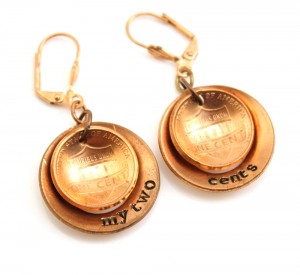
Share your two cents without saying a word with these stamped copper and penny earrings for ImpressArt.

floral-earrings-detail

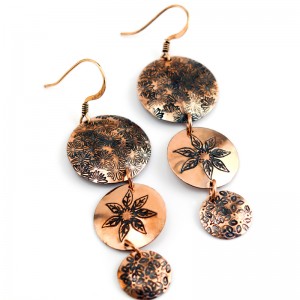
Use design stamps to create a simply stunning pair of textured earrings with a floral theme from Jeff Fulkerson for PJ Tool Jewelry!

IMG_0009

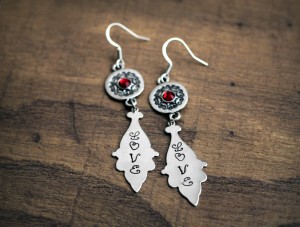
Show your love for all things metal stamping with this pretty pair of embellished earrings from Theresa Cifali for ImpressArt.

color-love-2

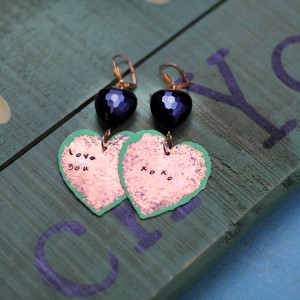
Make a pretty pair of hammered and stamped heart earrings with Margot Potter for ImpressArt

Mixed-Up-Love-1

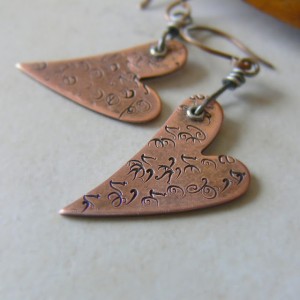
Here are more hand stamped heart earrings to love from Lori Anderson of Pretty Things Blog.

2-peace-earrings

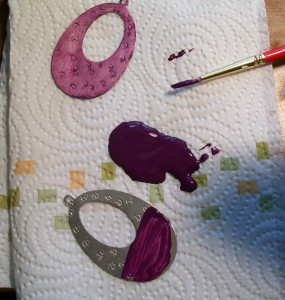
Stamp and paint some pretty purple peace earrings with Tammy Powley of Jewelry Making at About.com!

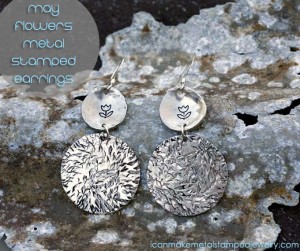
May Flowers One Banner copy

In case you missed these, we showed you how to dap, stamp and texture the perfect pair of earrings for spring last week.

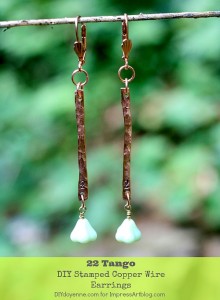
DIY-Stamped-Copper-Wire-Earrings

Try these stamped copper wire earrings on for size with Margot Potter for ImpressArt!

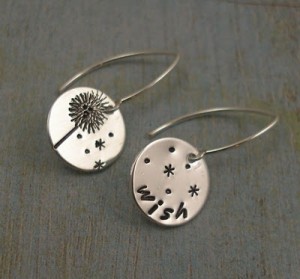
stamped earrings

Not into DIY?  You can buy these hand stamped Dandelion Wish earrings from Tiny Tokens Designs on Etsy!

Crafty Chick Beauty 2

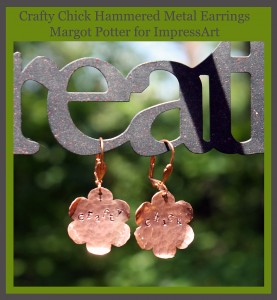
Show your crafty street cred with these DIY Crafty Chick earrings from Margot Potter for ImpressArt.

Jingle-Bell-Earrings

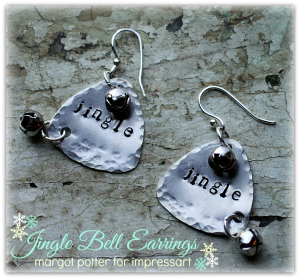
Get a jump on the holidays with these clever Jingle Bell Earrings from Margot Potter for ImpressArt!

Copper Three

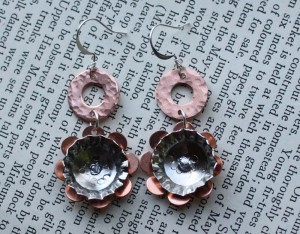
And last, but not least, copper washers, flowers and tiny bottle caps make for a whimsical pair of hand stamped poppy earrings!

12 Terrific Metal Stamped Earring projects for your craftertainment.  Let us know which ones you’ll be making in the comments!

Cheers,
Margot and Avalon
Filed Under: Diy Tagged With: DIY hand stamped earrings, DIY hand stamped jewelry, DIY jewelry, DIY metal stamped jewelry, how to make metal stamped jewelry, metal stamped earrings, metal stamped jewelry

  • « Go to Previous Page
  • Page 1
  • Interim pages omitted …
  • Page 5
  • Page 6
  • Page 7
  • Page 8
  • Page 9
  • Interim pages omitted …
  • Page 15
  • Go to Next Page »

Pages

  • About Us
  • Contact Us
  • Privacy Policy

Copyright © 2026 · Aspire Theme on Genesis Framework · WordPress · Log in