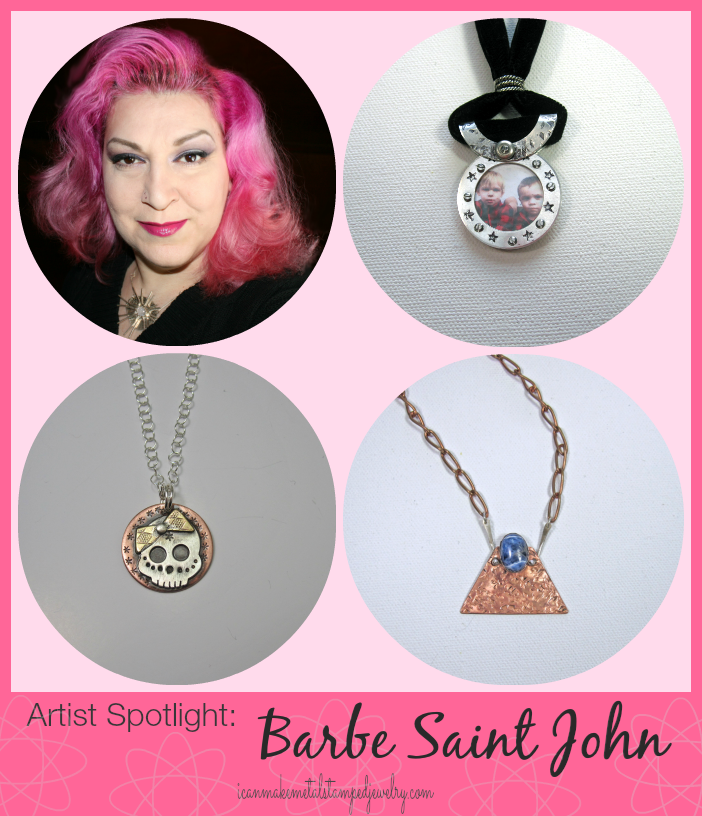
Meet metal smith and jewelry artist Barbe Saint John! Barbe has recently launched a new line of mid-century modern inspired jewelry that is exceptional in design and artistry. Her former line, Saints and Sinners was on the cutting edge of the mixed media/assemblage jewelry trend. We’ve been fans of her work for years and we were tickled pink when she agreed to answer our Five Easy Questions! Here are here insightful replies!
When did you start making jewelry and why?
I got started being creative at an early age-I was making very simple Barbie dresses with my Mom when I was 4, and my Grandmother taught me to crochet when I was 5. My Grandmother was very into fashion and jewelry. It was her love of adornment that got me interested. She would give me her broken bead necklaces to string my own, and brought me a bead loom back from Arizona when I was about 8 yrs old. I’ve been making jewelry ever since.
What is your favorite source for jewelry making inspiration?
I have a great deal of diverse interests and hobbies so those are often my main inspirations. I currently have two lines of work. With my mixed media jewelry and art; my core inspirations are vintage fashions, science, archeology, Egyptology, and all things paranormal, weird or a bit mad. On the other hand, my modern jewelry line is inspired by mid-century art, artists and pop culture.
What advice do you have for folks just starting out?
First and foremost-buy the best tools you can afford. You don’t have to immediately invest in jeweler quality tools, but having good quality/mid-price range tools will save you frustration. Also, they will last you for years and you can slowly upgrade them to better tools over time. Also, practice and play with your materials often! Students and beginners get upset they didn’t make a “perfect” piece on their first try. It’s by practicing and playing, that you learn the skills and dexterity needed for jewelry making and you also will start to hone your own style/voice that way too.
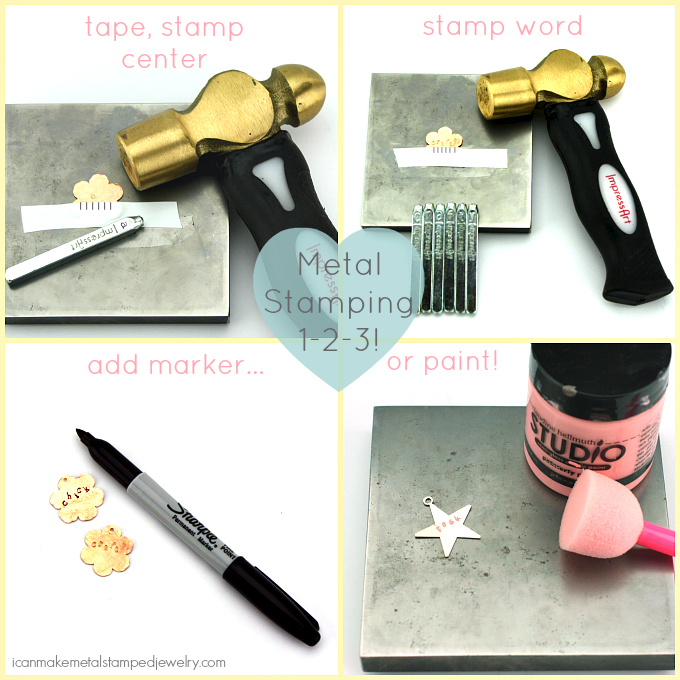
What tips or tricks can you share for successful metal stamping?
The Stamp Straight Tape” target=”_blank” rel=”nofollow”>Stamp Straight Tape has been a godsend for me!! I use to use multiple layers of duct tape, but that’s time consuming and leaves gummy residue on your block. Stamp Straight tape is thick enough you can “feel” it when you position your stamp and you don’t have to layer it. It’s sticky enough to hold but doesn’t leave a gummy residue on your block or blank. Also-practice makes perfect! Save your blanks and get a small sheet of 22g copper from a hobby or craft store. Lay down a few strips of Stamp Straight Tape and start hammering. You’ll quickly learn how to feel for the tape with your stamp, what the best distance between letters is, etc.
Where can our readers find you?
You can find me online at my website, blog, Etsy, Facebook, Twitter, Pinterest and Modern Metal’s Pinterest.
Take a moment to visit Barbe Saint John and show her a little love. I guarantee you are going to be impressed with her work! Tune in Monday for a new DIY metal stamping tutorial!
Happy Stamping,
Margot and Avalon
(*This post contains an affiliate link, if you click on the link and make a purchase we get a small percentage of the sale.)