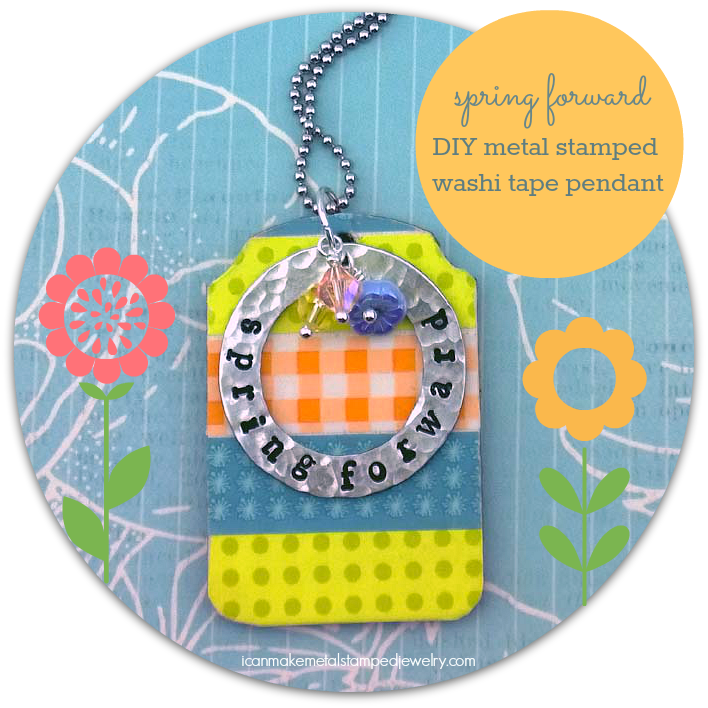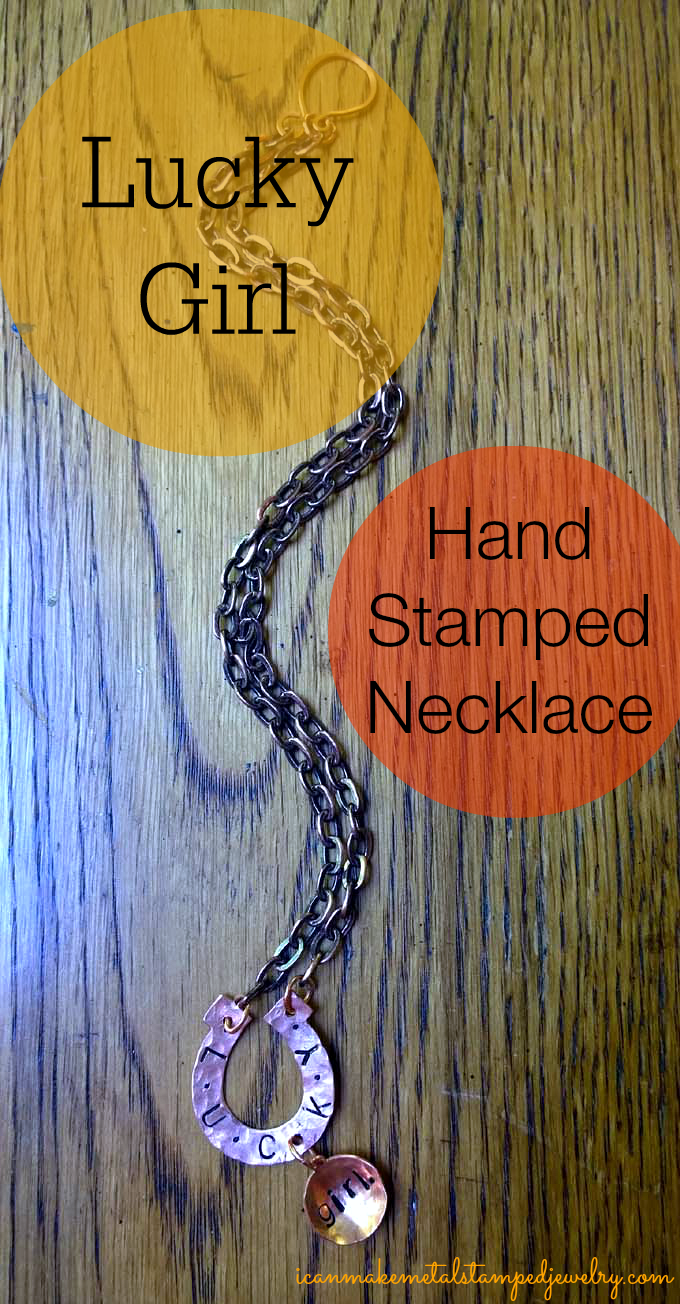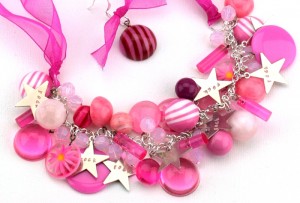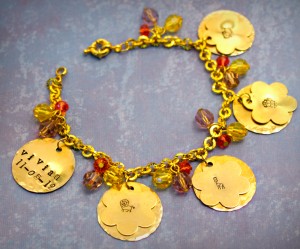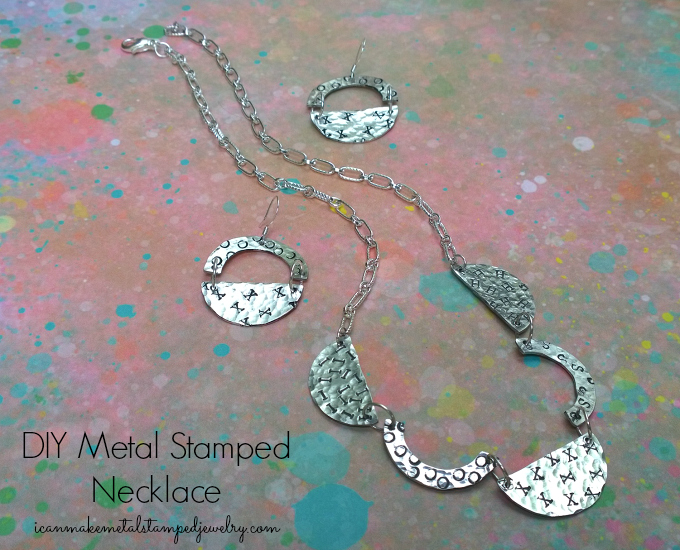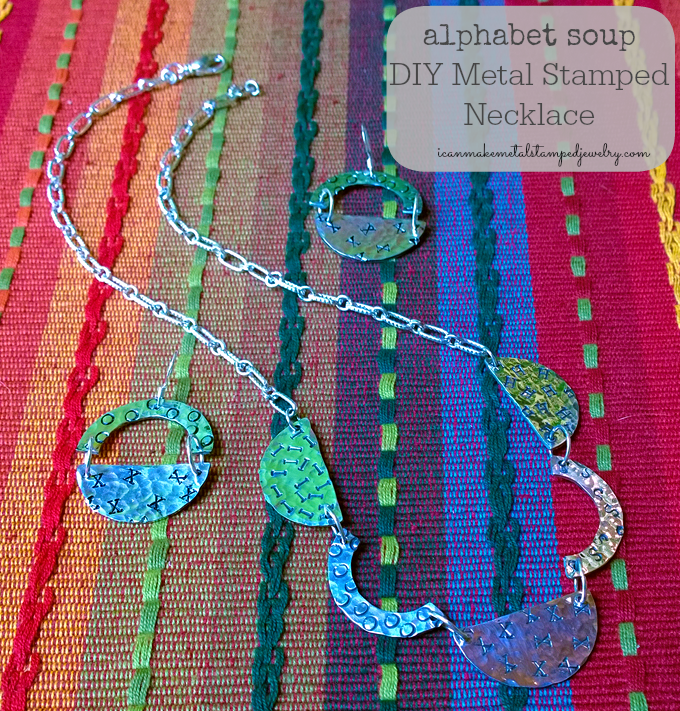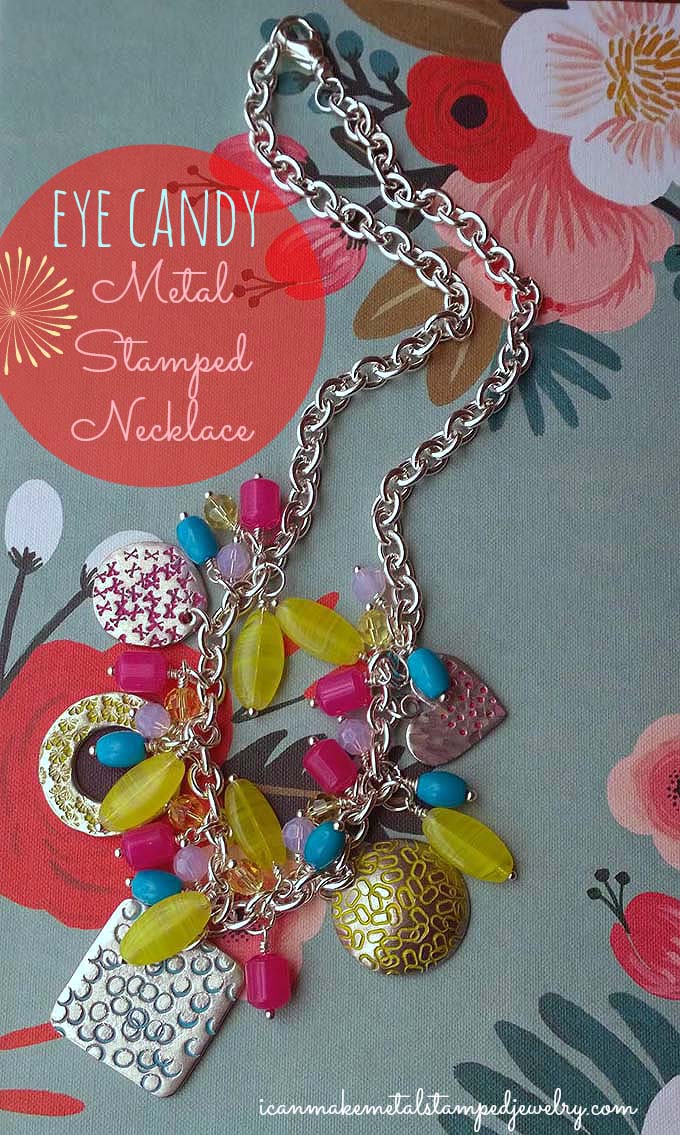
We want to show you all sorts of fun ways to play with your metal stamps, this project is perfect for beginners because it lets you play without having to worry about getting it “right.” Plus, we’re adding texture, dimension and color! Did you know you can use multi-surface paints to add color to your metal stamped designs? That’s what we did here with this Eye Candy Metal Stamped Necklace. Add some coordinating beads and SWAROVSKI ELEMENTS crystals and hang it all from a bright silver chain. Flirty, fun and like the maker, so ready for spring.
Here’s What You Need:
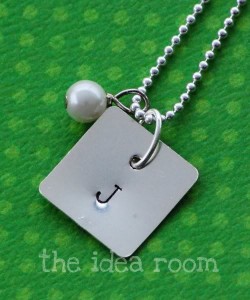
ImpressArt Stamping Blank Square
ImpressArt Stamping Blank Circle
ImpressArt Stamping Blank River Stone
ImpressArt, Pewter Stamping Blanks, Washer, 15/16″
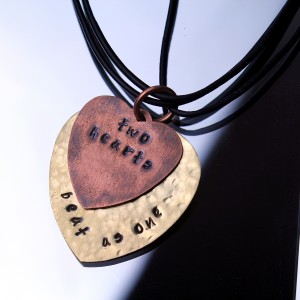
ImpressArt Pewter Hearts
18 5-6mm 5-6mm Gemstone and Glass Beads in Coordinating Colors (I used vintage Czech glass, dyed jade, faux turquoise)
6 6mm Swarovski Crystal 5000 Round Faceted Bead Pink Rose Water Opal
6 Swarovski Crystal 5000 Round Beads 6mm Sunflower
18″ Beadalon Chain Rolo Large Silver Plated
24 6mm Jump Rings
Beadalon Lobster Clasp Swivel 13mm
30 Beadalon Ball Tipped Head Pin
ImpressArt- Basic Newsprint Lowercase Letter Metal Stamp Set Letter x
ImpressArt- Basic Newsprint Uppercase Letter Metal Stamp Set Letter O
ImpressArt- 3mm, Dandelion (Small) Design Stamp
ImpressArt- Basic Metal Stamp Set, Lowercase, 3mm Letter O
Wood Handle Scratch Awl
8 Punch Dapping Block Set
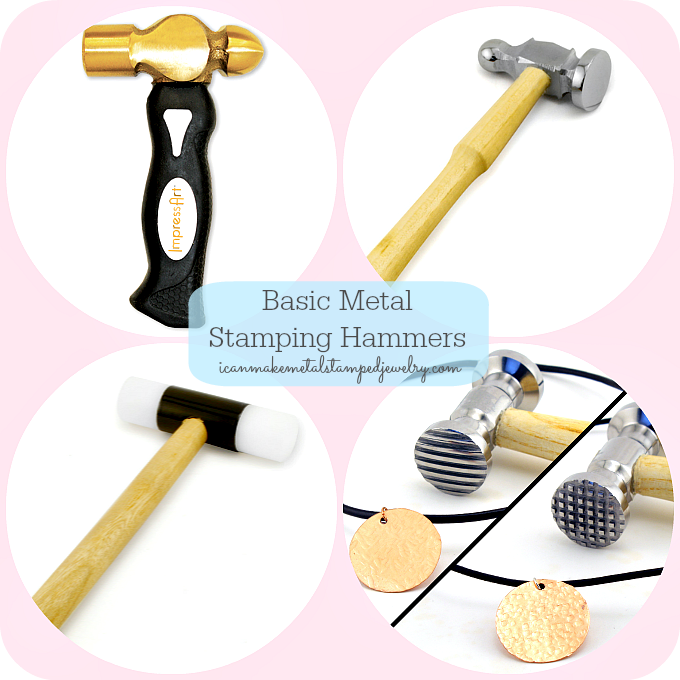
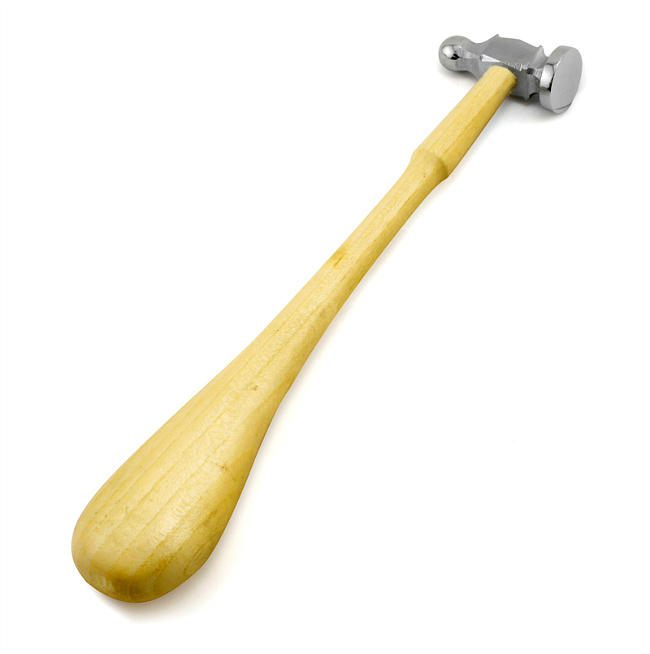
Texturing Hammer
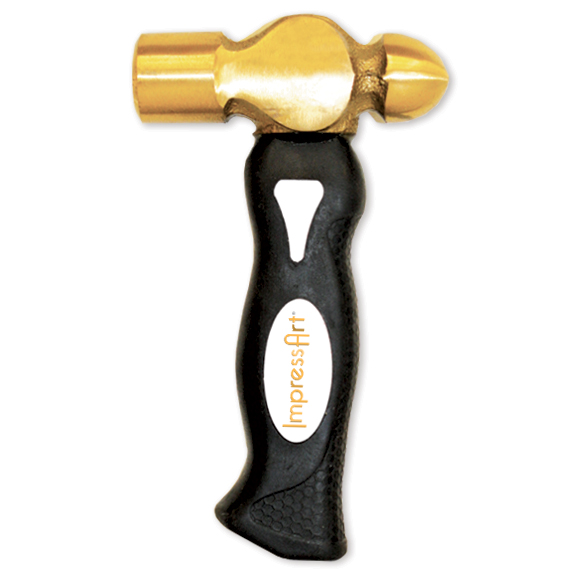
Ergo-Angle Metal Stamping Hammer
ImpressArt 2 by 2-Inch Steel Block
Folk Art Multi Surface Paints in Coordinating Colors (fuchsia, yellow, blue)
Paper Towels or Cloth
Beadalon Round Nose Pliers
2 Pairs ImpressArt Chain Nose Pliers
ImpressArt Flush Cutters
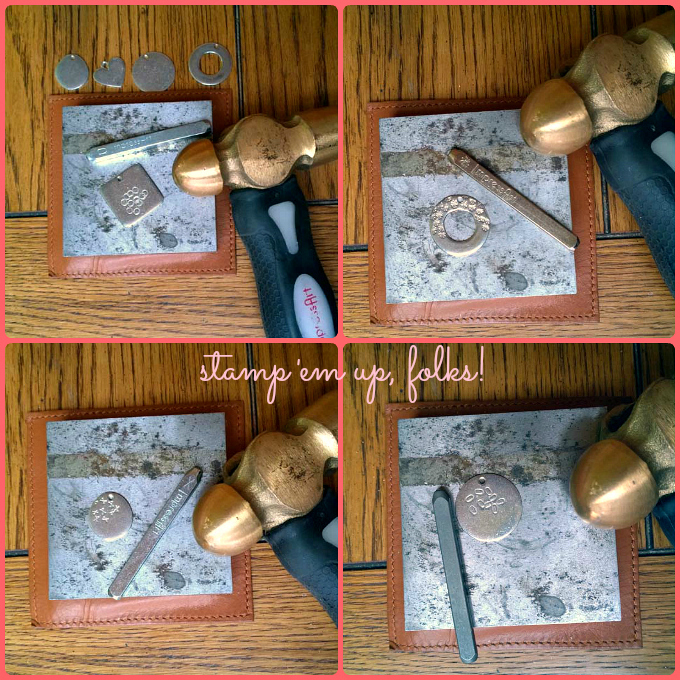
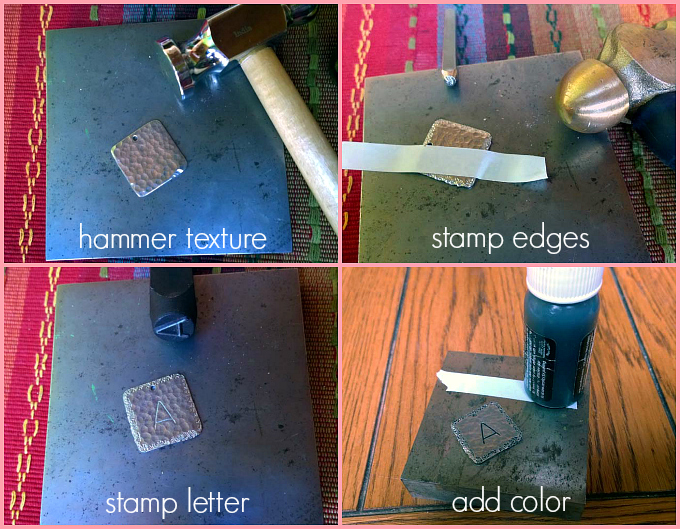
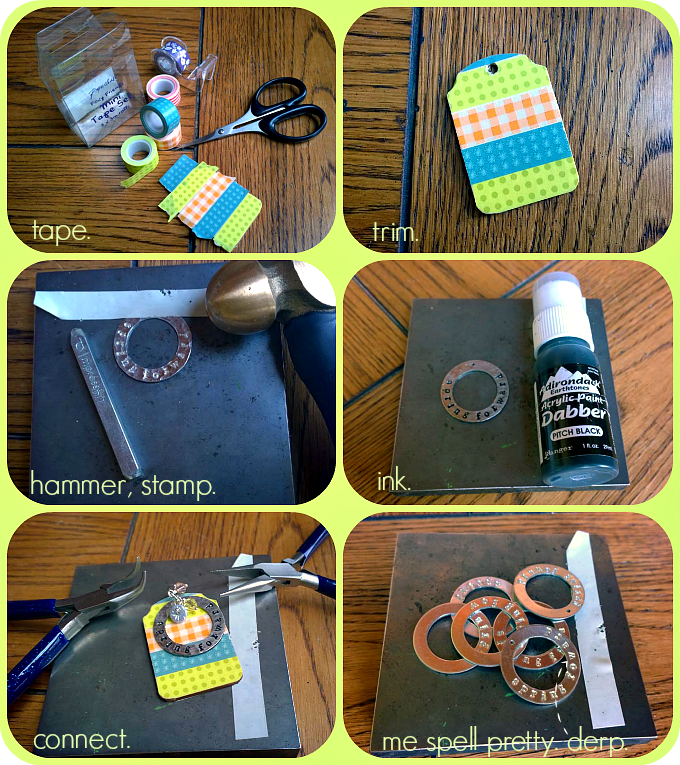
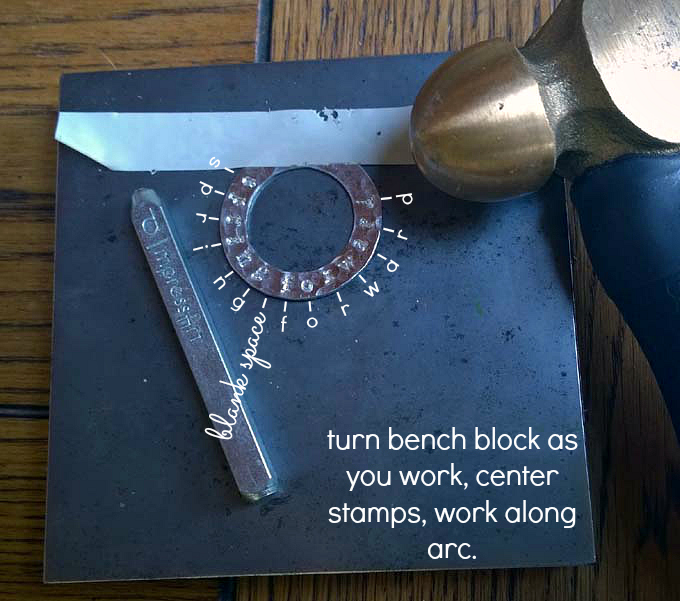
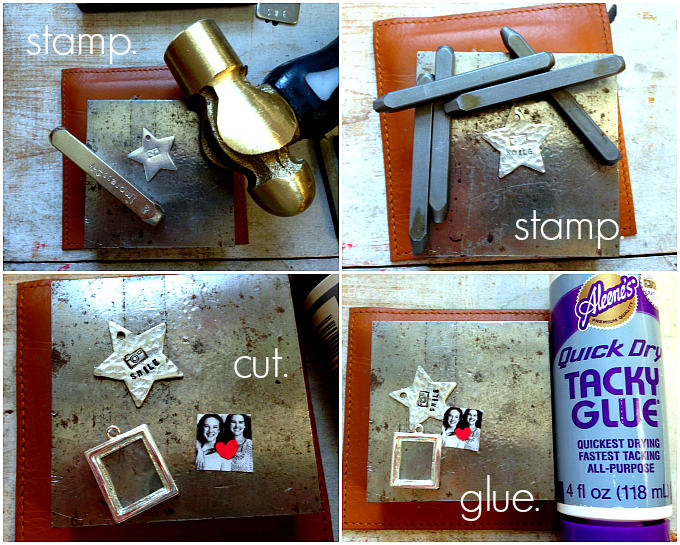
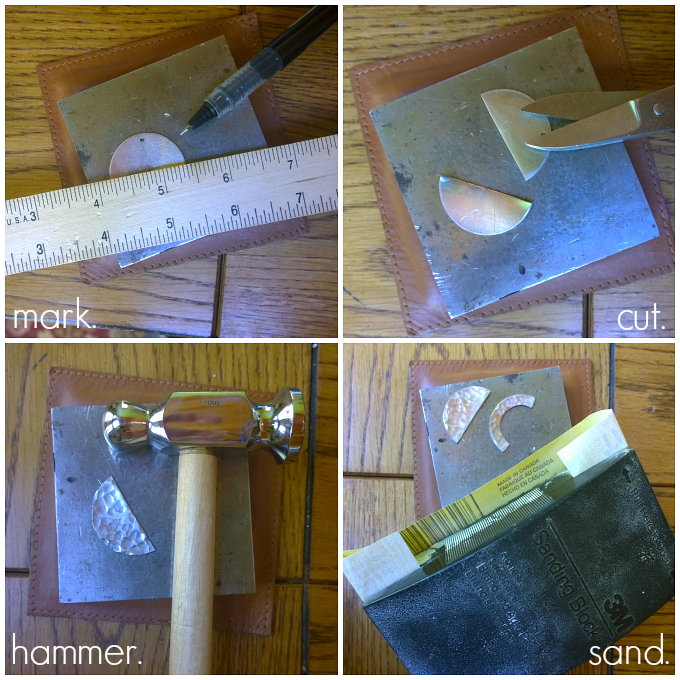
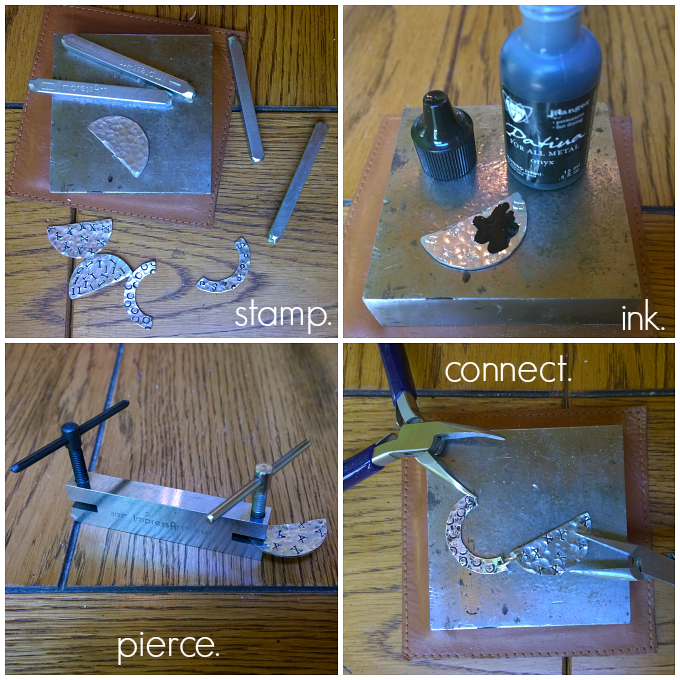
We’re adding texture to the blanks, so don’t be worried about making a consistent pattern. Hit stamps randomly across surfaces of your square, pebble, circle and washer. Overlap them. Change the alignment. Have fun and do not think about this too much!
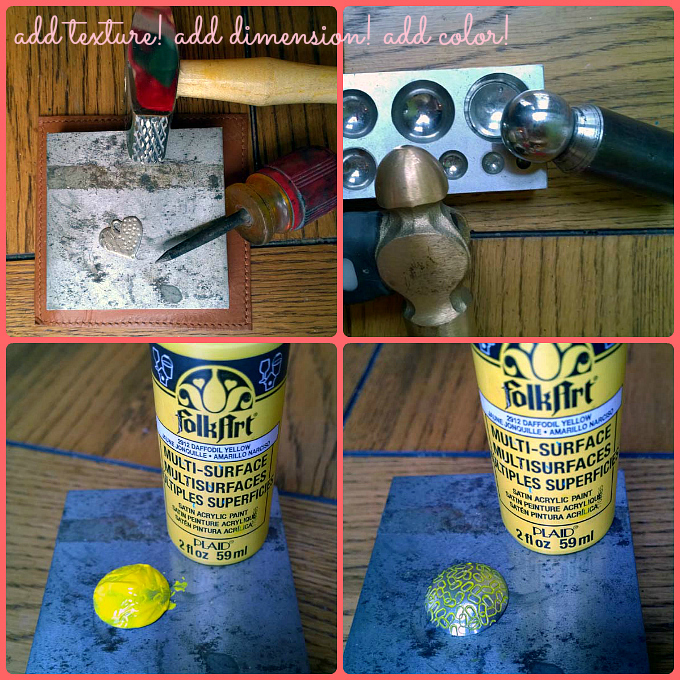
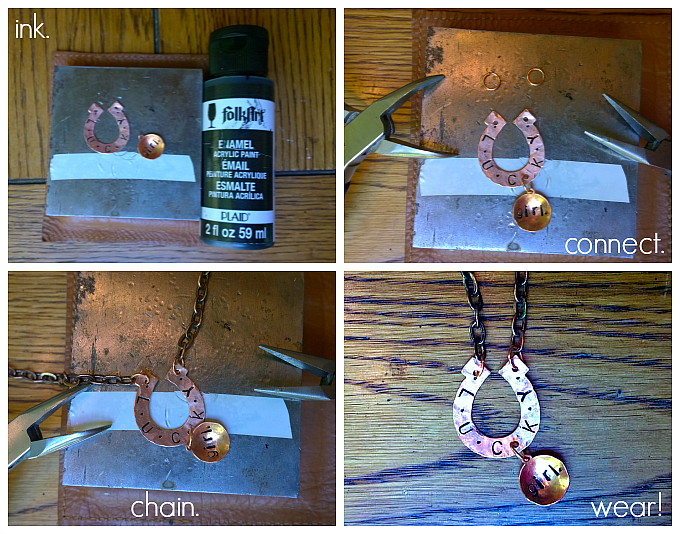
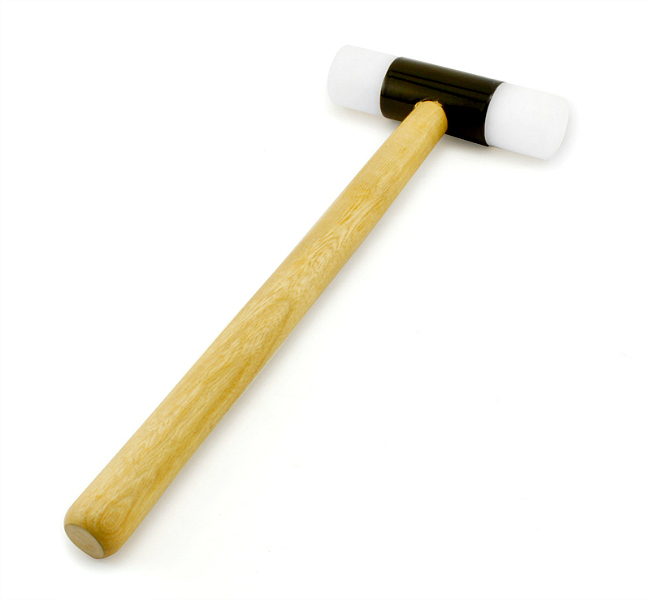
For the heart, hammer one edge with your texture hammer and use the awl to add dots to the other side. Again, don’t over think this, it’s intuitive and fun! Place your circle into a dapping block, strike the top of the dapping tool several times with your brass hammer. When the shape is curved fully, remove. Add a little color to your blanks by saturating them with paint and wiping the surface paint off with a clean, dry paper towel or cloth. Let them sit for a few seconds before you wipe so the paint can settle into the recessed areas. Let the paint cure, it is designed for use with metals and other slick surfaces so it is going to last.
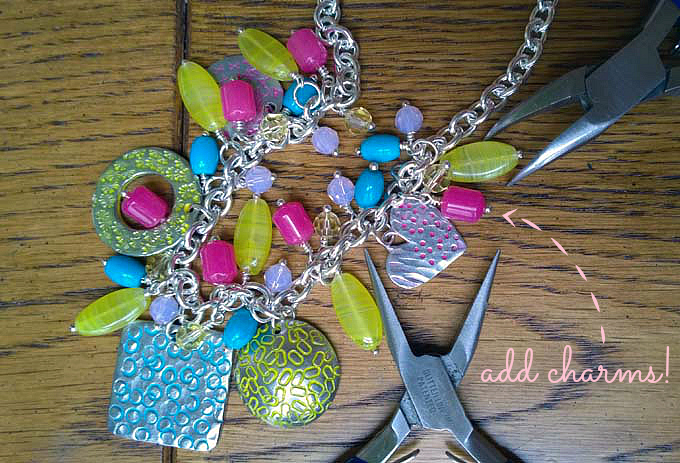
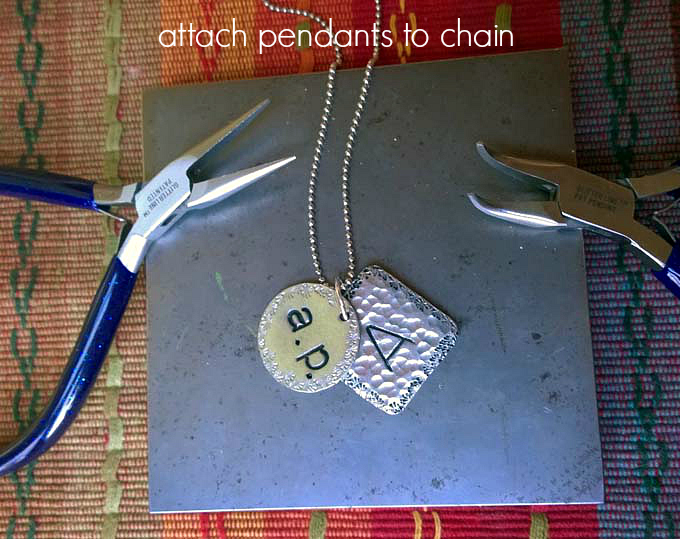
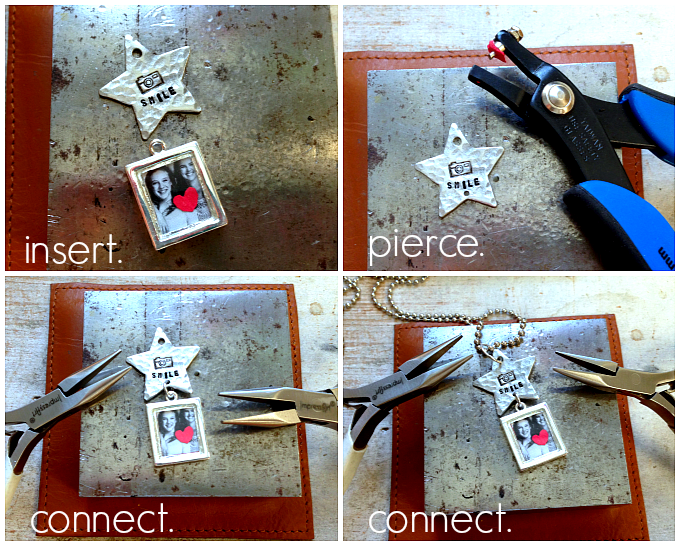
Make coiled dangles for all of your beads using the head pins. If you need a refresher, check out this video tutorial. Attach the charms to the necklace, starting with the largest square in the center and working your way up the sides. I added charms to the spaces between the stamped pieces. Use jump rings to attach and if you need to learn how to do this, here’s my video tutorial to show you how.
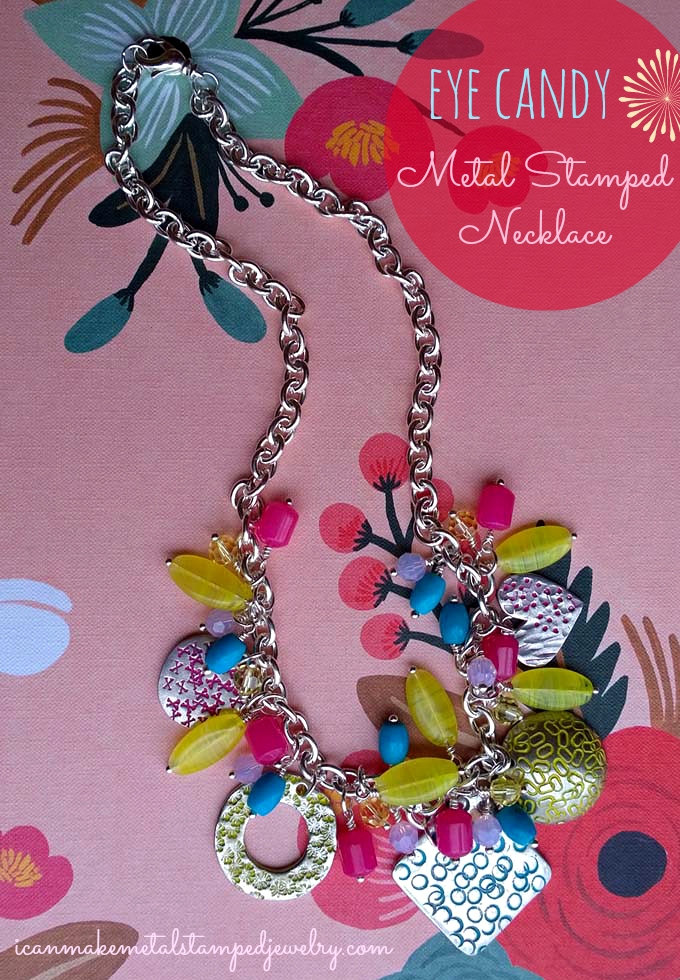
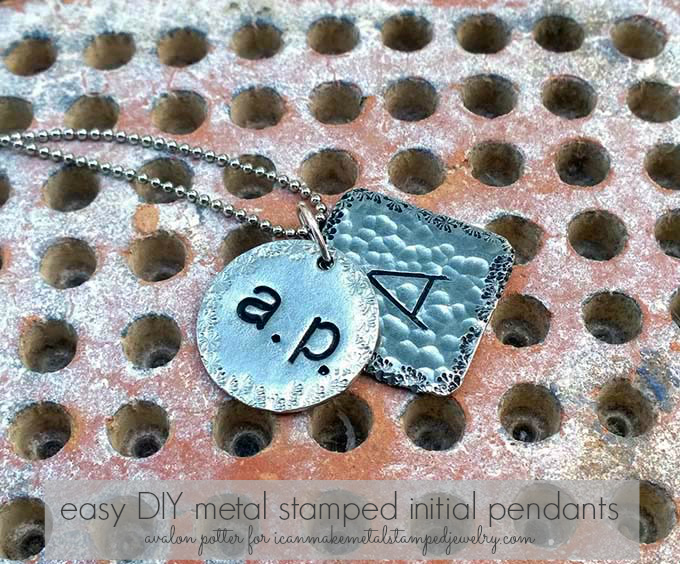
Try using different colors. Add more than one color paint to each blank. Use multiple stamps on each blank. Have fun making your own Eye Candy Metal Stamped Necklace and remember, it doesn’t have to be perfect!
Cheers,
Margot and Avalon
(*FTC DISCLOSURE: Post contains affiliate links, if you click on a link and make a purchase we get a small percentage of the sale. That’s how we keep the lights on, folks!)
*DIY Project Policy: Our tutorials are meant for your creative inspiration. Feel free to make and gift or wear these designs. Please make sure that you give credit to us as the designer if you make and share these designs on your blog or social sites. Please do not make and sell copies of our designs or sell them as kits. Please do not teach these designs as classes for profit. This is how we make our living and we ask that you respect our creativity and the time it takes to design, photograph and write these free tutorials. You may use a single photograph from each project online if you include a direct link back to our tutorial. Any use of these designs for retail sale for profit online in places like Etsy or eBay or in retail bricks and mortar, flea markets or outdoor fairs is not permitted. Thank you!