• Skip to main content
  • Skip to footer

I can make metal stamped jewelry

$100 Consumer Crafts Giveaway and Free e-Book!

August 7, 2023 by decey Leave a Comment

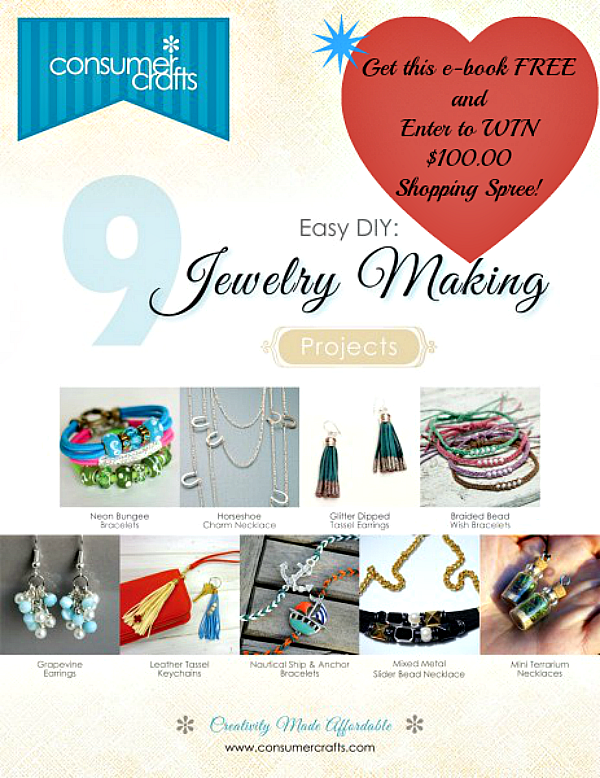
Jewelry-E-Book-Cover-June-2014-463x600

(FTC DISCLOSURE: SPONSORED POST)

Happy Friday the 13th! No, really. Be not afraid because you’ve got a chance to get lucky with Consumer Crafts in spite of the date. How’s that for awesome? We’re thinking, that’s mighty awesome indeed.

The fine folks from Consumer Crafts have just published a fabulous new FREE Jewelry e-book with 9 easy DIY jewelry projects for your craftertainment. These mixed media projects offer a diverse array of crafty techniques that are sure to inspire your creativity. It doesn’t get much better than free, especially with projects ranging from beginner to advanced levels dished up with full color step by step instructions and a shipping coupon to boot! That’s pretty much a win for everyone. PLUS they are offering one lucky US or Canadian crafter to a chance to win a $100.00 Consumer Crafts shopping spree! But wait, there’s more! Jewelry Making supplies are 10% off all June for Jewelry Month! Aw, yiss.
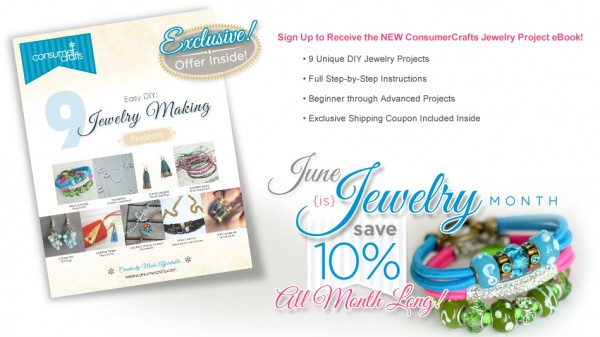
CC-Jewelry-eBook-All-600x337

Here’s the story, morning glories. Make sure you visit Consumer Crafts to grab your copy of the Jewelry e-book and check out their extensive array of jewelry making supplies. Before you scoot, US and Canadian readers can enter to win the gift certificate in our Rafflecopter giveaway below between now and 7-14-2014. You can get the full details in the giveaway widget.

a Rafflecopter giveaway

You can visit Consumer Crafts’ social sites here (and tell ’em Madge sent ya):

Facebook – Twitter – Pinterest – Instagram – Blog

Good luck!

Cheers,
Margot and Avalon

(FTC DISCLOSURE: Blogger was provided prizes and compensation for this post. All opinions are 100% our own.)
Filed Under: Diy Tagged With: consumer crafts, consumer crafts giveaway, craft giveaway, DIY jewelry, DIY jewelry making, free e-book, jewelry making e-book

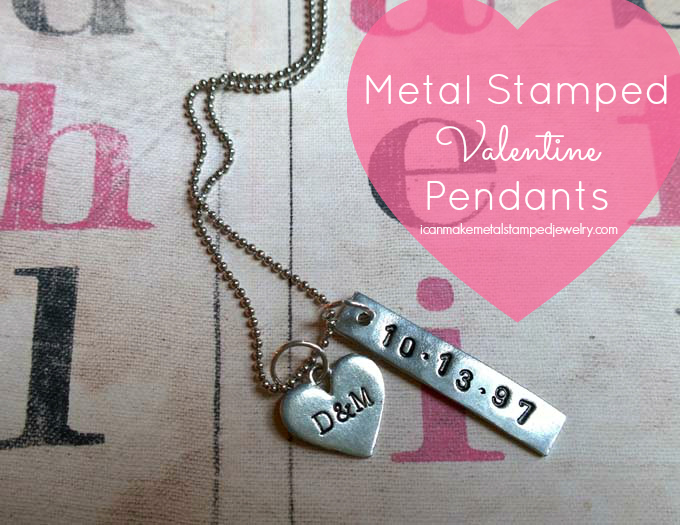
Metal Stamped Valentine Pendants

July 11, 2023 by decey Leave a Comment

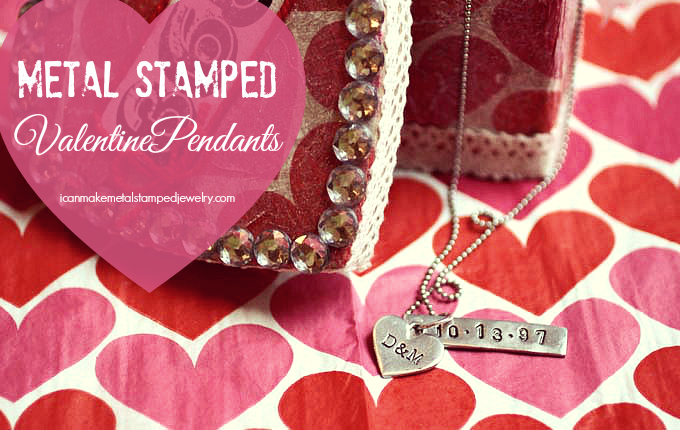
Metal Stamped Valentine Pendants

(Disclosure: Affiliate links in post, if you follow the link and make a purchase we get a small percentage of the sale.)

Love is in the air and Valentine’s day is almost here!  Make some Metal Stamped Valentine Pendants to show your special someone you cherish them forever!  We’re going to show you how.

Once you’re married, it can be tough coming up with something original for Valentine’s Day.  Flowers, candy…been there, done that.  Why not stamp up a personalized set of pendants for your sweetheart with both of your initials and wedding date?  Isn’t it romantic?  She can wear the heart, he can wear the date, they can wear them together or apart.  This makes a lovely DIY wedding gift too.  It’s so easy to stamp into these new SoftStrike pewter blanks from ImpressArt, anyone can do this.

You will need:
ImpressArt- Basic Newsprint Uppercase Letter Metal Stamp Set
ImpressArt- Basic Newsprint Numbers Metal Stamp Set
Wood Handle Scratch Awl
Ergo-Angle Metal Stamping Hammer
ImpressArt 2 by 2-Inch Steel Block
ImpressArt Stamp Straight Tape
ImpressArt Stamping Blank Rectangle, 1.5-Inch by .3125-Inch, 2-Pack
ImpressArt, 0.75-Inch by 0.75-Inch, Pewter Hearts
Beadalon Jump Ring 6mm
Ball Chain Necklace With Clasp
Folk Art Enamel Acrylic Paint, Licorice
Cloth or paper towel

Metal Stamped Valentine Pendants Steps

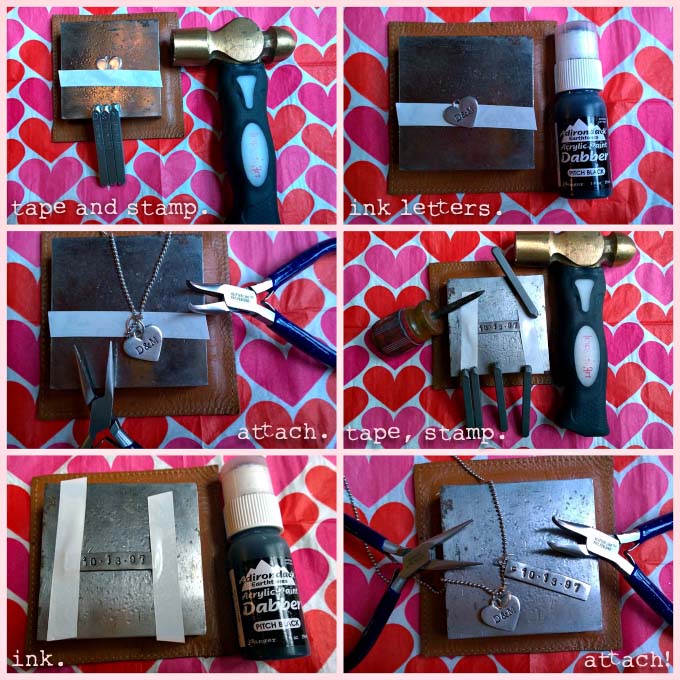
Step one: Tape your heart blank down to the bench block, align tape just below the center of the heart.  Stamp ‘&’ symbol in center and the first initials of the happy couple on either side.  Step two:  Wipe paint across letters, wipe off excess with paper towel.  Step three: Use bent and chain nose pliers to attach pendant to jump ring and chain.  Step four: Tape the rectangle pendant to the bench block.  You can stamp left to right or top to bottom.  Stamp date.  Use an awl or a period stamp in between the numbers of the date.  Make sure you don’t hit the awl too hard, pewter is softer than base metal.  Step five: Swipe paint across surface of stamp.  Wipe off excess.  Step six: Attach pendant to jump ring and ball chain.

Metal Stamped Valentine Pendants Two

Now you can make Metal Stamped Valentine Pendants they’re sure to love!  New to metal stamping?  Here are some tips for metal stamping success.  Want more metal stamping?  Subscribe via email in the sidebar and never miss a post!

Cheers,
Margot & Avalon

*DIY Project Policy: Our tutorials are meant for your creative inspiration. Feel free to make and gift or wear these designs. Please make sure that you give credit to us as the designer if you make and share these designs on your blog or social sites. Please do not make and sell copies of our designs or sell them as kits. Please do not teach these designs as classes for profit. This is how we make our living and we ask that you respect our creativity and the time it takes to design, photograph and write these free tutorials. You may use a single photograph from each project online in blog round-ups or blog posts if you include a direct link back to our tutorial. Any use of these designs for retail sale for profit online in places like Etsy or eBay or in retail bricks and mortar, flea markets or outdoor fairs is not permitted. Thank you!

Follow us on Bloglovin’:

Follow on Bloglovin

Warby Parker

Filed Under: Diy Tagged With: DIY couples jewelry, DIY jewelry, DIY metal stamped jewelry, DIY valentine jewelry, metal stamped valentine jewelry, metal stamped wedding jewelry, romantic jewelry

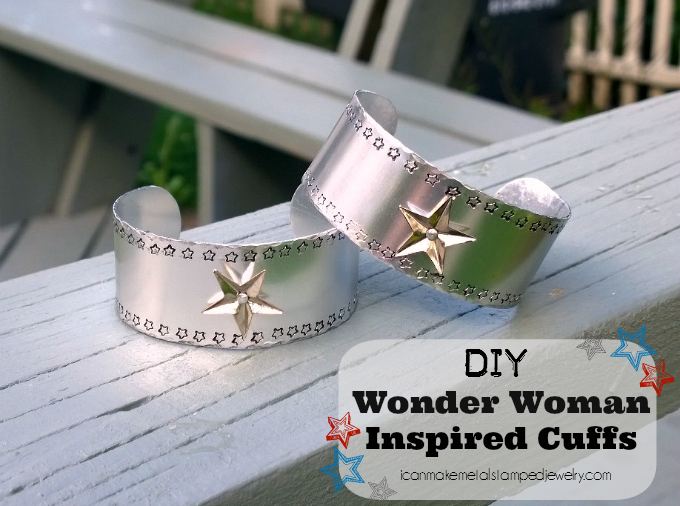
DIY Wonder Woman Cuffs

April 18, 2023 by decey Leave a Comment

Wonder Woman Cuffs copy

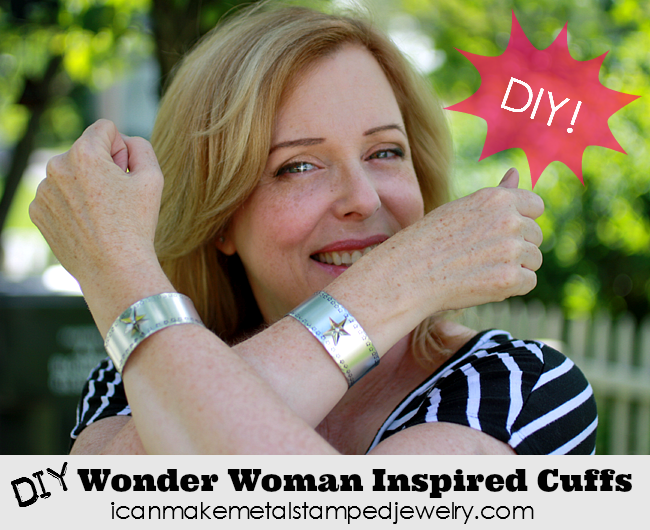
I may  not be Wonder Woman, but there are days when I feel like I could surely use some super powers. How about you? If you’re standing strong in the face of adversity or just navigating the challenges of day to day life, a little bit of super hero inspiration may be just the thing you need to stay the course. In this case, I was inspired to whip up some Wonder Woman cuffs I can use to deflect whatever life tosses my way. Now if I can whip up a golden lasso of truth, saucy bustier and an invisible plane, we’ll really be talking!

Here’s what you need to make some Wonder Woman Cuffs of your own! Kapow!

Materials

2 1.5″x6″ aluminum cuff bracelet blanks
2 dimensional metal star charms
2 silver tone 1/8 Inch Hollow Rivets 1/16 Inch Diameter
ImpressArt- 3mm Fun Star Design Stamp
ImpressArt 1lb. brass stamping hammer
ImpressArt metal stamping block
Folk Art enamel acrylic paint licorice
Beadsmith EZ-Rivet 1/16″ Piercing and Setting Tool
Bracelet bender
Ruler
Beadalon flush cutter
Cotton swab
Paper towel or soft cloth

Amazon.com Widgets

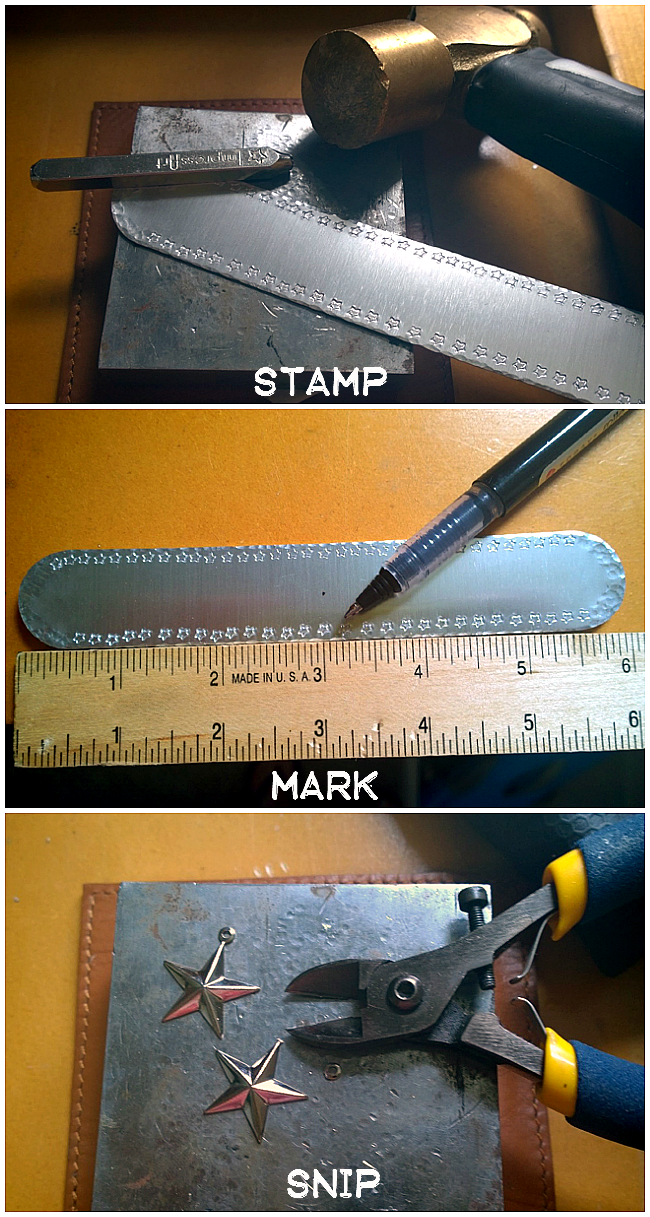
Steps 1-3

Step one: Use the star stamp to stamp stars around the edges of the bracelet blank. Use the round end of your brass hammer to add texture to the edges as shown. Step two: Use a ruler to mark the center point of your blank. Step three: Snip the tops off of the star charms with flush cutters. (You can sand these edges with a heavy grit sand paper or jeweler’s file if you like.)

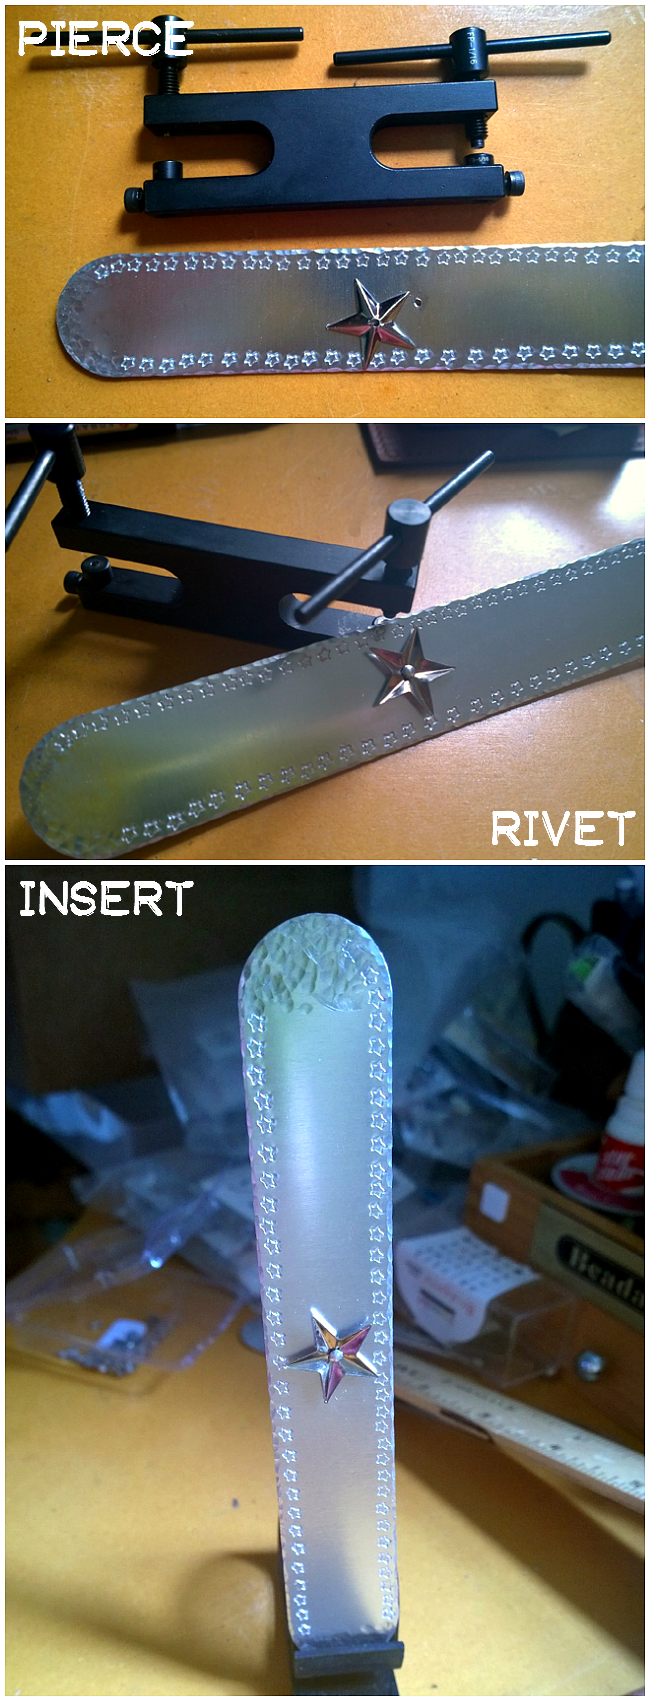
Steps 4-6

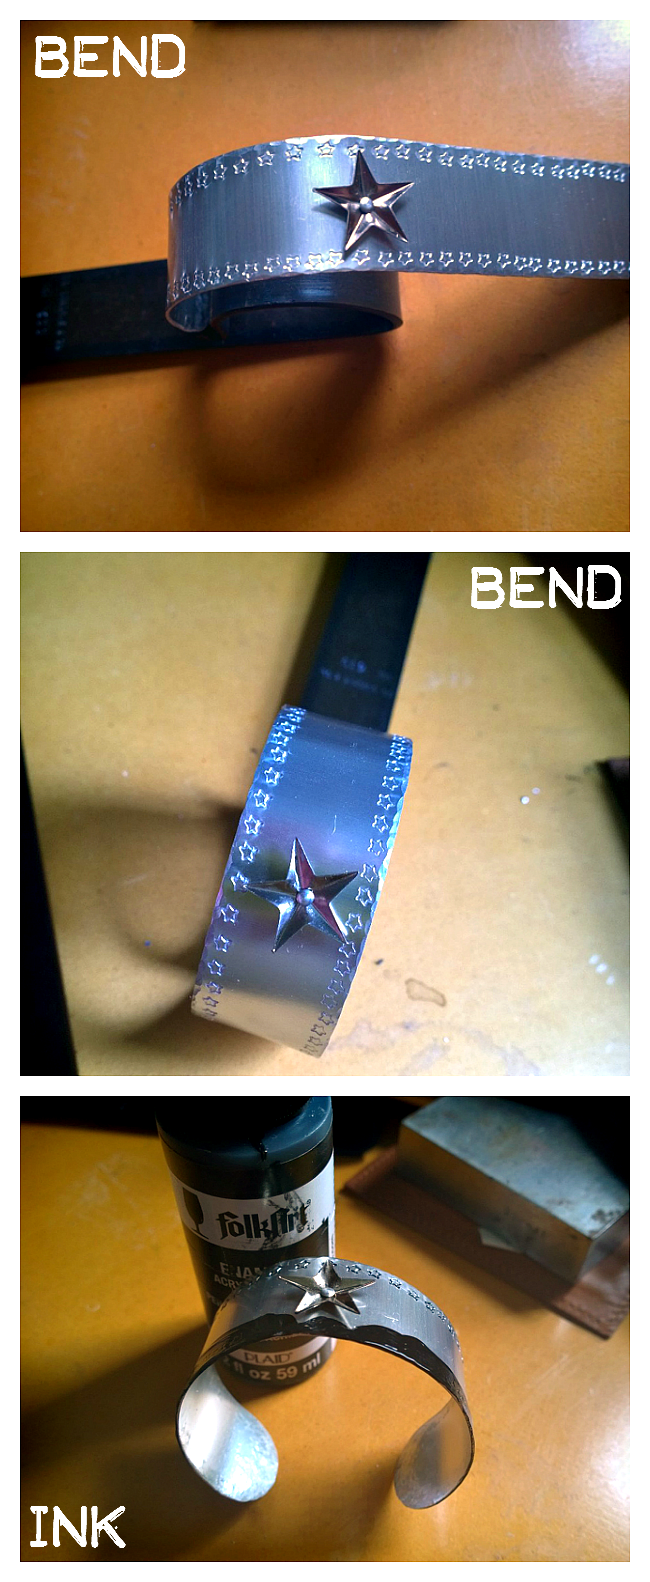
Step four: Use the piercing side of the riveting tool to make a hole in the marked center of your bracelet blanks and your star charms.  Step five: Place rivet into the holes on the star and the blank, the rounded side faces up, the star should be facing with the raised areas towards the bracelet. Use the riveting side of the riveting tool to screw the rivet down securing the star and blank together. Step six: Insert one side of your bracelet into the bracelet bending pliers as shown.

Steps 7-9

Step seven: Bend the bracelet over the arch of the bracelet bending pliers as shown, this will bend one half of your bracelet. Step eight: Flip the bracelet over and repeat. Now you have a bracelet! Step nine: Dab the enamel paint into the stamped stars with a cotton swab or your finger tips. Let this sit for about 30 seconds, then wipe the ink from the surface, leaving some in the stars to help define them.

That’s it! You’re a crafty super hero! Aw, yiss.

Wonder Woman Cuffs DIY

These Wonder Woman Cuffs make me feel like I can take on the world. How about you, wonder woman?

Cheers,
Margot and Avalon

*DIY Project Policy: Our tutorials are meant for your creative inspiration. Feel free to make and gift or wear these designs. Please make sure that you give credit to us as the designer if you make and share these designs on your blog or social sites. Please do not make and sell copies of our designs or sell them as kits. Please do not teach these designs as classes for profit. This is how we make our living and we ask that you respect our creativity and the time it takes to design, photograph and write these free tutorials. You may use a single photograph from each project online in blog round-ups or blog posts ONLY if you include a direct link back to our tutorial. Any use of these designs for retail sale for profit online in places like Etsy or eBay or in retail bricks and mortar, flea markets or outdoor fairs is not permitted. Thank you!

(FTC DISCLOSURE: *This post contains affiliate links, if you click on a link and make a purchase we get a small percentage of the sale. The blogger is employed by ImpressArt, but this is her personal blog. All opinions are 100% her own!)

Filed Under: Diy Tagged With: crafty super hero, DIY jewelry, DIY riveted cuff bracelet, DIY super hero, DIY wonder woman cuffs, easy jewelry making projects, easy metal stamped jewelry projects, easy riveting, how to make metal stamped jewelry, make a metal stamped cuff, metal stamped jewelry, wonder woman, wonder woman cuffs

11 DIY Metal Stamped Necklaces

April 4, 2023 by decey Leave a Comment

11 DIY Metal Stamped Necklaces 2

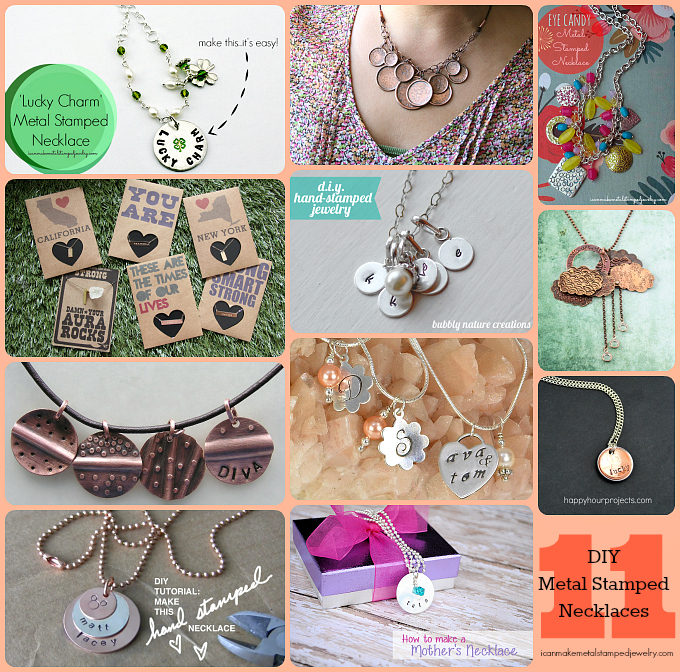
Stamp it, bead it, wrap it, wear it! Whatever your style there’s a little something for everyone in this week’s round-up of 11 stunning DIY Metal Stamped Necklaces.  We love them all!  How about you?  Get the tutorials for these in the links below.  Make sure you show all of these talented bloggers a little love.

Lucky Charm Close Up Text copy

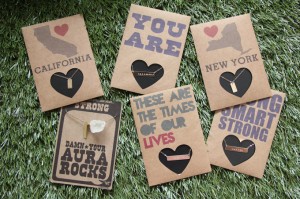
Stamp and bead a little lucky charm. Make this, it’s easy!

IMG_1031

Stamped jewelry gets some clever DIY packaging with I Spy DIY!

KONICA MINOLTA DIGITAL CAMERA

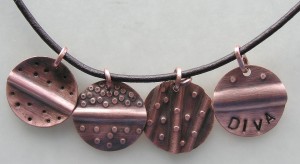
Stamp, texture and form a simply charming necklace with Studio Dax!

Tutorial-Banner

Make a Disney inspired commemorative necklace with Magical Day Weddings.

des240model_2013

Get ready for summer with this layered Gypsy necklace from Beaducation.

necklace

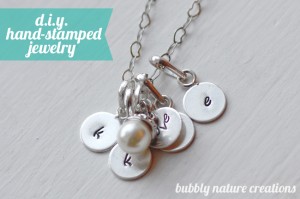
Stamp up a lovely layered necklace with Bubbly Nature Creations.

avas-day-bridal-set

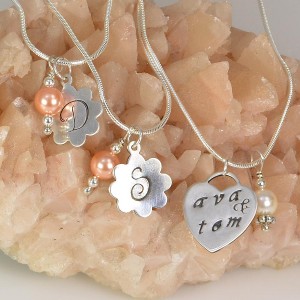
Make gorgeous bridesmaid necklaces with Rings ‘n Things.

Howtohandstampjewelrynecklace

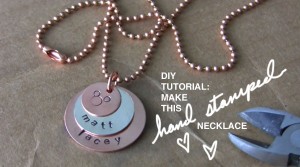
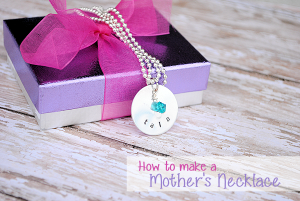
Show mom some love with this stamped and beaded Mother’s Necklace from Crazy Little Projects.

Eye-Candy-Necklace-Final

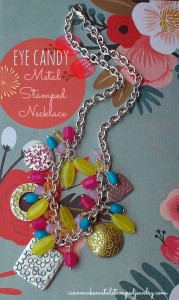
Make and wear a fabulous stamped and beaded eye candy necklace!

des290_2013

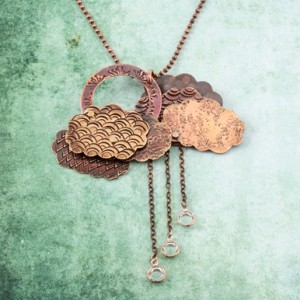
Stamp and rivet a rainy day homage with Beaducation!

Lucky-Penny-2.1

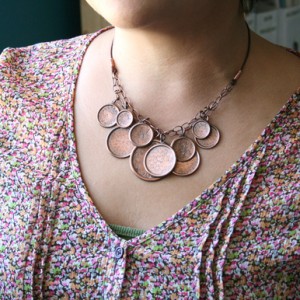
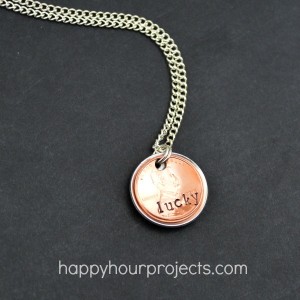
Turn that lucky penny into a pretty dapped and stamped necklace with Happy Hour Projects!

There you have it, folks, 11 FABULOUS DIY Metal Stamped Necklaces.  Enjoy!

Cheers,
Margot and Avalon

Filed Under: Diy Tagged With: DIY hand stamped jewelry, DIY jewelry, DIY metal stamped jewelry, DIY Metal Stamped Necklaces, easy metal stamping projects, get started metal stamping, how to make metal stamped jewelry, metal stamping 101

DIY Atlas Pendants

February 10, 2023 by decey Leave a Comment

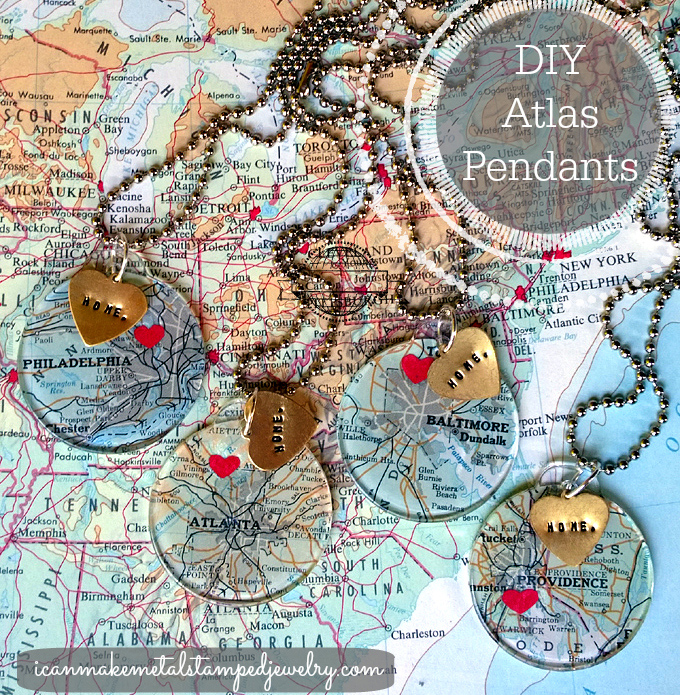
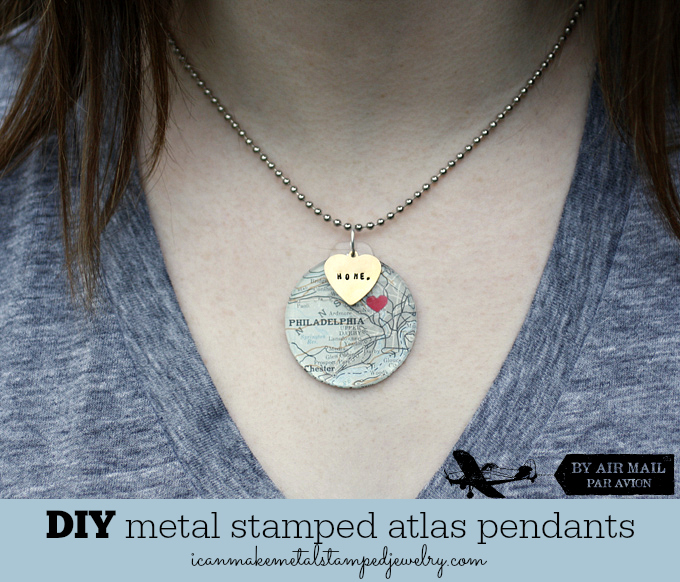
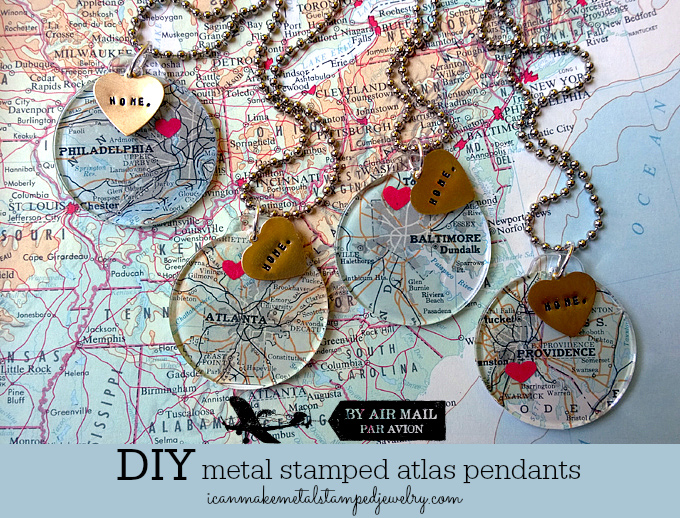
DIY Atlas Pendants

No matter where you roam, home is where your heart is. Show your love for the place you call home with these DIY Atlas Pendants. We used vintage atlas pages, you can find these at thrift stores, flea markets or yard sales. Or you could print out an image of the place you call home on a map to size. Add a stamped metal charm, tiny paper heart and some decoupage medium and you can wear your heart around your neck any time you feel a little homesick.  (Want to get started metal stamping? We’re GIVING AWAY a kit with everything you need to get started this week!)

Materials:

1.5″ acrylic circle pendant
1/5″ punched atlas page circle
Red card stock
Collage Pauge Instant Decoupage Glossy
Folk Art Enamel Acrylic Paint, Licorice
Brass Heart Stamping Blank
Beacon Zip Dry Paper Glue
Large Circle Punch
10mm Silver Tone Jump Ring
Ball Chain with Connector
1/16″ Metal Stamp Uppercase Letters
Awl
ImpressArt Brass Stamping Hammer
ImpressArt Steel Stamping Block
Impress Art Stamp Straight Tape
Toothpick
Cotton swab
Paper towel

Amazon.com Widgets

Amazon.com Widgets

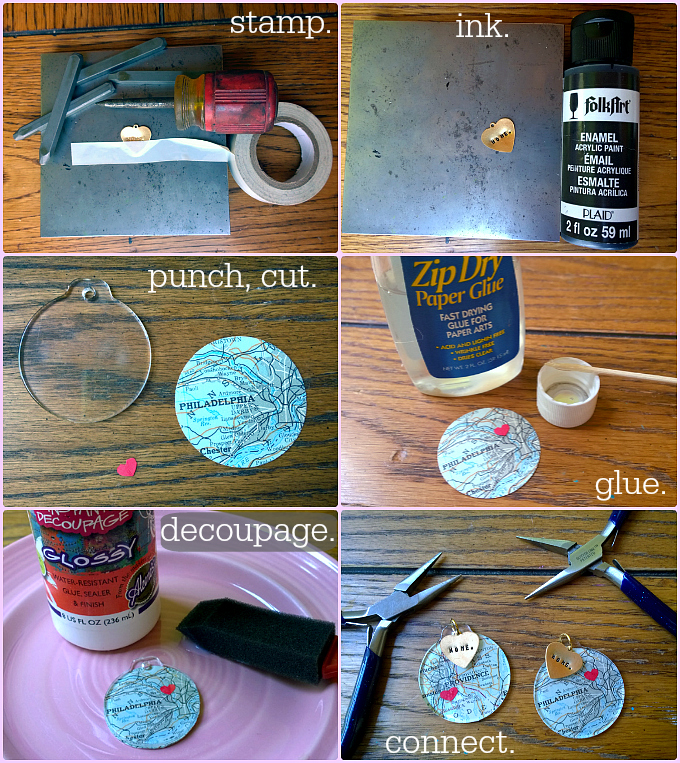
Atlas Steps

Step one: Tape your blank to your bench block. Slide stamps down to top of tape, start in center and stamp to edges. The letter ‘m’ should be in the center because you’re adding a period. Use an awl or punctuation stamp to add the period. Step two: Dab paint into letters. Let paint set for 30-40 seconds. Wipe off excess on surface. Step three: Punch or cut the atlas circle to fit pendant. Fold red card stock and use small scissors to hand cut tiny heart. Step four: Use a toothpick to apply a small dab of paper glue to back of heart. Press heart on to the area of atlas you want to highlight. Allow to dry. Step five: Add a thin layer of decoupage medium to back of pendant and front of atlas paper. Press together, gently pressing out any bubbles with fingertips. Allow to dry, paint a second coat of decoupage medium. Allow this to dry overnight. Step six: Use chain nose pliers to connect stamped pendant to acrylic pendant. Attach to your ball chain.

Atlas Model Closer Text

These are simple to make and fun to wear. They make fabulous gifts for students heading off to college! Make a map full of DIY Atlas Pendants for family and friends. We’d love to know where you hang your heart, tell us in the comments.

Atlas Pendants Take Two

Cheers,
Margot and Avalon

*DIY Project Policy: Our tutorials are meant for your creative inspiration. Feel free to make and gift or wear these designs. Please make sure that you give credit to us as the designer if you make and share these designs on your blog or social sites. Please do not make and sell copies of our designs or sell them as kits. Please do not teach these designs as classes for profit. This is how we make our living and we ask that you respect our creativity and the time it takes to design, photograph and write these free tutorials. You may use a single photograph from each project online in blog round-ups or blog posts ONLY if you include a direct link back to our tutorial. Any use of these designs for retail sale for profit online in places like Etsy or eBay or in retail bricks and mortar, flea markets or outdoor fairs is not permitted. Thank you!

(FTC DISCLOSURE: *This post contains affiliate links, if you click on a link and make a purchase we get a small percentage of the sale. The blogger is employed by ImpressArt, but this is her personal blog. All opinions are 100% her own!)

Filed Under: Diy Tagged With: atlas pendants, DIY atlas pendants, DIY hand stamped jewelry, DIY jewelry, DIY metal stamped jewelry, easy metal stamping projects, metal stamped jewelry, metal stamping basics

  • « Go to Previous Page
  • Page 1
  • Interim pages omitted …
  • Page 6
  • Page 7
  • Page 8
  • Page 9
  • Page 10
  • Interim pages omitted …
  • Page 15
  • Go to Next Page »

Pages

  • About Us
  • Contact Us
  • Privacy Policy

Copyright © 2026 · Aspire Theme on Genesis Framework · WordPress · Log in