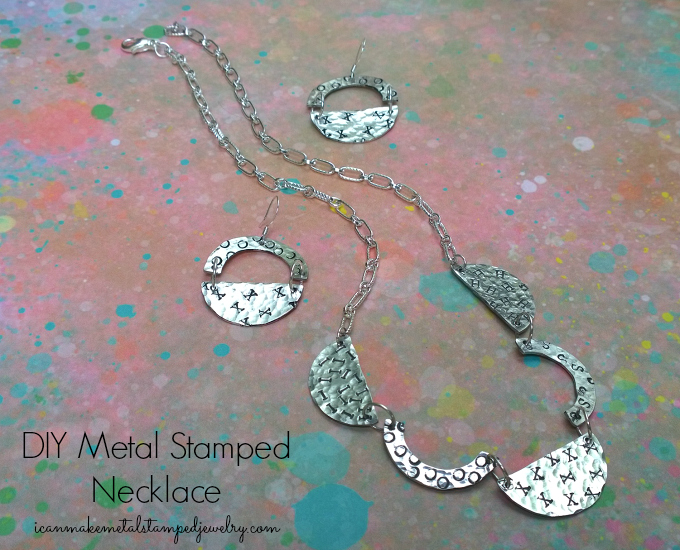
Learning to use a jeweler’s saw requires a little learning curve and a lot patience. We love this shortcut approach to making custom shapes out of existing blanks with metal shears! BIG shout out to Lisa Niven Kelly of Beaducation for her scalloped necklace tutorial that inspired this design! She’s got a sight full of fabulous metal stamping ideas and products, so check it out. In this case, we’ve quickly turned circles and washers into pretty scallops. This is also a great way to save blanks with mistakes on them by cutting away the problem area and salvaging the rest. Adding some texture and pattern with a hammer and some font stamps makes quick work of creating this boutique chic metal stamped necklace. Your family and friends will be amazed when you tell them that you did it yourself! Go you!
*Materials
3 Impress Art Alkeme Stamping Blanks, Circle, 1-1/4″
2 Alkeme Stamping Blank, Washers, 1 1/4
10 10-MM Jump Rings, Silver Plated
Beadalon Lobster Clasp
Beadalon Chain Elongated Silver Plated
2 Beadalon Dapped and Spring Ear Wire Silver Plate
Ranger Vintaj Patina Retro Highway Kit
ImpressArt Basic Newsprint Uppercase Letter Metal Stamp Set
ImpressArt 2-Hole Punch Kit
Ergo-Angle Metal Stamping Hammer
ImpressArt Chasing Hammer
ImpressArt 2 by 2-Inch Steel Block
ImpressArt Stamp Straight Tape
Metal Cutting Shears
Sandpaper, Coarse and Sanding Block
ImpressArt Chain Nose Pliers
Pen
Paper Towel
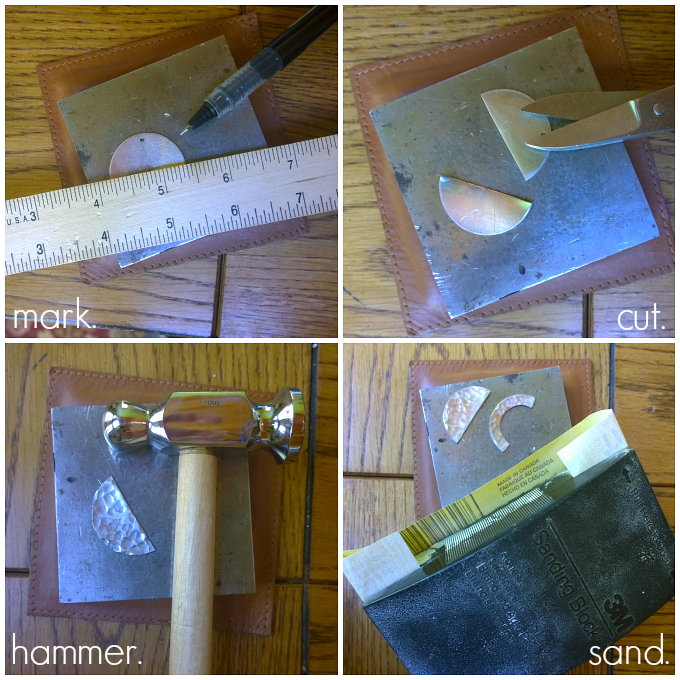
Step one: Use a ruler and marker to mark center point of blank. Step two: Cut blanks in half with shears. Step three: Use the round end of the chasing hammer to add texture. Step four: Use a heavy grit sandpaper to sand the sharp edges of the blanks. Alkeme is soft and easy to sand, if you use base metal you may want to use a jeweler’s metal file instead.
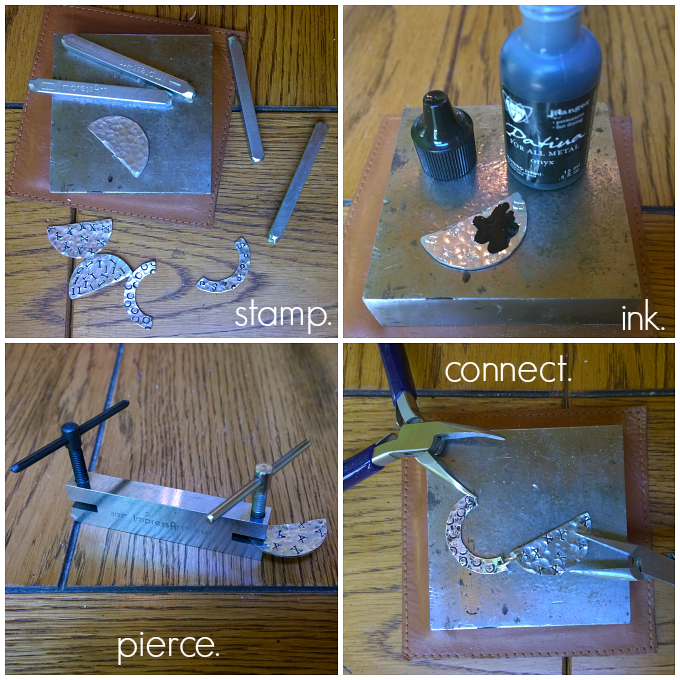
Step five: Stamp random patterns on surface of blanks using letters. I used a different letter on each blank, you can also opt to just use all sorts of letters on every blank. Step six: Squeeze patina on blank, wipe clean with a paper towel leaving ink in stamped areas. Step seven: Use 2-hole punch to add holes on top left and right of each blank. Earring blank open scallops also need a hole in the top of the center for earring wires. Step eight: Use pliers to connect blanks, attach chain and clasp to end of chain. For earrings, attach full scallop on bottom and open scallop on top as in photo and slide earring wires into holes you punched on top of the open scallops.
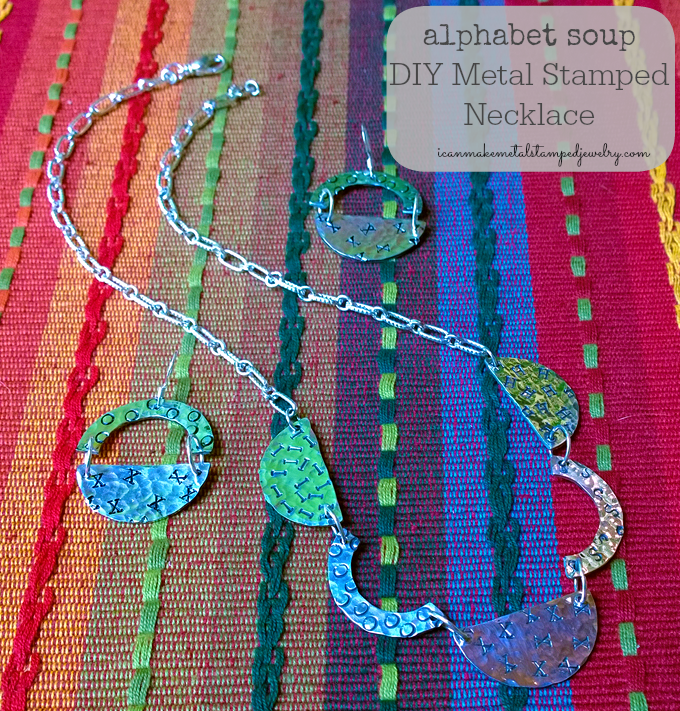
You can take this idea and make it your own with a few small changes. Try making a full collar of open or closed scallops. Use smaller blanks or a variety of sizes and shapes to change the scale. Try cutting square, rectangular or oval shapes in half. We hope you love this metal stamped necklace as much as we do, happy stamping!
Cheers,
Margot and Avalon
(* Post contains affiliate links, if you click on a link and make a purchase we get a small percentage of the sale. That’s how we keep the lights on, folks!)

*DIY Project Policy: Our tutorials are meant for your creative inspiration. Feel free to make and gift or wear these designs. Please make sure that you give credit to us as the designer if you make and share these designs on your blog or social sites. Please do not make and sell copies of our designs or sell them as kits. Please do not teach these designs as classes for profit. This is how we make our living and we ask that you respect our creativity and the time it takes to design, photograph and write these free tutorials. You may use a single photograph from each project online in blog round-ups or blog posts ONLY if you include a direct link back to our tutorial. Any use of these designs for retail sale for profit online in places like Etsy or eBay or in retail bricks and mortar, flea markets or outdoor fairs is not permitted. Thank you!
Leave a Reply