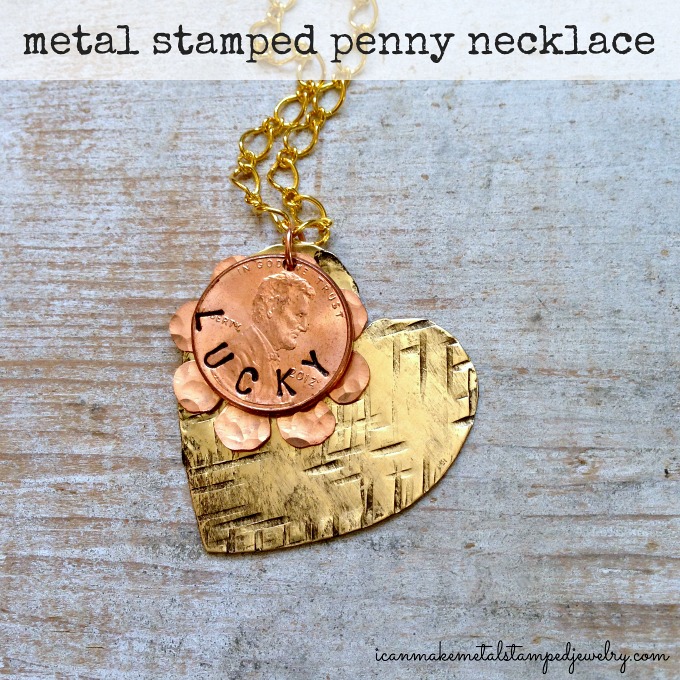
Stamping on a curved surface is a great way to practice and master metal stamping. Stamping straight lines is challenging for beginners, but by marking and stamping around a curve, you can begin to get a feel for what it takes to make deep, crisp, even impressions. Here’s a simple, layered Metal Stamped Penny Necklace that features stamping letters on a curve and adding textures to metal blanks. Turn your lucky penny into a pretty keepsake, or make one for a friend featuring their birth year or a special date!
You will need (Disclosure: Links below are affiliate links, if you click on a link and make a purchase, we get a small percentage of the sale. That’s how we keep the lights on, folks.)
Penny
ImpressArt, 8 Petal Flower, Copper, 15/16″ Stamping Blank
ImpressArt, Heart, Brass, 1 1/2″ Stamping Blanks- 24 pc.
Beadalon Chain Figaro Medium Gold Plated
Beadalon Jump Ring 6mm Nickel Free Gold Plated
Folk Art 4032 Enamel 2-Ounce Acrylic Paint, Licorice
ImpressArt Basic Metal Stamp Set, Uppercase, San Serif, 3mm
ImpressArt 2 by 2-Inch Steel Block, Small
Metal Hole Punch Pliers for Sheet Metal, 1.5mm
ImpressArt Face Chasing Hammer
ImpressArt Brass Stamping Hammer
ImpressArt Texture Hammer, Cross Hatch/Rectangular Stars
2 Pairs Chain Nose Pliers W/White Sparkle Handles-
Non-permanent marker
Cotton swab
Soft cloth or paper towel
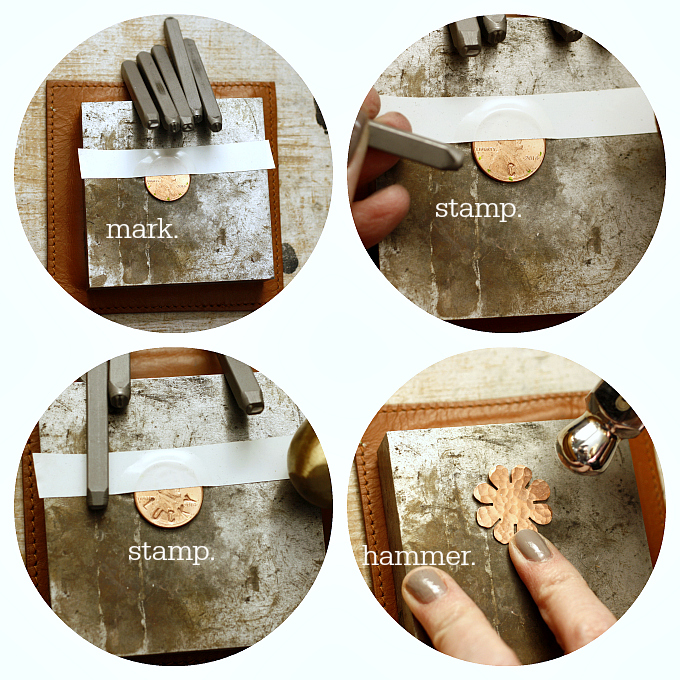
Step one: Use a non-permanent marker to mark even placement of letters. Step two: Stamp the center letter. Step three: the bench block so the area you plan to stamp is facing you and stamp above your marks as shown to spell the word LUCKY. Be sure to hold the stamp straight, it needs to be in full contact with the blank to make an even impression. If you hold it straight and hit it firmly dead center, you should get a good impression. If you flinch while stamping, don’t lift your hand or move the stamp and you can hit it again. Step four: Use the round end of a chasing hammer to add texture to the flower blank as shown.
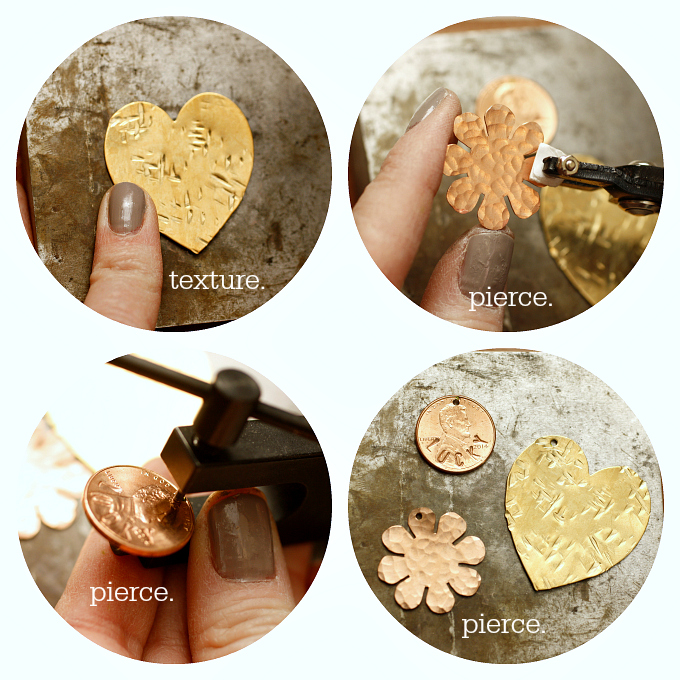
Step five: Strike surface of heart blank with texture hammer making a criss-cross pattern. Step six: Mark and pierce one of the petals of your flower blank. Step seven: Mark and pierce top center of penny. Step eight: Mark and pierce top left corner of heart as shown.
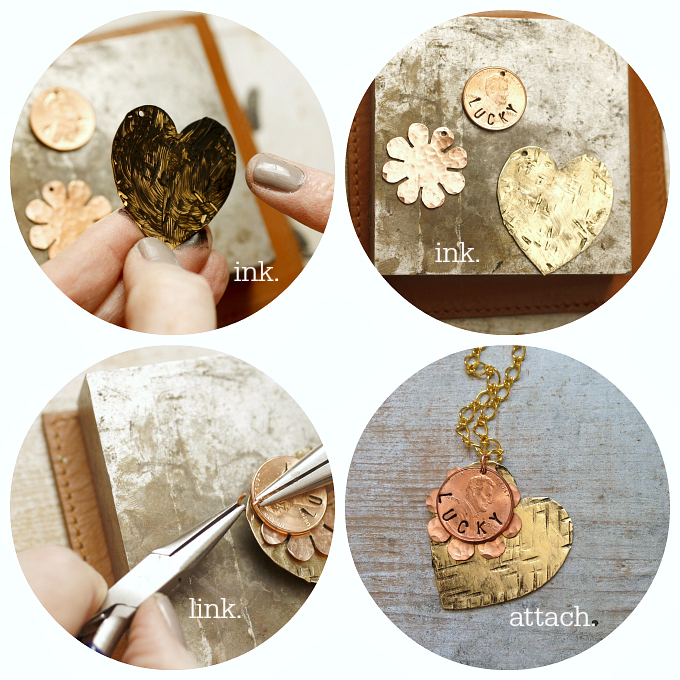
Step nine: Use a cotton swab or your finger tip and apply an even coat of acrylic enamel paint to surface of heart, dig the paint into the stamped areas. Wipe clean with a soft cloth. Step ten: Repeat the process with your stamped penny. Step eleven: Slide a jump ring through all three blanks, the penny is on top, then the flower, then the heart. Step twelve: Attach the jump ring to the chain, secure closed with tension using two pairs of chain nose pliers.
That’s it! If you don’t want to have the layers, just stamp the penny and attach it to a chain, key chain, earring wire, bracelet, or stamp a penny and give it as a keepsake without the pierced hole. Make an Easy Metal Stamped Penny Necklace of your own in just a few simple steps and in the process, master the basics of metal stamping.
Cheers,
Margot and Avalon
Leave a Reply