• Skip to main content
  • Skip to footer

I can make metal stamped jewelry

12 Simple DIY Metal Stamped Charms

July 23, 2025 by decey Leave a Comment

12 Simple DIY Metal Stamped Charms

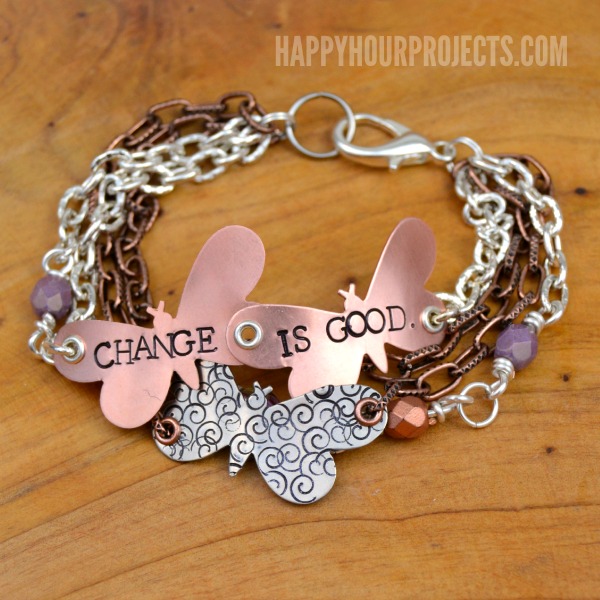
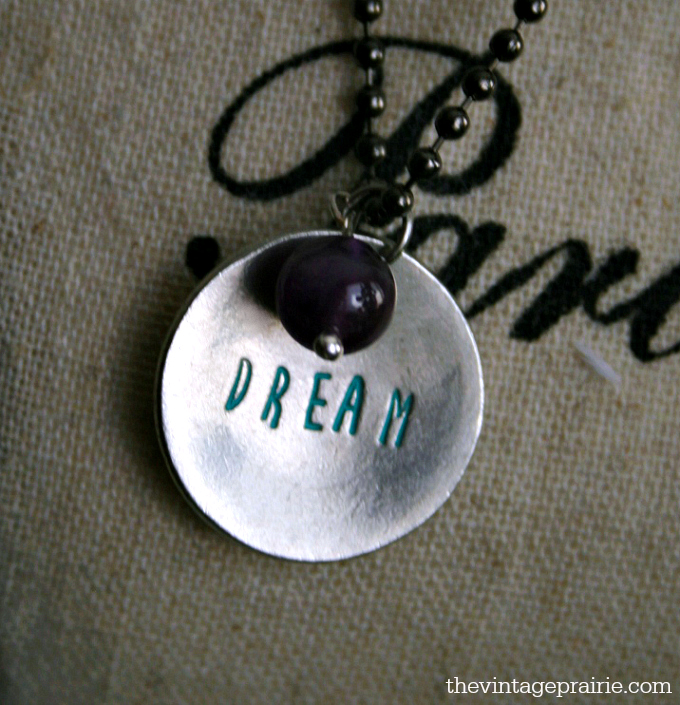
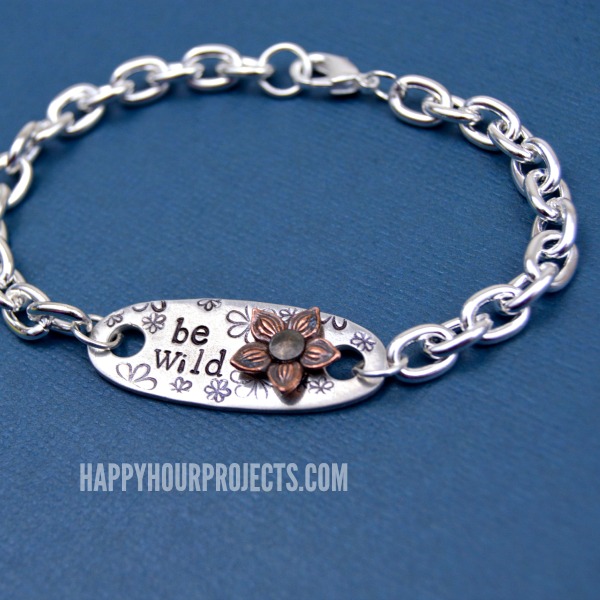
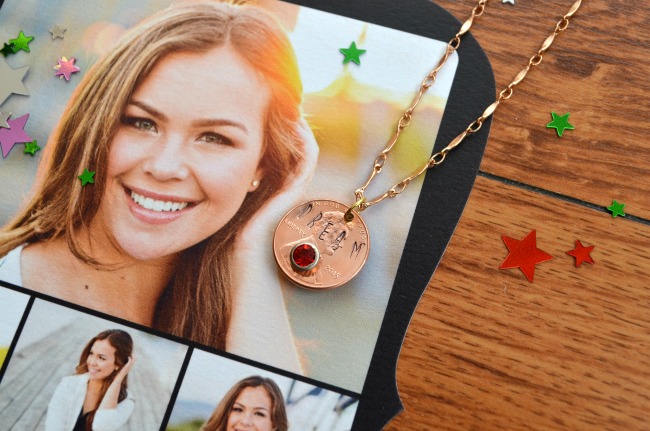
It’s all about feeling charming and what better way to feel charming than by making pretty DIY metal stamped charms you can wear? If you’re new to metal stamping, these projects are all fabulous for the beginner.  Some are as simple as a single initial!  We love them all and we hope you do too. Make sure you visit these talented bloggers and show them a little love.

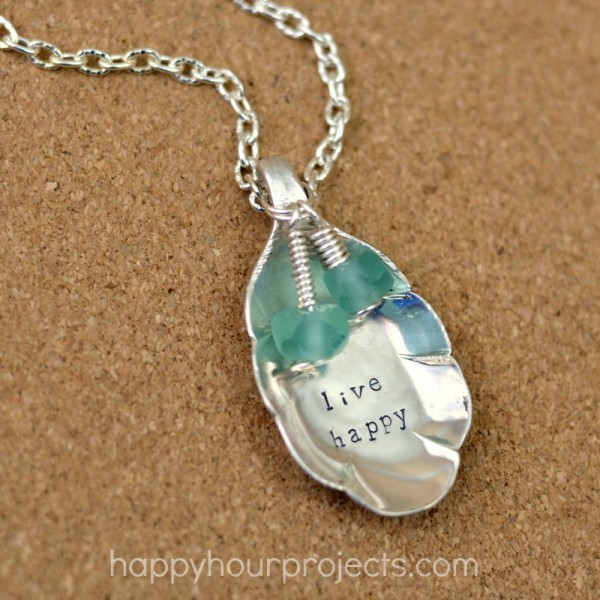
des255_2013

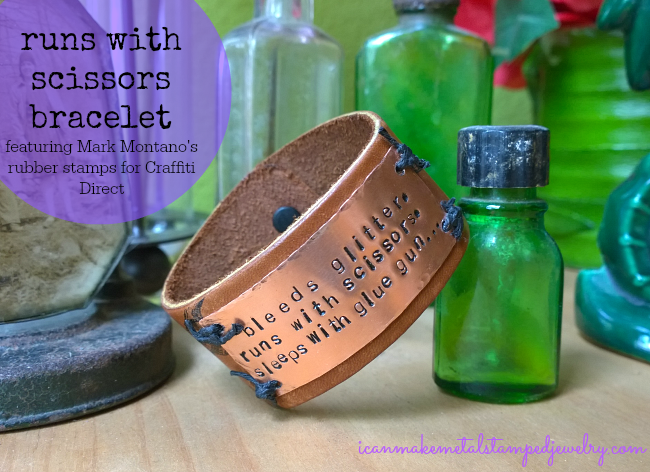
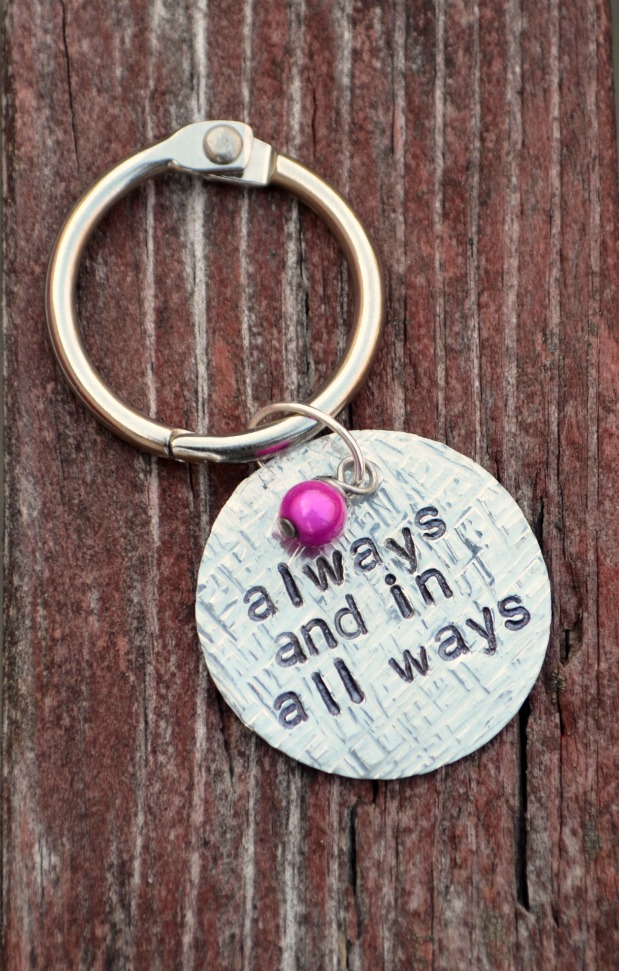
Stamp and wear your favorite things with this stamped and riveted charm from Beaducation!

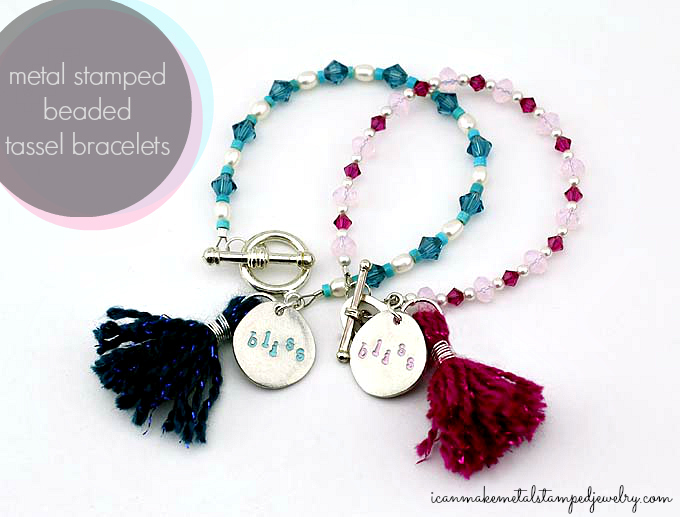
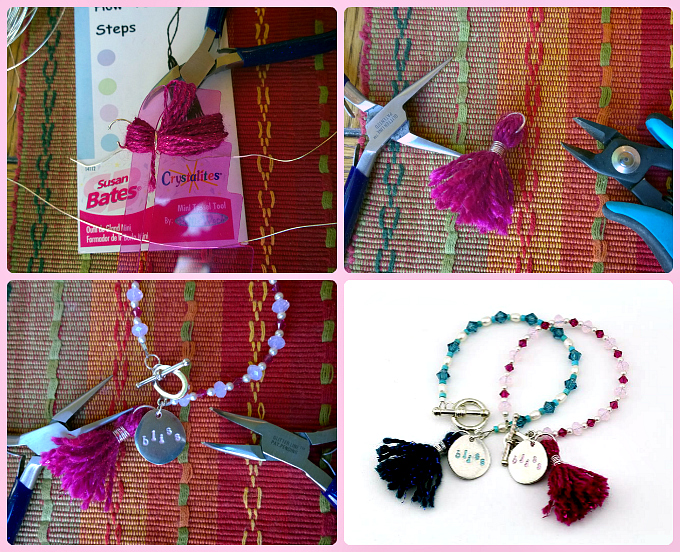
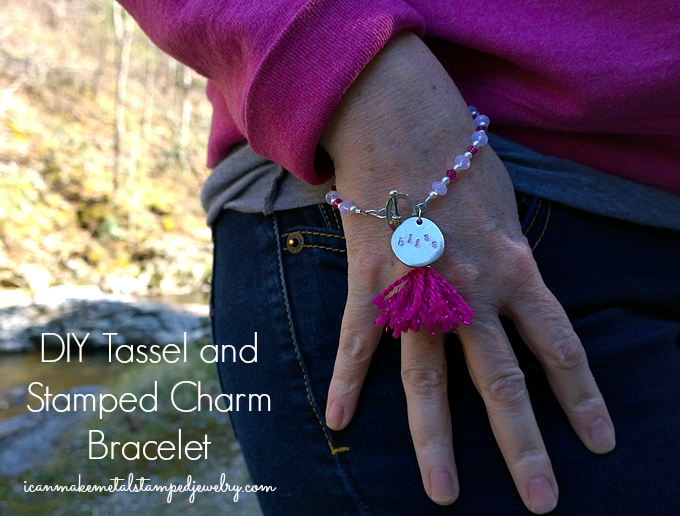
Bliss Metal Stamped Tassel Bracelets Two Text

Be in style bliss with these stamped charm and tassel bracelets!

apple charm

Stamp a lovely teacher’s gift with Jennifer Heynan!

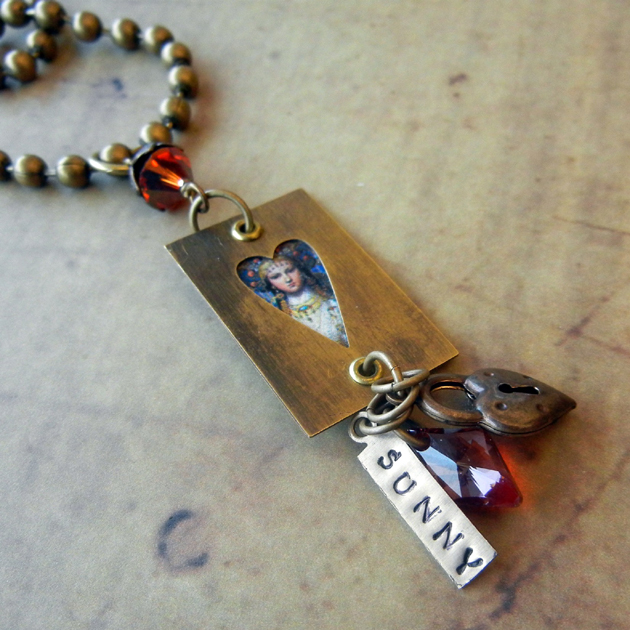
Stampled-Pendant-Key-Necklace

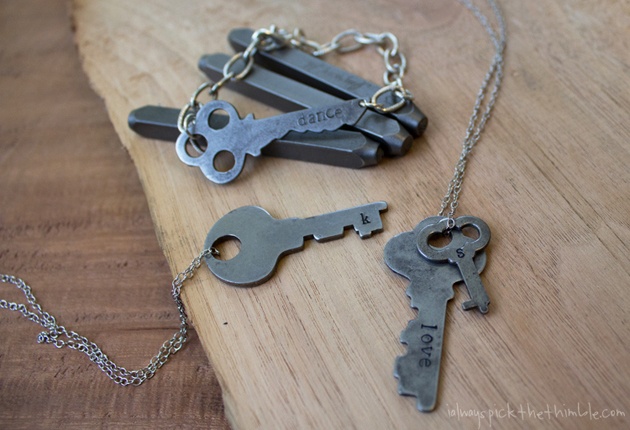
Add a single stamped charm to some keys for a gorgeous DIY statement necklace from Handmade in the Heartland.

pop-rocks-closeup

Feel like a rock star with stamped star charms and this Pop Rocks necklace from ImpressArt.

monogram-stamp0

Stamp your monogram and turn it into lovely jewelry with Rings ‘n Things!

Hand-Stamped-Necklace-Tutorial-on-EverythingEtsy_thumb

Make simply stunning stamped initial charms with Everything Etsy!

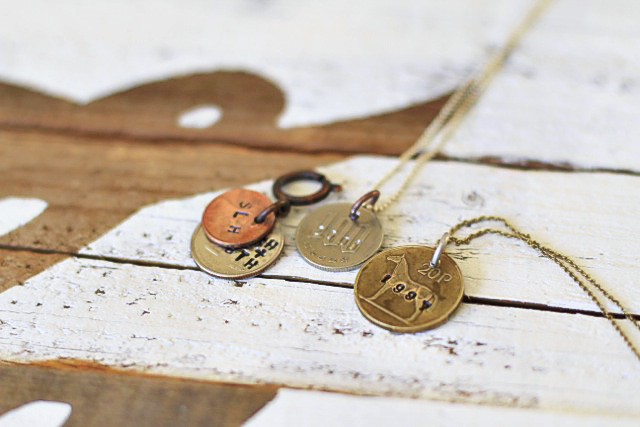
des274_2013

What’s your sign?  Stamp your sun sign with Beaducation!

two-hearts-display

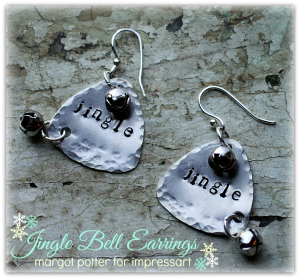
We love rock and roll and these stamped guitar pick charms from Jeff Fulkerson for ImpressArt!

stamped-metal-drink-charms

Say “cheers” with these stamped drink charms from Today’s Creative Blog.

Stamped Metal Bottlecap Jewelry

Give old bottle caps a new life with these metal stamped bottle cap charms from ImpressArt.

initialnecka

It doesn’t get easier than these stamped initial pendants from The Idea Room!

Metal stamping doesn’t have to be complicated and trust us when we tell you it’s tons of fun.  Do you have a favorite  in this DIY Metal Stamped Charms roundup?  Let us know in the comments!


Filed Under: Diy Tagged With: DIY hand stamped jewelry, DIY jewelry, DIY metal stamped jewelry, how to make metal stamped jewelry, metal stamped jewelry, metal stamping 101, metal stamping basics

DIY Eyeball Necklace

May 26, 2025 by decey Leave a Comment

I on U Necklace Text

Hallowe’en is approaching and the stores are filled with an array of all manner of gruesome and goolishly good items. We found these ping pong ball eyeballs at Dollar Tree. You get a whole bag for a buck! Woot! (If you don’t have a Dollar Tree nearby, we have a link to buy them on Amazon below, but they’re more expensive there.) We had to think about the best way to turn these into jewelry, and when we realized they fit a bezel when sawed in half, this DIY Eyeball Necklace came together.
There are all sorts of things you could stamp on your blank, but we decided on ‘Got My I On You’, then realized maybe it should have been ‘Got My I on U’, but we’re happy with how this turned out and we have a bag full of eyeballs so we can make more!

You will need:

(The links below are affiliate links, if you click on a link and buy something we get a very small percentage of the sale. That’s how we keep the lights on!)

Plastic Eyeballs
Circle Pendant Base-39.3-Millimeters
7/8″ X 1 3/8″ Oval, Aluminum Stamping Blank
Aleene’s Max Tacky Adhesive
Folk Art Enamel Acrylic Paint, Licorice
Aluminum 1/8 Inch Hollow Rivets 1/16 Inch Diameter
2 Beadalon 6mm Jump Rings
Ball Chain with Connectors
Beadsmith EZ-Rivet Piercing and Setting Tool
ImpressArt 2-Hole Punch
ImpressArt Varsity Uppercase Letter Metal Stamps Set
ImpressArt Premium- Newsprint Lowercase Letter Stamps
ImpressArt 1-lb Brass Stamping Hammer
ImpressArt Steel Stamping Block
2 pairs Beadalon Slim Chain Nose Pliers
Serrated Sharp Knife
Cotton Swab
Paper Towel

Amazon.com Widgets

Amazon.com Widgets

1-2

Step One: Cut eyeball in half, carefully, using a serated knife. Step Two: Use a thick metal friendly adhesive like Max Tacky and get a generous coating in the bezel. Press eyeball into glue and let it dry overnight.

3-4

Step three: Stamp the letter I in the center of your blank using the Varsity letter set. Step four: Add Got My and On You on the top and bottom of the blank. Make sure you stamp around the arc so the words curve around the edges. We have a tutorial for that here. Add texture with the round end of your hammer.

5-6

Step five: Use the cotton swab to swipe the paint across the letters. Wipe off excess with a paper towel. Step six: Use the 2-hole punch to add holes to top and bottom center of blank.

7-8

Step seven: Use the riveting tool to add rivets to the large holes on the left and right side of the blank. They were a little loose, so I decided to use the hammer and flatten them and then add more texture with the ball peen hammer. If you get blanks without the drill holes on the sides, you can skip this step. Step eight: Use chain nose pliers to connect eyeball to stamped blank with a jump ring. Attach a jump ring to the top center hole in the stamped blank. Slide your chain into the jump ring to make a necklace!

Eyeball Text 2

Fun, fast and faBOOLous! Make a DIY Eyeball Necklace and all eyes will be on you!

Cheers,
Margot and Avalon

*DIY Project Policy: Our tutorials are meant for your creative inspiration. Feel free to make and gift or wear these designs. Please make sure that you give credit to us as the designer if you make and share these designs on your blog or social sites. Please do not make and sell copies of our designs or sell them as kits. Please do not teach these designs as classes for profit. This is how we make our living and we ask that you respect our creativity and the time it takes to design, photograph and write these free tutorials. You may use a single photograph from each project online in blog round-ups or blog posts ONLY if you include a direct link back to our tutorial. Any use of these designs for retail sale for profit online in places like Etsy or eBay or in retail bricks and mortar, flea markets or outdoor fairs is not permitted. Thank you!

Filed Under: Diy Tagged With: DIY jewelry, Easy Halloween Jewelry, Eyeball Jewelry, Eyeball Necklace, Halloween Crafts, Halloween Jewelry, metal stamped jewelry

DIY Metal Stamped Necklace

May 12, 2025 by decey Leave a Comment

Necklace Five

Learning to use a jeweler’s saw requires a little learning curve and a lot patience. We love this shortcut approach to making custom shapes out of existing blanks with metal shears! BIG shout out to Lisa Niven Kelly of Beaducation for her scalloped necklace tutorial that inspired this design! She’s got a sight full of fabulous metal stamping ideas and products, so check it out. In this case, we’ve quickly turned circles and washers into pretty scallops. This is also a great way to save blanks with mistakes on them by cutting away the problem area and salvaging the rest. Adding some texture and pattern with a hammer and some font stamps makes quick work of creating this boutique chic metal stamped necklace. Your family and friends will be amazed when you tell them that you did it yourself! Go you!

*Materials

3 Impress Art Alkeme Stamping Blanks, Circle, 1-1/4″
2 Alkeme Stamping Blank, Washers, 1 1/4
10 10-MM Jump Rings, Silver Plated
Beadalon Lobster Clasp
Beadalon Chain Elongated Silver Plated
2 Beadalon Dapped and Spring Ear Wire Silver Plate
Ranger Vintaj Patina Retro Highway Kit
ImpressArt Basic Newsprint Uppercase Letter Metal Stamp Set
ImpressArt 2-Hole Punch Kit
Ergo-Angle Metal Stamping Hammer
ImpressArt Chasing Hammer
ImpressArt 2 by 2-Inch Steel Block
ImpressArt Stamp Straight Tape
Metal Cutting Shears
Sandpaper, Coarse and Sanding Block
ImpressArt Chain Nose Pliers
Pen
Paper Towel

1-4

Step one: Use a ruler and marker to mark center point of blank. Step two: Cut blanks in half with shears. Step three: Use the round end of the chasing hammer to add texture. Step four: Use a heavy grit sandpaper to sand the sharp edges of the blanks. Alkeme is soft and easy to sand, if you use base metal you may want to use a jeweler’s metal file instead.

5-8

Step five: Stamp random patterns on surface of blanks using letters. I used a different letter on each blank, you can also opt to just use all sorts of letters on every blank. Step six: Squeeze patina on blank, wipe clean with a paper towel leaving ink in stamped areas. Step seven: Use 2-hole punch to add holes on top left and right of each blank. Earring blank open scallops also need a hole in the top of the center for earring wires. Step eight: Use pliers to connect blanks, attach chain and clasp to end of chain. For earrings, attach full scallop on bottom and open scallop on top as in photo and slide earring wires into holes you punched on top of the open scallops.

Alphabet Soup One Text

You can take this idea and make it your own with a few small changes. Try making a full collar of open or closed scallops. Use smaller blanks or a variety of sizes and shapes to change the scale. Try cutting square, rectangular or oval shapes in half. We hope you love this metal stamped necklace as much as we do, happy stamping!

Cheers,
Margot and Avalon

(* Post contains affiliate links, if you click on a link and make a purchase we get a small percentage of the sale. That’s how we keep the lights on, folks!)

Crave: A modern WordPress theme with appetizing aesthetic

*DIY Project Policy: Our tutorials are meant for your creative inspiration. Feel free to make and gift or wear these designs. Please make sure that you give credit to us as the designer if you make and share these designs on your blog or social sites. Please do not make and sell copies of our designs or sell them as kits. Please do not teach these designs as classes for profit. This is how we make our living and we ask that you respect our creativity and the time it takes to design, photograph and write these free tutorials. You may use a single photograph from each project online in blog round-ups or blog posts ONLY if you include a direct link back to our tutorial. Any use of these designs for retail sale for profit online in places like Etsy or eBay or in retail bricks and mortar, flea markets or outdoor fairs is not permitted. Thank you!

Filed Under: Diy Tagged With: DIY hand stamped jewelry, DIY jewelry, DIY metal stamped jewelry, DIY metal stamped necklace, how to make metal stamped jewelry, metal stamped bib necklace, metal stamped jewelry

Hammer Time: Basic Metal Stamping Hammers

March 8, 2025 by decey Leave a Comment

Basic Metal Stamping Hammers

It’s *Hammer Time! Hooray! Today we’re taking a look at four basic metal stamping hammers that will help you take your stamping to a higher level of professionalism and overall fabulosity. You don’t need all of these to get started, but you’ll be glad you have them!  Trust us, we know about these things. First up, possibly our favorite of the bunch, the one pound brass hammer with the ergonomic handle.

stamping_hammer.4

ImpressArt debuted this fabulous ImpressArt 1 Pound Metal Stamping Hammer two years ago. It’s got a lot going for it in terms of reasons why it’s the best choice for metal stamping.  First of all, the hammer head is made of solid brass. Brass is softer than steel (your household hammer is probably steel.) The softness of the brass allows the impact of your hit to be transferred directly into your metal blank. When you hit with a steel hammer, the energy bounces back up the handle and into the hammer. By stamping on a solid block of steel and using this hammer, all of the energy of every hit goes into your blank creating deep, crisp impressions. Because only one good hit is needed with this hammer it lessons the risk of skipped or ghost impressions. The handle is short, stubby and covered in a soft textured rubber, this makes it easy for smaller and larger hands to get a firm grip and again, helps transfer that stamping energy into your blanks. This hammer also helps prolong the life of your metal stamps, another bonus! If we could hand this to you through the computer screen, you’d immediately feel how yummy it is to grip and how heavy it is, yet completely balanced. Yes, you can start out with a regular steel hammer, but if you want to up your chances of success, try this one. It may take a little practice to get used to the feeling of one pound of brass heading towards your other hand, but we truly believe you will come to love this hammer as much as we do. ImpressArt recently debuted an 8 ounce version of this hammer for use with their new softer stamping blanks. We like the smaller hammer, but personally, this is the one we use most of the time.  TOOL TIP: This hammer requires a little maintenance, you can use a heavy grit sandpaper or a metal grinding wheel to smooth the surface as it becomes dented over time with regular use.
31bpZEC8AOL

Last year, ImpressArt upped the ante with their Ergo-Angle Metal Stamping Hammer. This hammer represents the evolution of the original brass hammer, with an angled head designed for ease of use and precision stamping, a replaceable brass head, comfortable grips for varied finger placement, and an ergonomic design to prevent fatigue. The weight, the ease, the softness of the brass are all still there, but upgraded to make it even easier to make a great impression!

chasing-hammer smaller

In case you have not yet met, let us introduce you to the wonderful multi-purpose ImpressArt Face Chasing Hammer. This is a tool useful for metal stampers, wire workers, crafters and jewelry makers. The ball pein hammer has two sides.  The round end is used to add texture to wire or metal by repeatedly striking as you move across the surface of the material. The flat end is used to flatten wire or metal out. The motion of striking your metal creates molecular changes in the material making it harder and less flexible. Too much striking can result in brittleness, so it’s important to not overdo it. This process is called work hardening. We use this tool on a regular basis, it’s fabulous for making earring wires, findings and of course, works great for metal stamping when you want to add texture around the edges of a piece, harden or flatten your blanks.

text-hammer-2 smaller

Texture Hammers add a variety of textures to your metal blanks and wires. They come in a variety of surfaces, some even have replaceable heads. By varying the placement of the hammer as you hit, you can create beautiful designer one of a kind pieces. We recommend you create texture first, then stamp into the textured metal. Try using more than one on different areas of your blanks. Add texture to the edges or along portions of the pieces leave some smooth. Hit along the edges to give the blanks a more organic appeal. As with the other hammers, you need to be careful not to overdo things. The process of adding texture is also work hardening your materials.

nylon-hammer smaller

Finally, we give you the Nylon Hammer. This will protect the material from being scratched or marred while flattening. Thinner and softer materials may start to curve or curl in around the edges while being stamped. Use this hammer with your bench block to flatten them back out. Works great for wire and metal blanks. After all, you don’t want your beautiful stamped metal pieces to get unintended dents or dings or be curved when they’re not supposed to be!

As with all tools, practice helps you perfect your technique. Don’t be afraid to make “mistakes”, that’s how you learn. Sometimes those mistakes become pathways for new design ideas and fresh techniques. Do you have any of these basic metal stamping hammers in your tool box? If so, do you have a favorite? Let us know in the comments!

Hammer images courtesy of ImpressArt.

Cheers,
Margot and Avalon

(*FTC DISCLOSURE: Post contains affiliate links. If you click on a link and make a purchase, we get a small percentage of the sale. Blogger works part time for ImpressArt, but all opinions in this post are 100% her own. That is all.)
Filed Under: Diy Tagged With: brass stamping hammer, DIY jewelry, how to make metal stamped jewelry, impressart brass hammer, metal stamping 101, metal stamping basics, metal stamping hammers

DIY Stamped Charm Bangle Bracelets

March 3, 2025 by decey Leave a Comment

Stamped Charm Bangle Bracelets Xtra Text

Are you smitten with the charm bracelet trend? Why not make your own DIY Stamped Charm Bangle Bracelets? In under ten minutes you can create a personalized, custom design with design stamps, beads and pre-made charms. It’s easy, really.  We’ll show you how!

You will need:

Silver Plated Bangle Bracelets
ImpressArt 1/2″ Circle Stamping Blanks in Silver Plated
, Brass and Copper
Various Charms (get the cast pewter Buddhas from my friend Stan at GreatCraftWorks here and here and the Victorian style hands on Etsy!)
Various 8mm Beads
6-MM Jump Rings
Beadalon Ball Head Pins
ImpressArt- Symbols and Shapes Stamp Pack
Ergo-Angle Metal Stamping Hammer
ImpressArt 2 by 2-Inch Steel Block
ImpressArt Stamp Straight Tape
2 pairs ImpressArt Chain Nose Pliers
Folk Art Enamel Acrylic Paint, Licorice
Cotton Swab
Paper Towel

Stamped Charm Bangles

Step one: Use a design stamp to stamp a random pattern on the front of your blank. Hold the stamp firmly and strike it hard dead center with the hammer. Make sure the stamp is straight up and down to get a full impression. Step two: Use a cotton swab to add enamel paint to the stamped areas of the blank. Wipe off excess with a paper towel. Step three: Attach the stamped charm to the bangle with a jump ring, make sure you close the ring with tension so it’s secure. Step four: Add other charms, beaded dangles, whatever you like!

DIY Stamped Charm Bangle Bracelets Three

Stamped Charm Bangle Beauty LS Text

Don’t stop at just one! Make an armful, these look great stacked up by the bunch. We’d love to know what you’re going to put on your DIY Stamped Charm Bangle Bracelets. Let us know in the comments and if you make one, we’d love to see it! We’re knee deep in moving this month, so the posts may not be as frequent, but if you want to be sure you don’t miss any, sign up via email in the sidebar on the right or follow us on Bloglovin’!

Happy stamping,
Margot and Avalon

*DIY Project Policy: Our tutorials are meant for your creative inspiration. Feel free to make and gift or wear these designs. Please make sure that you give credit to us as the designer if you make and share these designs on your blog or social sites. Please do not make and sell copies of our designs or sell them as kits. Please do not teach these designs as classes for profit. This is how we make our living and we ask that you respect our creativity and the time it takes to design, photograph and write these free tutorials. You may use a single photograph from each project online in blog round-ups or blog posts ONLY if you include a direct link back to our tutorial. Any use of these designs for retail sale for profit online in places like Etsy or eBay or in retail bricks and mortar, flea markets or outdoor fairs is not permitted. Thank you!

(FTC DISCLOSURE: *This post contains affiliate links, if you click on a link and make a purchase we get a small percentage of the sale. The blogger is employed by ImpressArt, but this is her personal blog. All opinions are 100% her own!)

Filed Under: Diy Tagged With: 10 minute craft, DIY Bangle Bracelets, DIY hand stamped jewelry, DIY jewelry, DIY metal stamped jewelry, DIY stamped charms, hand stamped charms, metal stamped bracelets, metal stamped charms, metal stamped jewelry, quick and easy crafts, Stamped Charm Bangle Bracelets

  • « Go to Previous Page
  • Page 1
  • Page 2
  • Page 3
  • Page 4
  • Interim pages omitted …
  • Page 8
  • Go to Next Page »

Pages

  • About Us
  • Contact Us
  • Privacy Policy

Copyright © 2026 · Aspire Theme on Genesis Framework · WordPress · Log in