Tag: DIY Necklace

  • Stamped Christmas Charm Necklace DIY

    DIY Stamped Christmas Charm Necklace

    He’s making a list, he’s checking it twice, he’s gonna find out who’s naughty or nice. Santa Claus is coming to town.” John Frederick Coots and Haven Gillespie

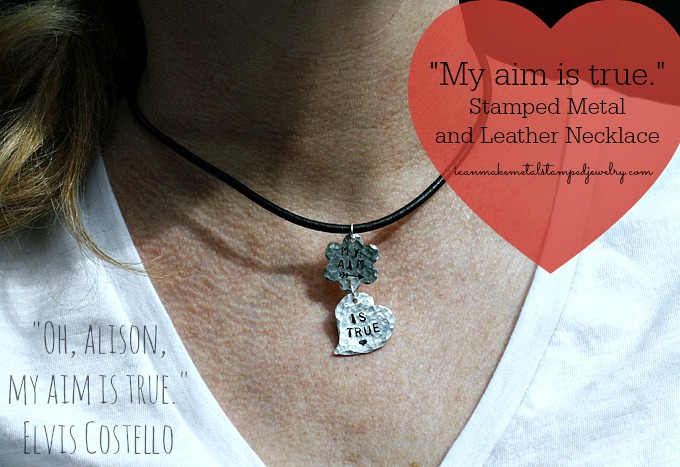
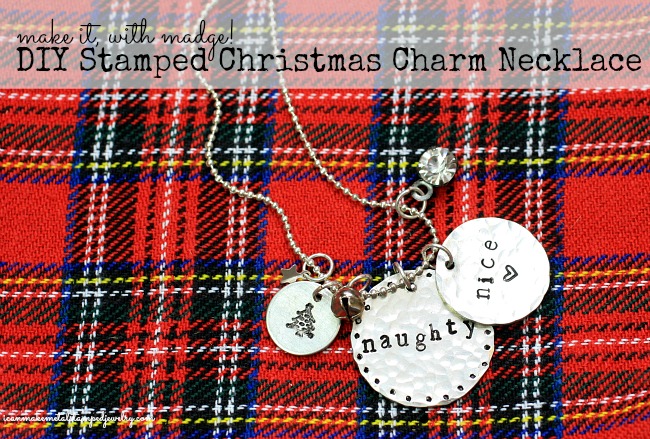
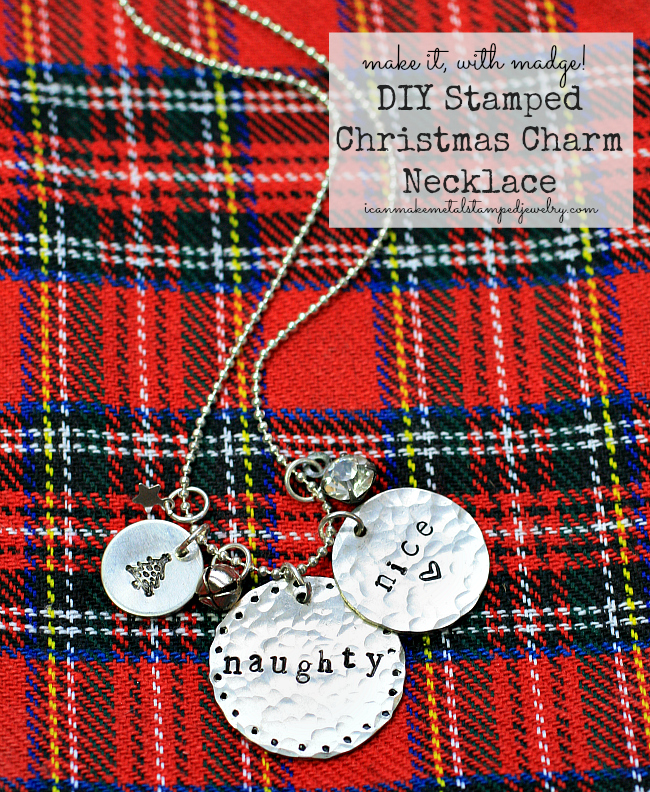
    Make merry in our DIY Stamped Christmas Charm Necklace! Naughty or nice, we’ve got you covered for every holiday gathering. Take basic metal stamping and add a little something extra with design stamps and small details. Layer it all up with some tiny charms and just a touch of sparkle, and you’ll be ready to take on the holidays in style!

    You Will Need Website

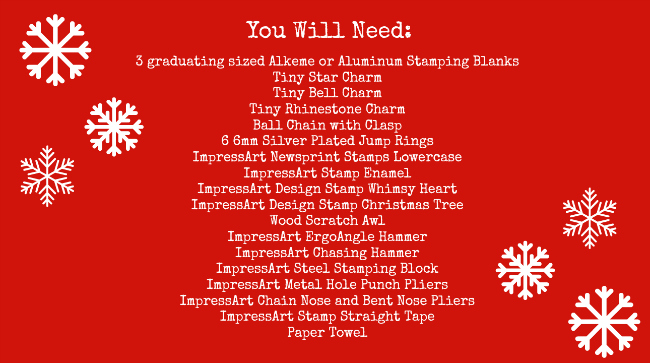
    You will Need: (The links below are affiliate based, if you click on a link and make a purchase we get a small percentage of the sale, which is how we can afford to create these tutorials for your craftertainment)

    ImpressArt, Circle, 1″, Aluminum Stamping Blank
    ImpressArt, Circle, 3/4″, Aluminum Stamping Blanks- 24 pc.
    ImpressArt, Circle, 1/2″, Aluminum Stamping Blanks- 24 pc.
    Tiny Star Charm
    Tiny Jingle Bell
    \n’]);” rel=”nofollow”>Tiny Rhinestone Charm/a>
    Ball Chain Necklace with Lobster Clasp, 18-Inch, Bright Silver
    6 Beadalon Jump Rings 6mm Silver, Plated
    ImpressArt- Basic Newsprint Lowercase Letter Metal Stamp Set
    ImpressArt Stamp Enamel or Folk Art Enamel 2-Ounce Acrylic Paint, Licorice
    ImpressArt Design Stamps, 3mm, Whimsy Heart, 1-Pack
    ImpressArt- 6mm, Christmas Tree Design Stamp
    Wood Handle Scratch Awl
    ImpressArt Ergo-Angle Metal Stamping Hammer
    ImpressArt Chasing Hammer
    ImpressArt 4 by 4-Inch Steel Block
    ImpressArt Metal Hole Punch Pliers
    ImpressArt Chain Nose Pliers
    ImpressArt Bent Nose Pliers
    ImpressArt Stamp Straight Tape
    Beadalon Leather Pad For Block and Anvil
    Paper Towel

    Watch the video to learn how to make the project:

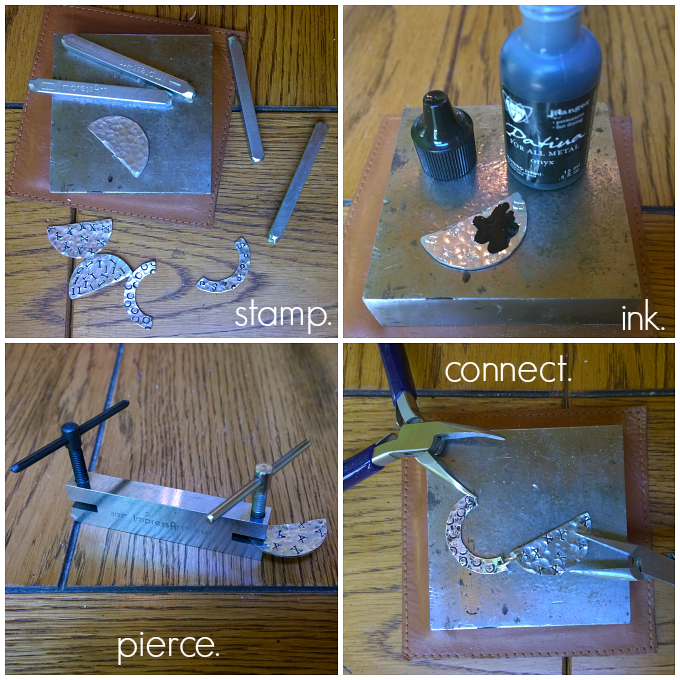
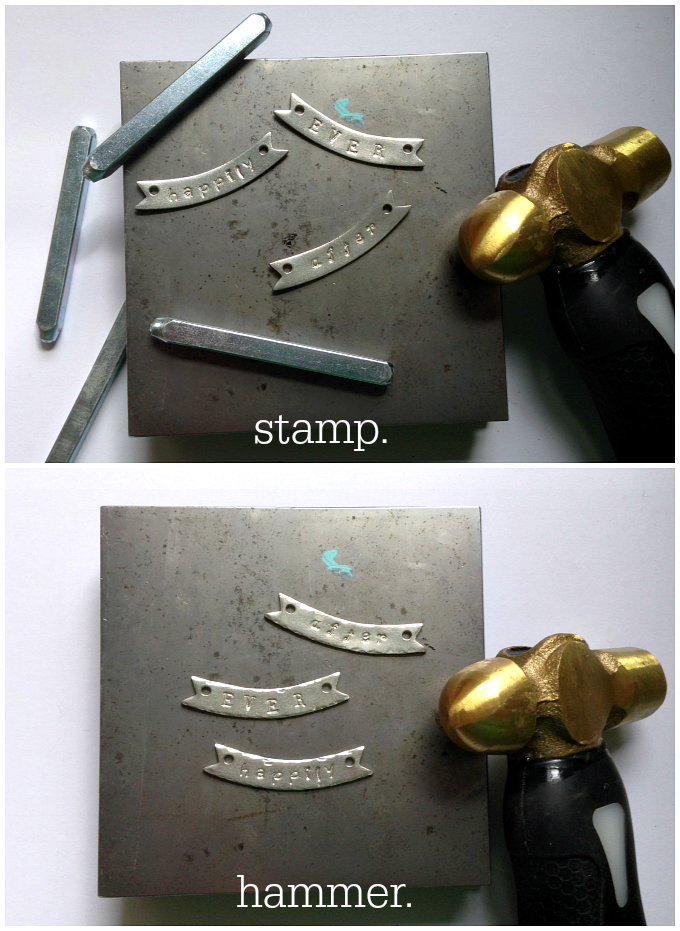
    Step one: Stamp Christmas Tree in center of smallest blank. Use the tilt and tap method, it’s in the video.
    Step two: Tape your medium sized blank to the bench block. Stamp ‘nice.’
    Step three: Stamp whimsy heart in center of blank under the word nice.
    Step four: Tape your largest blank to the bench block. Stamp ‘naughty.’
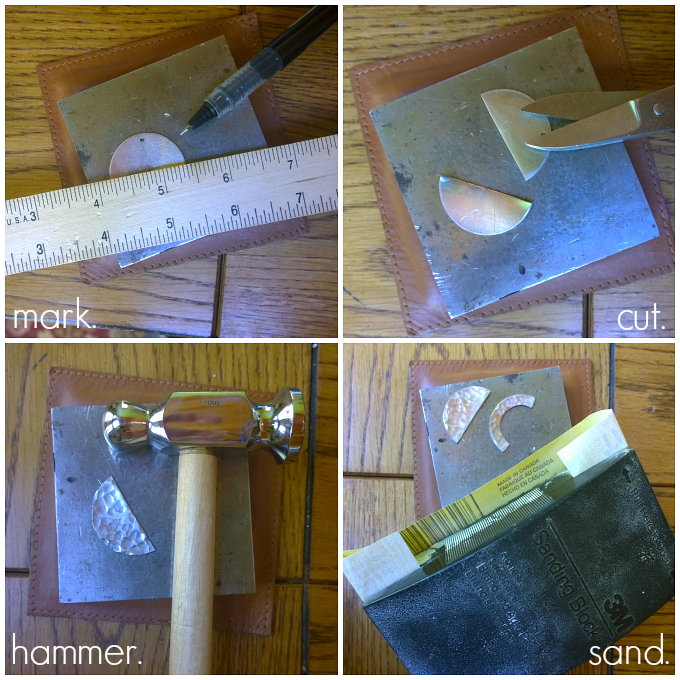
    Step five: Use the ball end of the chasing hammer to add texture to the medium and large sized blanks.
    Step six: Use hole punch pliers to pierce a hole in the top center of each blank.
    Step seven: Use the awl to add dots around edge of the largest blank.
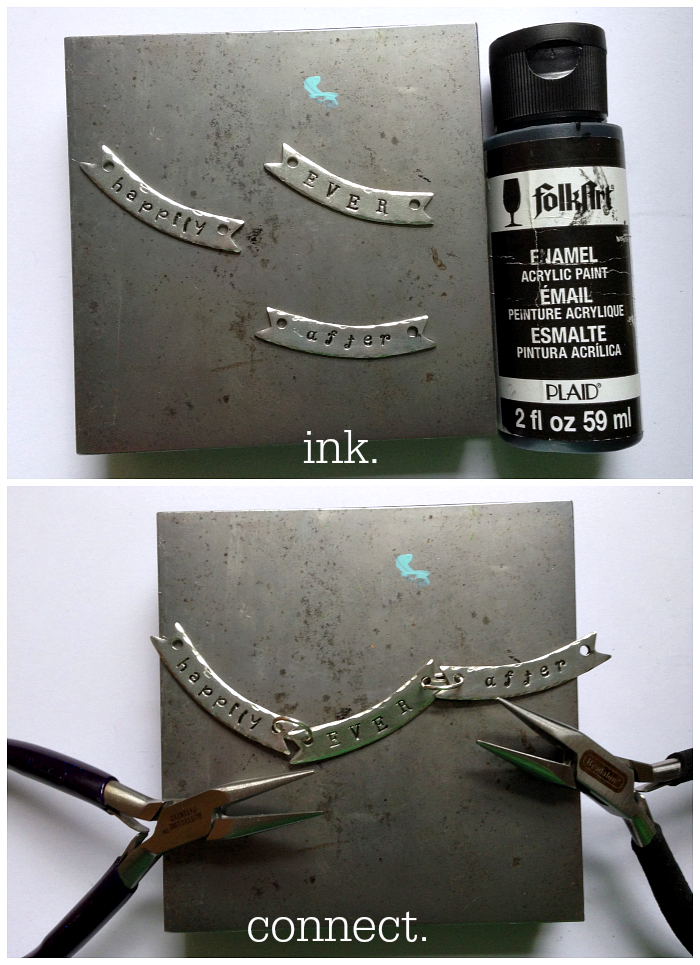
    Step eight: Apply Stamp Enamel, rub in, let sit for 10 seconds, wipe off excess.
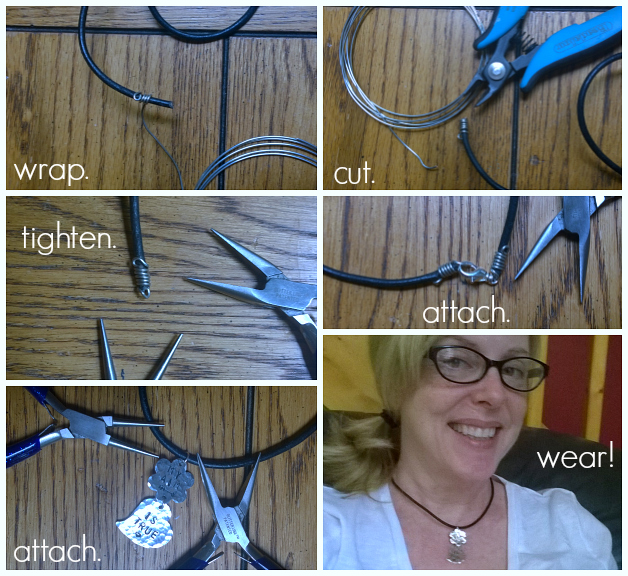
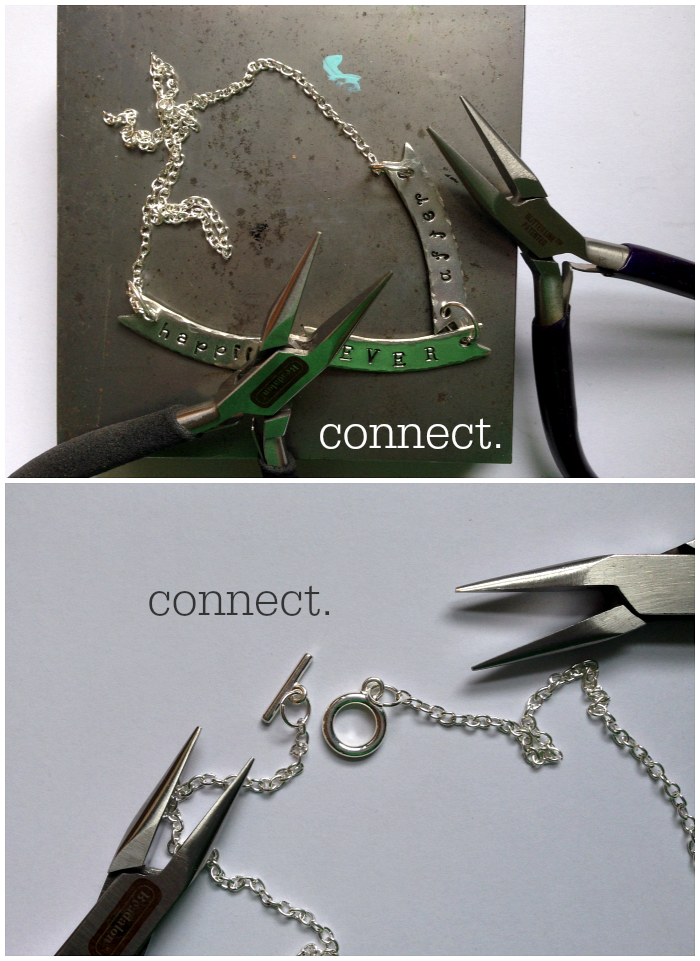
    Step nine: Attach charms using pliers, securing them closed with tension.
    Step ten: Pour yourself some eggnog, you did it!

    DIY Stamped Christmas Charm Necklace Two

    You can customize your DIY Stamped Christmas Charm Necklace using different design stamps and charms. That’s the best thing about metal stamping, you get to make your personal style statement.

    Happy Stamping,
    Margot and Avalon

  • Stamped Metal Necklace

    Stamped Metal and Leather Necklace One

    This week’s DIY is a stamped metal necklace on a leather cord. You’ll learn how to stamp, ink, make a two part pendant and turn leather cord into a necklace with 20 gauge plated craft wire.  We love leather cord for guys and gals to give your jewelry a more casual, laid back appeal.

    My sister-in-law Alison was visiting us this weekend for her birthday. I had just *received the new arrow and heart stamps from Beaducation along with their fabulous new beginner’s metal stamp kit and an array of blanks and this design came together from there. One of the best things about hand stamped jewelry is that you can easily share a personalized message using images, numbers and letters. Aluminum blanks are soft and very easy to stamp, I like them best hammered to give them texture and make them look more like precious metal. This is a very easy design to execute and Beaducation has everything you need in their beginner’s kit. In fact, I’ll be giving this kit away on Wednesday, so make sure you come back to enter for the chance to win! (US Residents only.)

    You will need:

    Beaducation aluminum blanks in flower and heart
    2 4.5mm jump rings
    Black leather cord
    20 gauge silver plated copper wire
    Lobster clasp
    OR Black leather finished necklace
    Beaducation Stamping on Metal Starter Kit: Includes bench block, economy stamps in 1/8″ size, 1.5mm hole punch pliers, Sharpie marker, printed instructions, video tutorial CD, copper sheet, ball chain necklace, copper blanks, stamping tape, pro polish pads
    Heart Arrow Stamp
    Tiny Fat Lined Heart Stamp
    1 pound brass stamping hammer
    Chasing hammer
    Black acrylic paint dabber
    Round nose pliers
    Chain nose pliers
    Flush cutters
    Paper towel

    1-4

    Step one: Use round end of chasing hammer to hammer texture on surface of both blanks. Step two: Stamp MY AIM and arrow on flower blank as shown. Step three: Stamp IS TRUE and heart on heart blank as shown. Step four: Use pliers to pierce a hole at the top and bottom petal of flower and top of the larger side of the heart blank as shown.

    5-8

    Step five: Dab paint into stamped areas of blanks. Wipe off excess with paper towel. Step six: Connect the two blanks with a jump ring. Attach a second jump ring to the top hold in the flower blank. Step seven: Cut leather to desired length. Step eight: Use round nose pliers to create a small loop in the end of your wire coil.

    9-13

    Step nine: Wrap wire around leather, working up from turned loop. You will need to leave about 1/4″ of leather on the tail and will coil approximately 5 times. Make sure you wrap this tightly and take your time so it’s neatly coiled. Step ten: Cut the end from wire when you have almost reach the end of the leather. Use cutters to remove excess leather. Step eleven: Grasp the final coil and turn it up to create a loop using your chain nose pliers. Adjust the loop, making sure it’s flush to the top of the leather end with your round nose pliers. Use the chain nose pliers to gently compress the coils together to remove any gaps. Do this on both sides of your leather. Step twelve: Gently open one end loop to attach a clasp. Step thirteen: Attach the pendant to the front of the leather using pliers. Step thirteen: Wear!

    My Aim is True LS No Burst

    What song lyrics would you use for this stamped metal necklace? Let us know in the comments! Don’t forget to come back on Wednesday for the GIVEAWAY!

    Cheers,
    Margot and Avalon

    (*FTC DISCLOSURE: Blogger was provided product for this post and the giveaway, all opinions and instructions are 100%  her own.)

    *DIY Project Policy: Our tutorials are meant for your creative inspiration. Feel free to make and gift or wear these designs. Please make sure that you give credit to us as the designer if you make and share these designs on your blog or social sites. Please do not make and sell copies of our designs or sell them as kits. Please do not teach these designs as classes for profit. This is how we make our living and we ask that you respect our creativity and the time it takes to design, photograph and write these free tutorials. You may use a single photograph from each project online in blog round-ups or blog posts ONLY if you include a direct link back to our tutorial. Any use of these designs for retail sale for profit online in places like Etsy or eBay or in retail bricks and mortar, flea markets or outdoor fairs is not permitted. Thank you!

  • Happily Ever After Necklace

    Happily Purple Text Three

    I work part time as the Creative and PR Director for ImpressArt. They are the world’s leading manufacturer of supplies for metal stamped jewelry making. Of course, having access to so much super awesome metal stamping stuff is a blast for a jewelry designer like myself. I consult with them sometimes on new products and I kept nagging them about doing a banner blank. I’m a writer, I liked the idea of a banner that you could use to write a story with metal stamped elements. I LOVE these blanks and I’m seriously smitten with this necklace. After all, who doesn’t want to live happily ever after?

    *Here’s what you need to make a DIY Happily Ever After Necklace of your own (FYI-the following links are affiliate links):

    3 ImpressArt SoftStrike Pewter Banner Blanks
    4 10-MM Jump Ring Silver Plated
    2 6-MM Jump Ring Silver Plated
    Chain Small Silver Plated
    Toggle Clasp Small Silver Plated
    ImpressArt Juniper Lowercase Alphabet Metal Stamps Set
    ImpressArt Uppercase Stamp Set Newsprint
    ImpressArt Lowercase Stamp Set Jeanie
    Impressart 1/2 Lb Brass Metal Stamping Hammer, Protects Your Steel Stamps and Other Tools, Great for Stamping Blanks, Lighter Version
    ImpressArt Steel Stamping Block
    Impress Art Stamp Straight Tape
    Chain Nose Pliers (2 pairs or one pair and one pair Bent Chain Nose Pliers)
    Semi-Flush Cutter
    Cotton Swab
    Paper Towel

    Amazon.com Widgets

    Amazon.com Widgets

    1-2

    Step one: Using the three fonts, stamp the words happily, ever and after on the three blanks. I used Juniper for happily, Newsprint for ever and Jeanie for after. Step two: Use the round end of your hammer to gently tap around the edges of your blanks adding texture.

    3-4

    Step three: Apply a thin layer of paint to the surface of each stamp using a cotton swab. Let this sit for 30 seconds. Wipe off with a paper towel. Step four: Use your chain nose pliers to connect the blanks together with the large jump rings.

    5-6

    Step five: Connect the banners to the chain on both sides using the larger jump rings and your chain nose pliers. Step six: Attach the clasp to the other end of your chains using the smaller jump rings.

    Happily Text Good

    That’s it! Stamp it up and enjoy your DIY Happily Ever After Necklace. Simple and simply charming, yes? You can use these banners to make all sorts of wonderful story book themed jewelry. What would you do with these? Let us know in the comments!

    Cheers,
    Margot and Avalon

    (FTC DISCLOSURE: *This post contains affiliate links, if you click on a link and make a purchase we get a small percentage of the sale. The blogger is employed by ImpressArt, but this is her personal blog. All opinions are 100% her own!)