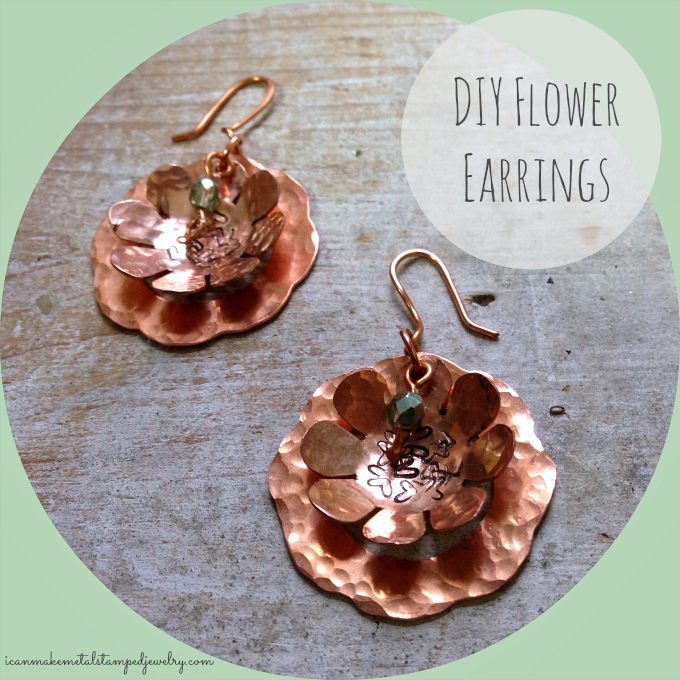
I love these flower shaped base metal stamping blanks, they’re so much fun to use in layers. These DIY Flower Earrings would be perfect with our Shine necklace, or on their own. Easy and fun to make out of copper blanks with just a single design stamp in a repeated pattern to add texture. Hammer, stamp, ink and layer and if you like you can make your own head pins and ear hooks using 20 gauge wire.
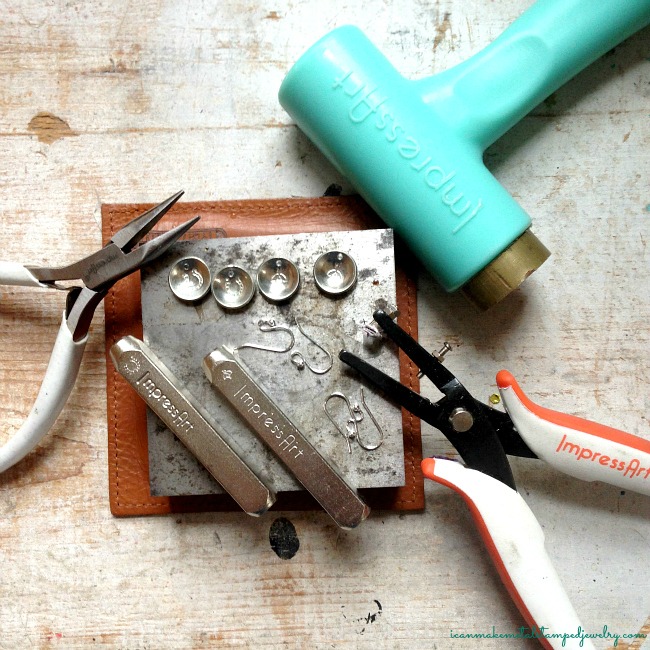
What you need:
2 ImpressArt, 8 Petal Flower, Copper, 15/16″ Stamping Blanks- 24 pc.
2 ImpressArt, Scalloped Washer Stamping Blanks, Copper, 1 1/8″- 24 pc.
2 Copper Ear Wires
2 Preciosa Czech Fire 6 mm Faceted Round Polished 2 Glass Beads, Transparent Dark Grey, 200-Pack
Artistic Wire 20-Gauge Bare Copper Wire,15-Yards
2 Premium Jump Rings, Copper, 18 Gauge, 3/16″- 200 pc.
ImpressArt Design Stamps, 3mm, Whimsy Heart
ImpressArt Face Chasing Hammer
ImpressArt Stamping Hammer
ImpressArt Steel Stamping Block
Folk Art Enamel Acrylic Paint in Licorice
Dapping Set Block
1.25mm Round Hole Punch Pliers for Sheet Metal
Cotton Swab
Paper Towel
Amazon.com Widgets
Amazon.com Widgets
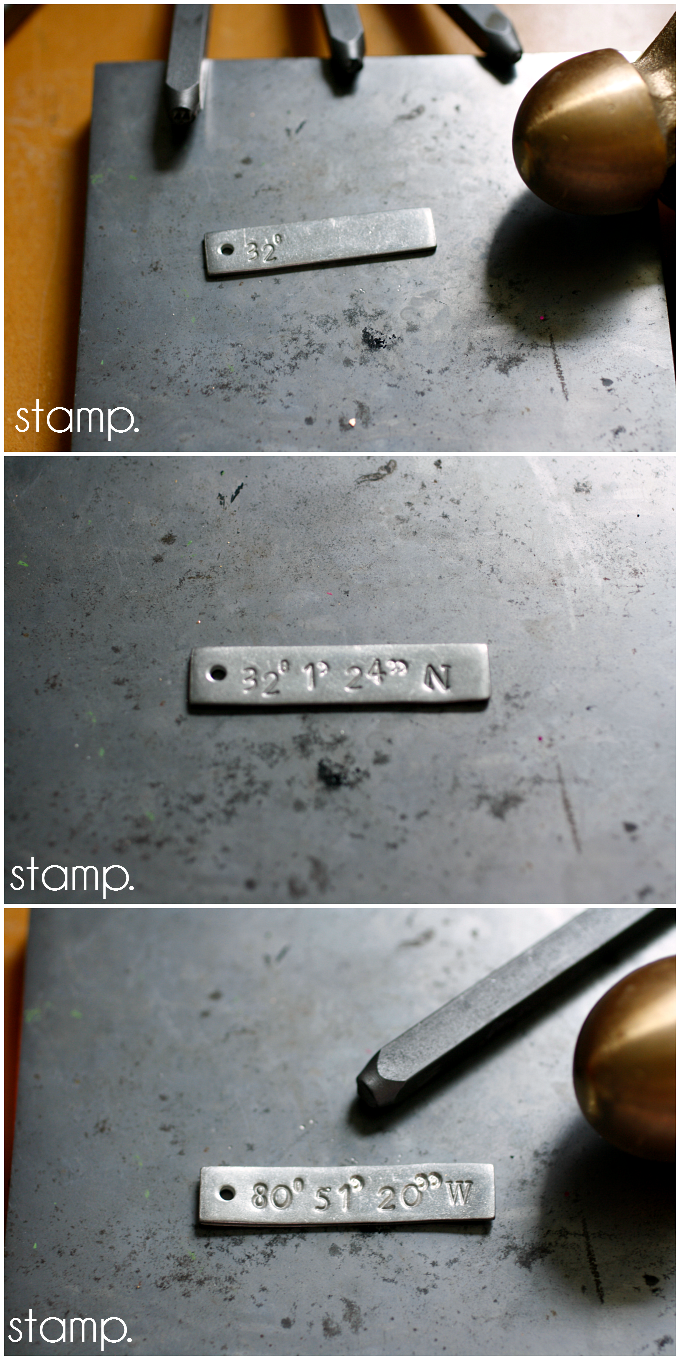
Step one: Hammer the heart stamp into the center of the smaller flower blank repeatedly, this is to create texture. Use round end of chasing hammer to hammer flower. Step two: Use round end of chasing hammer to hammer larger flower blank. Step three: Use dapping tool to dap smaller flower into a curved shape.
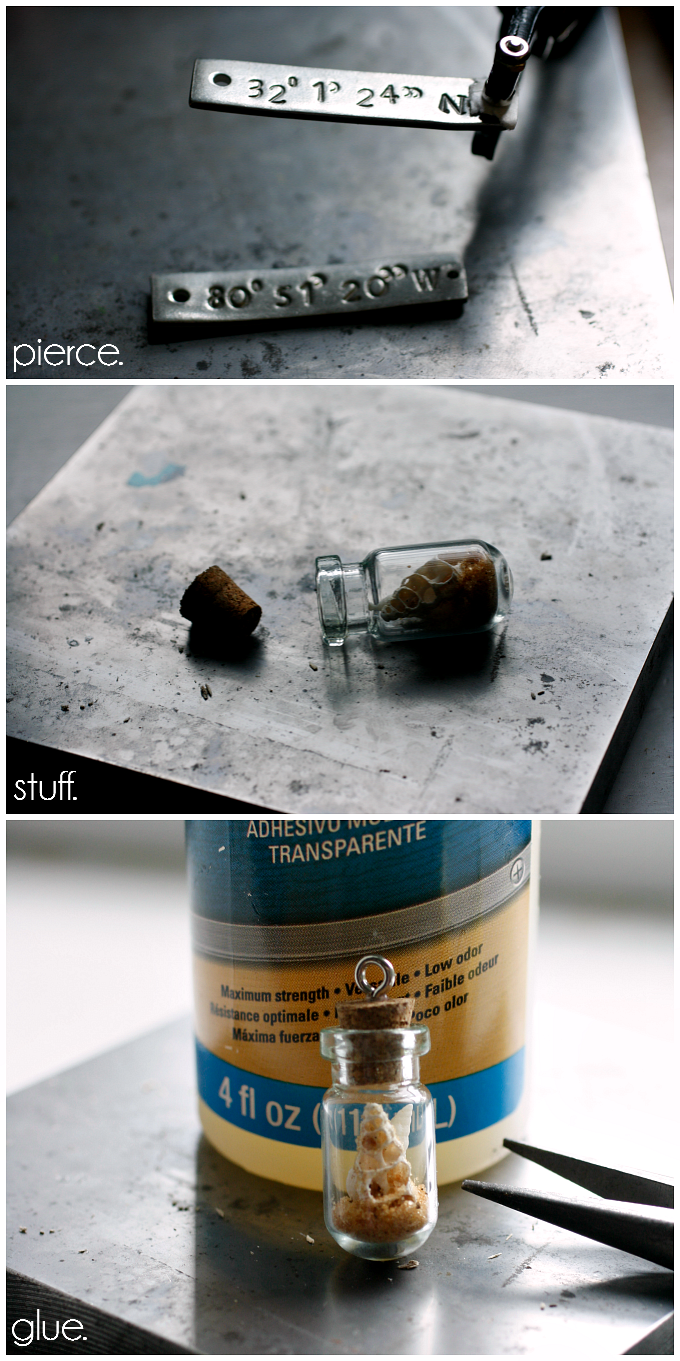
Step four: Use hole punch to pierce holes in top center petal of both blanks. I use chain nose pliers to pull one of the petals on the smaller flower back a little so it hangs nicely. (If you want the stamped areas on the center of the blank to be more defined, use a cotton swab to wipe some acrylic enamel paint on the blank. Let set for 30 seconds and use a soft cloth or paper towel to wipe away the excess.) Step five: Cut a 1″ segment of wire. Bend and loop the ends using round nose pliers. Step six: Hammer the loop flat with the flat side of your chasing hammer.
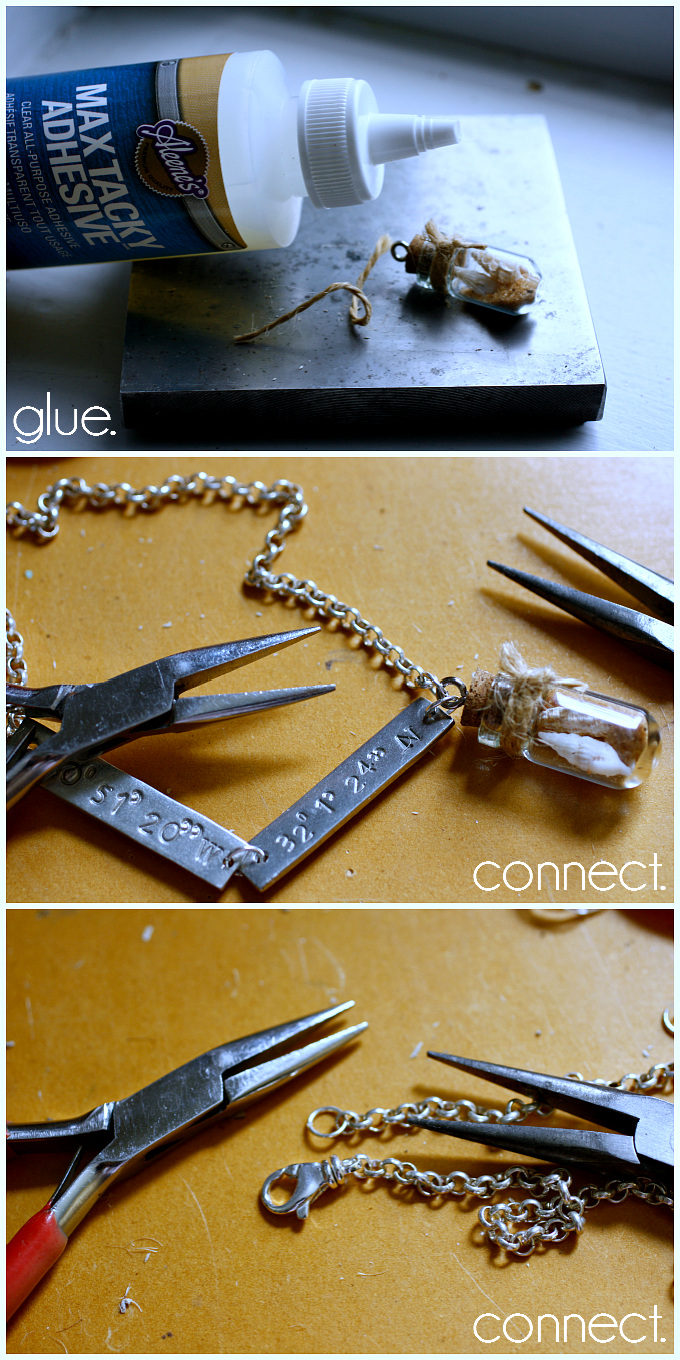
Step seven: Slide bead on wire. Bend wire flush to top of bead at a 90 degree angle. Cut wire to 1/4″. Grasp end of wire and bend into a loop. Step eight: Your ear wire loop needs to be bent perpendicular so the earring will hang to the front when attached. Use your chain nose pliers to gently bend the loop. If it opens up, be sure to secure it closed. Your round nose pliers can help with that. Step nine: Assemble the layers large to small attaching them to the jump ring and the ear wire as shown.
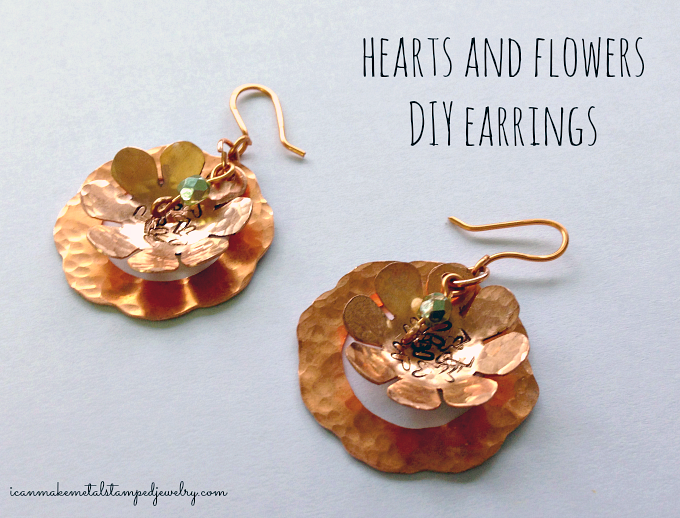
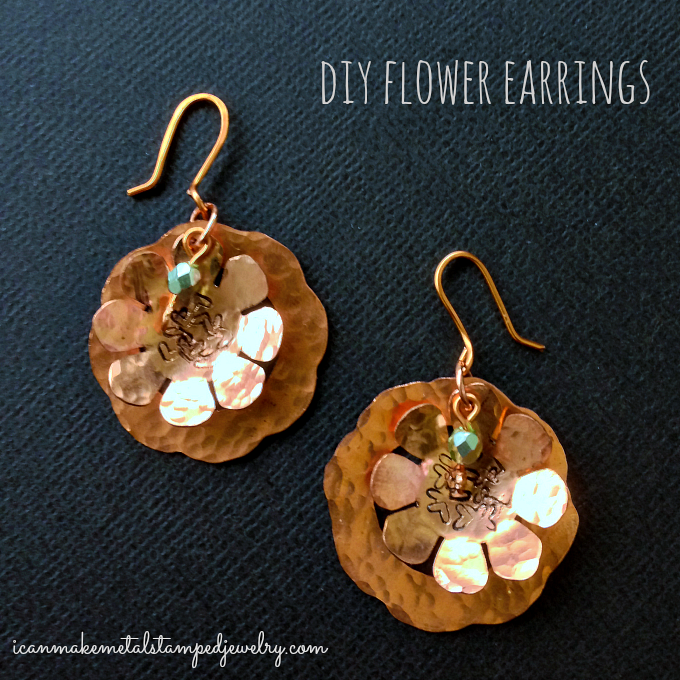
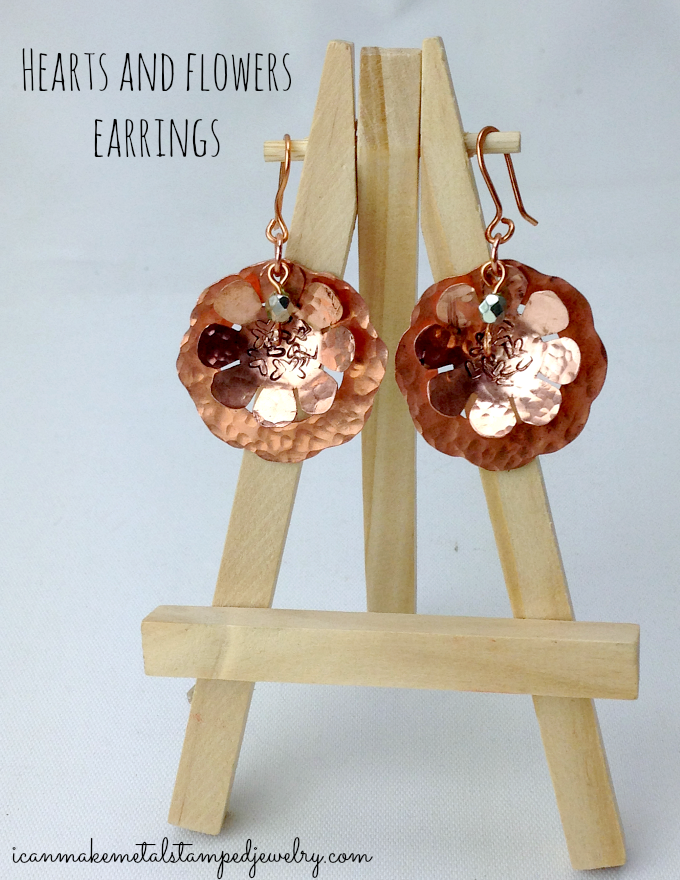
That’s it! Fun, fast and fabulous. You can make these in mixed metals, add larger beads, use colored paint and make this project your own. Adding texture to your metal really gives it an artisan appeal and it is so easy to do. With winter looming, these pretty DIY Flower Earrings give you just a touch of spring even on the coldest days.
Cheers,
Margot and Avalon
*DIY Project Policy: Our tutorials are meant for your creative inspiration. Feel free to make and gift or wear these designs. Please make sure that you give credit to us as the designer if you make and share these designs on your blog or social sites. Please do not make and sell copies of our designs or sell them as kits. Please do not teach these designs as classes for profit. This is how we make our living and we ask that you respect our creativity and the time it takes to design, photograph and write these free tutorials. You may use a single photograph from each project online in blog round-ups or blog posts ONLY if you include a direct link back to our tutorial. Any use of these designs for retail sale for profit online in places like Etsy or eBay or in retail bricks and mortar, flea markets or outdoor fairs is not permitted. Thank you!